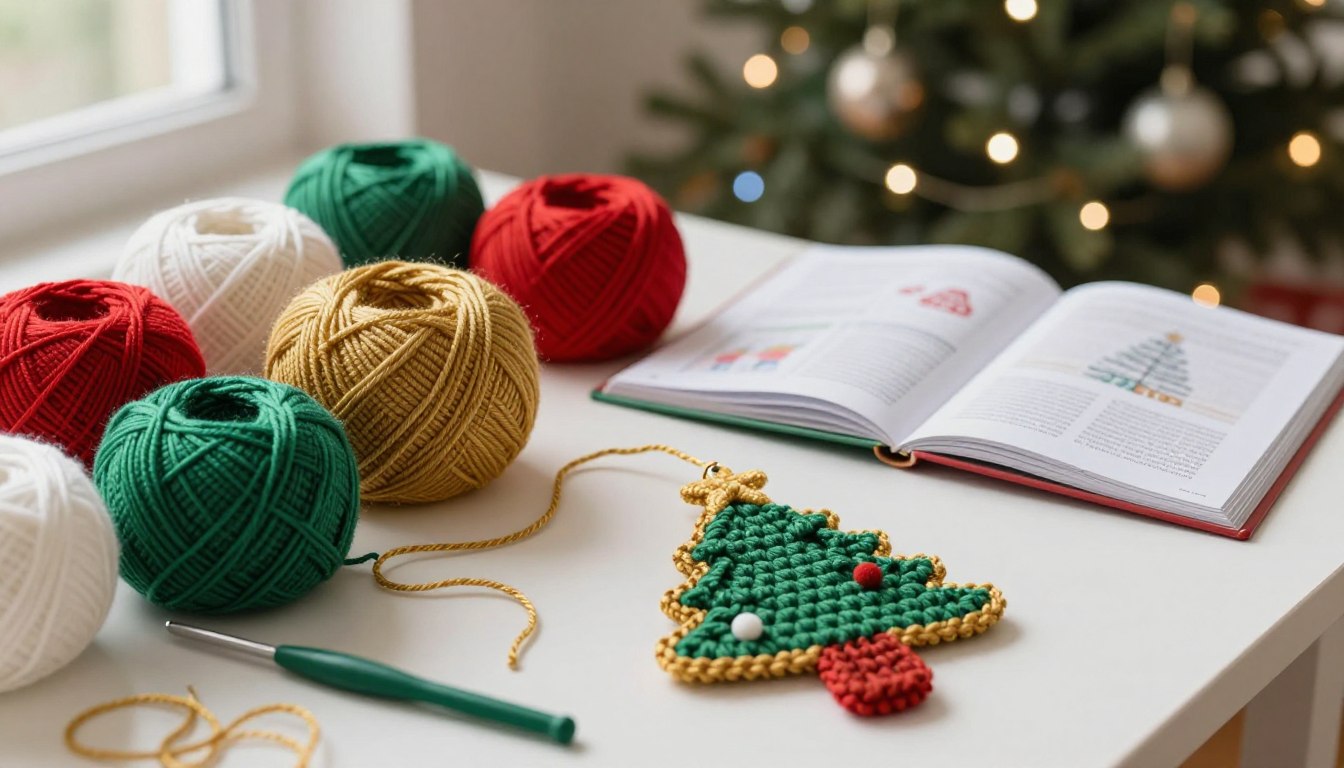
Easy Crochet Christmas Tree Ornament Pattern
Table of Contents
A small leftover ball of yarn can become a crochet Christmas tree ornament, a handmade detail for your holiday tree. You can make one in a quiet evening and keep it for years.
This flat tree ornament is a quick, easy project for beginners. Basic stitches and a simple row-by-row sequence shape the tree, so you can focus on making each stitch neat.
You only need a small amount of yarn, which makes this a useful project for scraps. Make one as a personal decoration or as a small gift for someone who enjoys handmade details.
Changing your yarn or crochet hook size changes the finished dimensions. That means your tree can be petite or larger, depending on the materials you choose.
Before you begin, gather your supplies and learn the few terms used in the instructions. Then you can follow the pattern at a steady pace.
What Makes This Tree Ornament Beginner-Friendly?
You need only chain stitches and single crochet to make this flat Christmas tree. Those basics shape a clear tree panel without complex shaping or work in the round.
Use a hook suited to your yarn, since yarn weight and hook size affect the finished dimensions. Decor patterns do not usually depend on an exact gauge, but the recommended yarn weight and hook size help you get the intended result.
For this crochet pattern, set out yarn, a crochet hook that suits it, scissors, and a yarn needle. You will use the needle to sew parts together and hide loose ends.
A turning chain is the chain stitch or stitches made at the start of a row to bring the yarn to the height needed for the next row. Here, chain 1 before turning each row.
The turning chain does not count as a stitch in this pattern. Count the single crochet stitches across each row, not the chain beside them.
Many Christmas tree crochet patterns use other common stitches, including slip stitch, half double crochet, and double crochet. This design keeps to chain and single crochet.
Patterns worked in continuous rounds benefit from a stitch marker to show where each round ends. This tree is worked in rows, so you do not need one.
There is no fixed finished size or universal hook size for this project. Your yarn and hook determine the final dimensions, so check the yarn label for a useful starting point.
With those basics in mind, follow the row-by-row pattern and check each stitch count as you go.
How to Work This Crochet Christmas Tree Ornament Pattern
Begin with a short chain and build the tree panel from its narrow top. Each row widens as you add stitches at both edges.
The turning chain does not count as a stitch. Count only the single crochet stitches in each row, and check the total before you turn.

- Chain 2. For Row 1, work 1 single crochet into the second chain from the hook. You now have 1 stitch.
- For Row 2, chain 1 and turn. Work 2 single crochet stitches into the stitch. You now have 2 stitches.
- For Row 3, chain 1 and turn. Work 2 single crochet stitches into the first stitch, then 1 single crochet in each stitch to the last stitch.
- Work 2 single crochet stitches into the last stitch. You now have 4 stitches in Row 3. Repeat this increase pattern for Rows 4-10.
For each repeated row, increase twice in the first stitch and twice in the last stitch. Work 1 single crochet in every stitch between those edge increases.
That repeat adds 2 stitches per row. Row 4 has 6 stitches, Row 5 has 8, and each later row gains two more.
By Row 10, you should have 18 stitches. If your count differs, check that you worked two stitches into each edge stitch and did not count the turning chain.
The repeated edge increases widen the triangle while keeping its center straight. This makes a simple crochet Christmas tree ornament pattern that suits a first project.
Searches for a “free crochet Christmas tree ornament pattern” or “simple crochet Christmas tree ornament pattern” often call for this kind of clear shape. This easy crochet Christmas tree ornament pattern uses the same steps each time.
Your finished dimensions will vary with the yarn and hook. Once your tree panel is complete, add its stem, hanging loop, and any decorative details.
How Do You Shape and Finish the Tree?
Your triangle needs a stem and hanging loop before it can sit on a branch. Finish the edges neatly so the small decoration keeps its shape.
Weave in loose ends with a yarn needle before sewing on the stem. Pull each end through several stitches on the back, then trim the extra yarn.

Make the stem by chaining 4. Work 1 single crochet into the second chain from the hook, then single crochet across for 3 stitches.
Chain 1 and turn, then work 3 single crochet stitches for the next row. Repeat once more for a total of 3 rows.
Sew the stem to the center of the tree panel’s bottom edge. Use small stitches and matching yarn so the seam stays firm and unobtrusive.
To form the hanging loop, attach yarn at the top point. Chain 12, then slip stitch into the attachment point to close the loop.
You can embroider simple garland or bauble details on the tree. Secure embroidered details are a safer choice if young children or pets may handle the ornament.
Avoid loose buttons or beads on decorations that children or pets might touch. Choose the yarn colors and decoration style that suit the finished tree.
What Yarn and Colors Work Best?
Choose a classic green tree, or use white or variegated yarn for a different look. Your palette can be traditional, wintry, or shaped by the scraps on hand.
Medium-weight yarn is common in crochet decor patterns, but your chosen yarn and hook set the final size. The same stitch count can make a smaller or larger tree with different materials.
Green gives the tree a familiar evergreen look. White creates a snowy effect, while variegated yarn builds color changes into the stitches without separate strands.
Gold yarn can add a bright accent or a simple edge detail. You do not need a set holiday palette, and no definitive Christmas color or decorating trend for 2026 is established for this project.
Scraps are a good way to test color and texture before committing to the full tree. Try a short section first if frequent color changes make the stitch pattern hard to see.
Thick, fuzzy, or highly textured yarn can hide small stitches. Choose a yarn that lets you see the first and last stitch in each row, where the increases go.
Buttons and beads are possible embellishments for ornaments. If the tree may be handled by children or pets, secure embroidery avoids small loose parts.
Let the yarn you already own guide your color choice. Once you settle on a look, you can decide where to display the ornament or whom to give it to.
How Can You Personalize the Ornament or Give It as a Gift?
A handmade tree ornament can turn a wrapped present into a keepsake. A personal touch is easy to add when you tailor the colors or stitched details to the recipient.
Leftover yarn makes each ornament a useful scrap-busting project. The small size also suits quick making, so you can create more than one without starting a large project.
You can use the finished ornament in several ways:
- Hang it on your own Christmas tree.
- Attach it to a wrapped gift as a gift tag.
- Give it as a small handmade present.
- Tuck it into a stocking as a stocking stuffer.
For a personal detail, embroider initials or add a simple garland. You can also choose the recipient’s preferred colors instead of using a familiar holiday palette.
Keep small add-ons secure, especially when a child or pet may handle the ornament. Embroidered details are often a better choice than loose beads or buttons.
A flat crochet ornament takes little space in a gift box and can be saved from year to year. It also works as a small extra when a larger present already fills the package.
Use yarn scraps to make several ornaments with small changes, such as different initials or garland shapes. If you want a different silhouette or format, consider the other tree designs available.
How Does This Pattern Compare With Other Christmas Crochet Ideas?
A flat tree ornament differs from a stuffed, three-dimensional amigurumi tree. The flat panel is light and quick to make, while a stuffed tree has depth and needs more shaping.
Choose a flat tree when you want a lightweight decoration that hangs easily. Other crochet Christmas patterns suit displays, gift toppers, and larger home decorations.
A tiny Christmas tree can serve as a gift topper, hanging ornament, or keychain. A mini crochet tree can also sit on a holiday or nature table.
A tree garland joins several motifs for a longer display. A tree applique is flat like this panel, but you can sew it onto another item.
Other tree formats include pillows, blankets, hats, and gift-card holders. Each one changes the scale, time, and use of the finished crochet decoration.
A flat Christmas tree pattern can also work as a gift on its own. The tiny tree is a better fit when you want a small topper or keepsake with a three-dimensional shape.
If you searched for “25 free crochet Christmas ornament patterns” or “25 free crochet Christmas ornament patterns for beginners,” you want a multi-pattern collection. This tutorial gives you one tree design, not a set of 25 ornaments.
The phrase “vintage crochet Christmas ornament patterns free” can guide a separate search for older styles or design ideas. It describes an inspiration search, not a specific collection or a claim about past trends.
Pick a format based on where the decoration will go and how much time you want to spend. For a simple, lightweight hanging decoration, the flat version is a practical choice.
Choose your yarn and hook, then begin with the first row to make a tree that fits your holiday plans.
Conclusion
Small handmade details can make a simple tree decoration feel personal. This crochet ornament takes only a little yarn and basic stitches, so you can make one from a useful scrap.
Your yarn and hook choices affect the finished size, so the tree may look different from one project to another. Choose a scrap yarn and hook, then begin the first row.