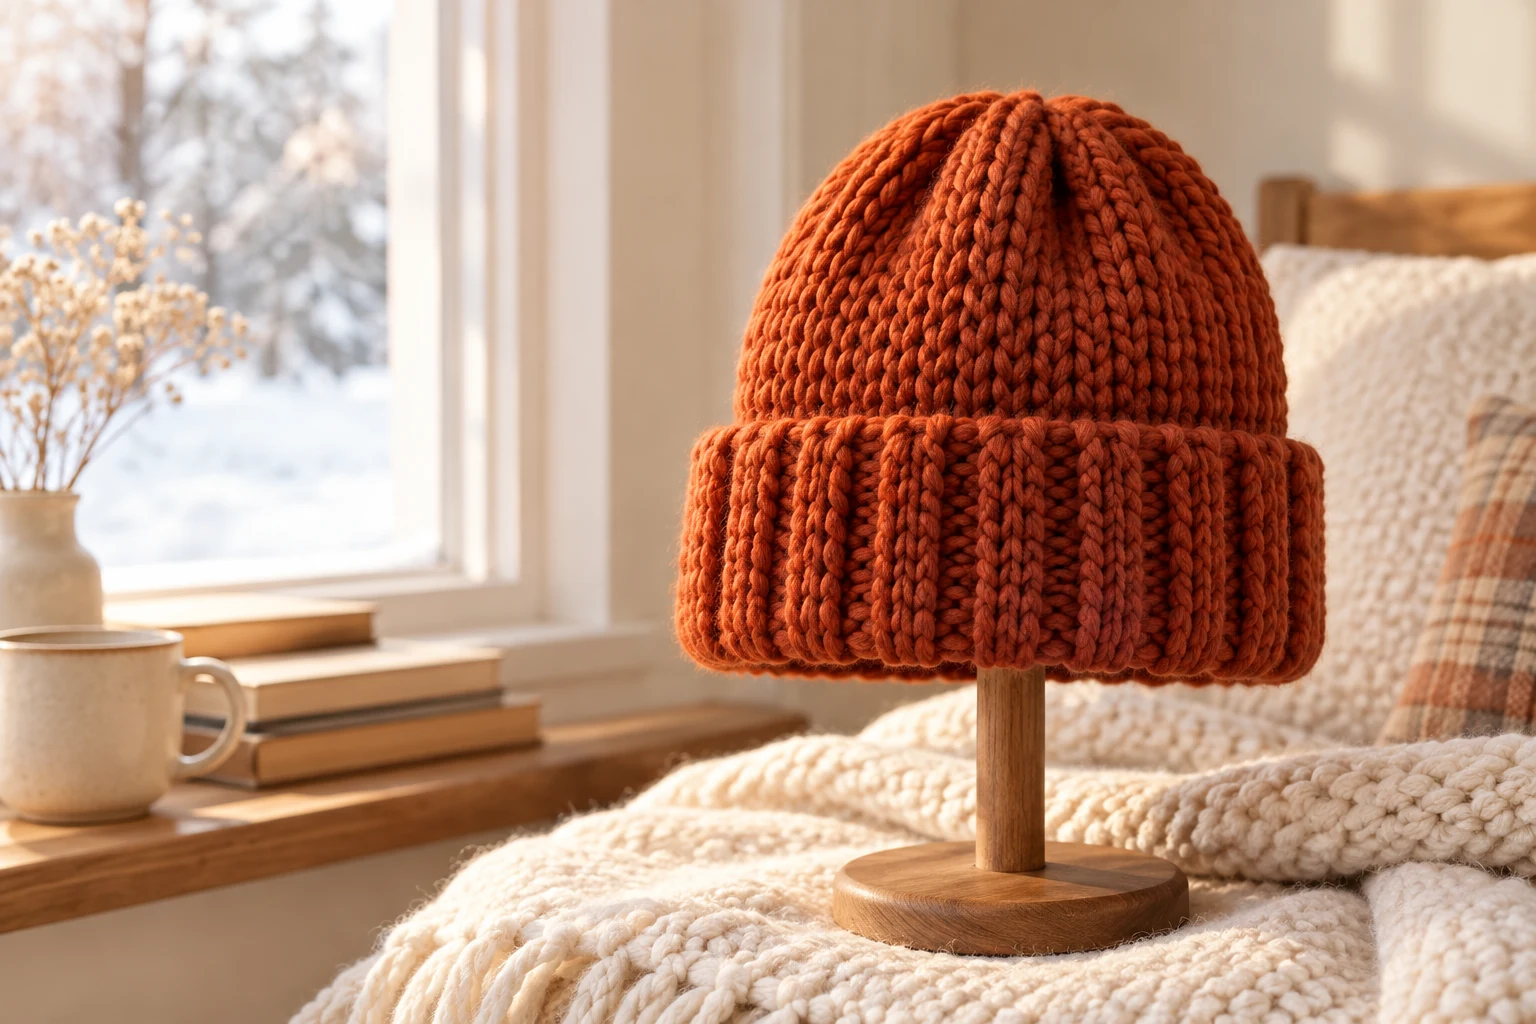
Easy Chunky Knit Beanie Pattern: Double-Brim Hat in 3 Sizes
Table of Contents
This chunky knit beanie pattern is one of the most satisfying cold-weather projects: the stitches are easy to see, super bulky yarn grows quickly, and a folded brim adds warmth without requiring a complicated stitch pattern. This companion guide will help you choose yarn, check the fit, understand the construction, and avoid the problems that commonly appear when knitting a double-brim hat.
Why This Chunky Knit Beanie Is Beginner Friendly
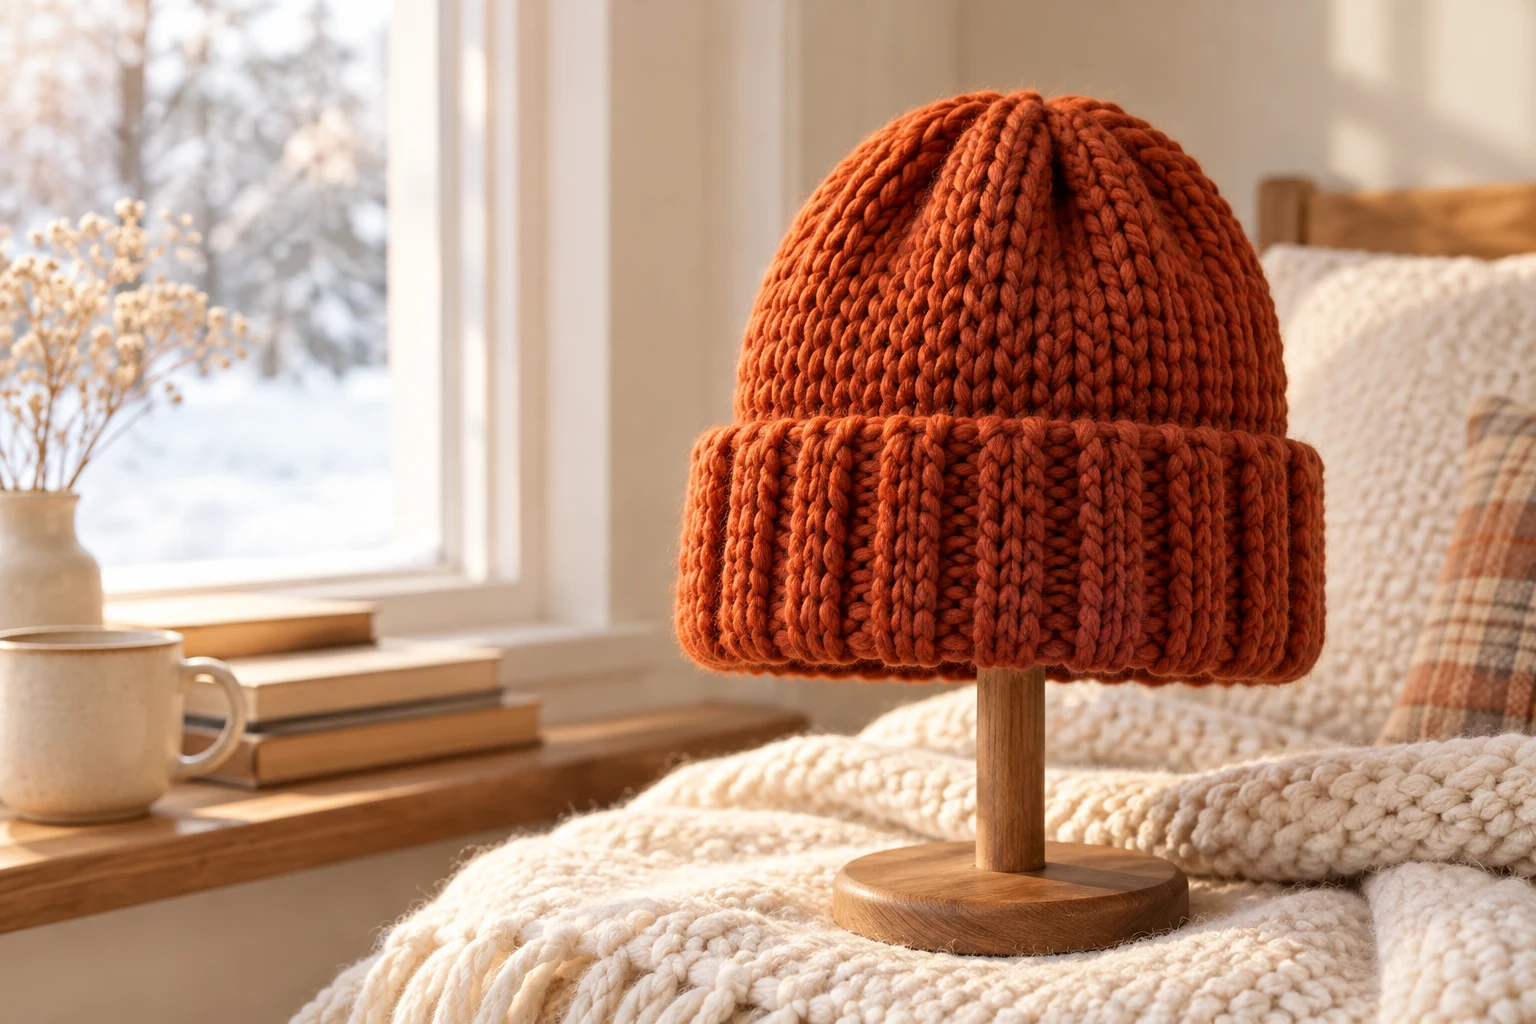
This chunky knit beanie pattern uses a small group of practical knitting skills: working in the round, knit and purl stitches, a provisional cast-on, joining a folded brim, and simple crown decreases. The hat body is smooth stockinette, so most of the knitting is calm and repetitive once the brim is complete.
Super bulky yarn also makes the fabric easy to read. You can quickly spot a twisted stitch, a loose ladder between needles, or a missed decrease. The trade-off is that large stitches show tension changes clearly, so a relaxed and consistent grip matters more than speed.
Materials and Useful Substitutions
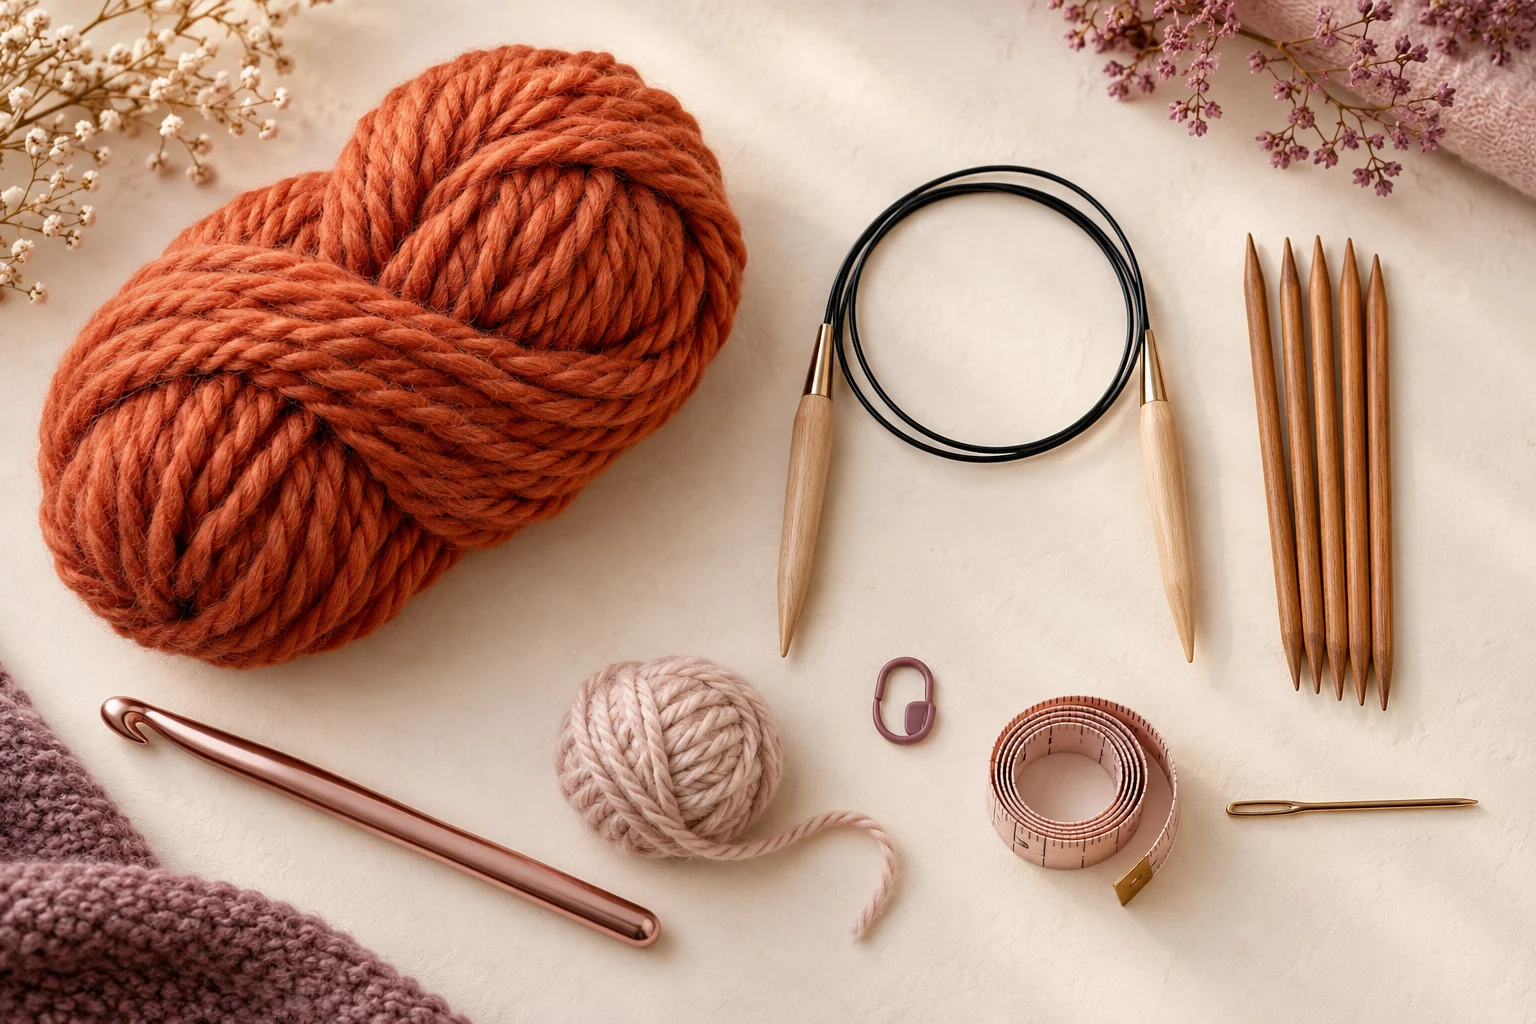
- Yarn: super bulky weight number 6 yarn. The source sample uses a wool-acrylic blend, which balances warmth, bounce and easier care.
- Main needle: a 16-inch circular needle around US 15 / 10 mm, or the size that gives the required gauge.
- Crown needle: double-pointed needles or a longer circular needle for magic loop.
- Provisional cast-on: smooth waste yarn and a large crochet hook.
- Finishing tools: stitch marker, tape measure, scissors and a blunt tapestry needle.
How to Substitute Yarn Successfully
Match the fabric, not only the number printed on the yarn label. Two super bulky yarns can have different density, elasticity and halo. Knit a swatch in the round and wash it the way you plan to wash the finished hat. If the swatch is too loose and floppy, try a smaller needle; if it is stiff and difficult to stretch, try a larger needle or a slightly lighter yarn.
You may hold several lighter strands together, but the combination must still produce the target gauge and a comfortable fabric. Choose smooth strands with similar care instructions so one yarn does not shrink more than the others.
Gauge, Sizes and Finished Fit
The designer specifies a stockinette gauge of 8 stitches and 10 rounds per 4 inches / 10 cm. Measure over the center of a washed and relaxed swatch without stretching it. With only two stitches per inch, a difference of one stitch across four inches can change the finished circumference substantially.
| Suggested size | Head circumference | Finished unstretched circumference | Finished height |
|---|---|---|---|
| Child | 19-20 in / 48-51 cm | 16 in / 40.5 cm | 10.5 in / 26.5 cm |
| Adult medium | 21-22 in / 53.5-56 cm | 18 in / 46 cm | 12 in / 30.5 cm |
| Adult large | 23-24 in / 58.5-61 cm | 20 in / 52 cm | 13 in / 33 cm |
Fit tip: A beanie is normally smaller than the head so it can stretch and stay in place. If the wearer is between sizes, use the washed swatch to judge elasticity instead of automatically choosing the larger size.
Understanding the Double-Brim Construction
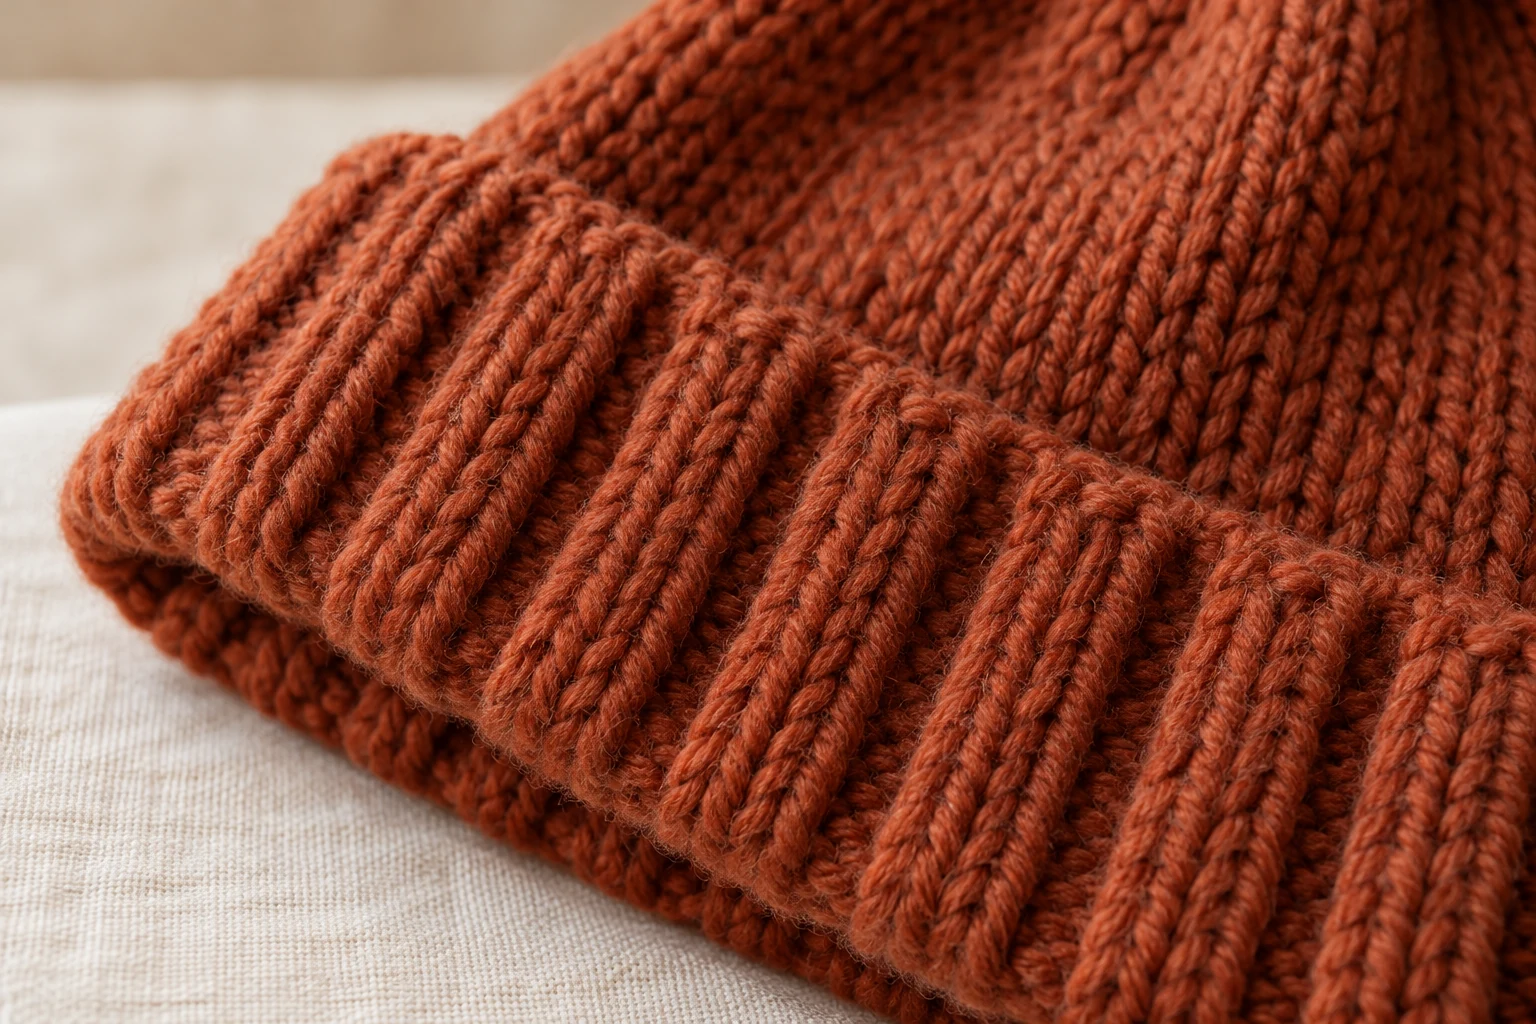
A double brim begins with live stitches held temporarily at the cast-on edge. The inner section is knitted first, followed by the visible ribbed section. The fabric is folded, and each current stitch is joined to its matching cast-on stitch. This creates a warm two-layer band with no sewn lower edge.
Make the Provisional Cast-On Easier
- Use smooth, contrasting waste yarn so the temporary chain is easy to see.
- Avoid fuzzy scrap yarn because fibers can catch when you remove it.
- Place a marker at the beginning of the round and confirm the cast-on is not twisted before continuing.
- Do not pull the waste-yarn chain tight. The live stitches must remain accessible later.
Join the Fold Without a Ridge
Fold the brim with the wrong sides together and align each live cast-on loop with one stitch on the working needle. Check the alignment every few stitches. If you accidentally skip a cast-on loop, the brim can spiral or pucker. A spare circular needle can hold the provisional stitches and make the matching process easier.
Keep the joining round relaxed. Pulling every joined stitch tight creates a rigid line at the top of the brim, while very loose stitches leave a visible gap. Aim for the same tension you used in the hat body.
A Reliable Knitting Workflow
- Swatch first. Confirm the washed stockinette gauge and record the needle size that produced it.
- Measure the wearer. Measure around the widest part of the head and compare it with the designer’s size chart.
- Prepare the provisional edge. Use contrasting scrap yarn and verify the cast-on is not twisted.
- Build both brim layers. Keep the inner stockinette smooth and the outer ribbing elastic.
- Join carefully. Match each working stitch with one provisional stitch before removing the waste yarn.
- Check the length. Measure from the lower folded edge while the hat lies naturally, without stretching it.
- Shape the crown. Change to DPNs or magic loop when the circular needle becomes uncomfortable.
- Finish securely. Close the remaining crown stitches, weave the tail through several directions, then block lightly.
Complete Chunky Double-Brim Knit Beanie Pattern
Sizes are written as 1 (2, 3) for Child (Adult Medium, Adult Large). Circle or highlight the numbers for your size before casting on.
Pattern Abbreviations
- approx: approximately
- BOR: beginning of round
- CO: cast on
- DPN(s): double-pointed needle(s)
- k: knit
- k2tog: knit two stitches together
- p: purl
- PM: place marker
- Rnd: round
- st(s): stitch(es)
- { }: repeat the instructions inside the braces
Brim: Provisional Cast-On
With smooth scrap yarn and a large crochet hook, provisionally CO 32 (36, 40) sts. Transfer the live stitches to the circular needle, join for knitting in the round without twisting, and PM to mark BOR.
Inner Brim
Knit every round until the inner brim measures 3.5 (4, 4.5) inches / 9 (10, 11.5) cm. Stockinette helps the inner layer lie flat, but you may work this section in 2 x 2 ribbing if preferred.
Outer Ribbed Brim
Work {k2, p2} around until the ribbed section also measures 3.5 (4, 4.5) inches / 9 (10, 11.5) cm.
Join the Double Brim
Fold the brim in half so the stockinette section sits inside. Align each working stitch with its corresponding provisional cast-on stitch. Knit each pair together around, removing the scrap yarn as you work. You may place the provisional stitches on a spare circular needle before joining.
Alignment check: After every six to eight joined stitches, confirm that no cast-on loop was skipped and the brim is not spiraling. Keep this round relaxed enough to stretch with the ribbing.
Body
Knit every round until the beanie, measured from the lower folded edge and including the brim, reaches 10.5 (12, 13) inches / 26.5 (30.5, 33) cm, or your preferred finished length.
Crown Decreases
Change to DPNs or magic loop when needed.
- Rnd 1: {k2tog} around. 16 (18, 20) sts remain.
- Rnd 2: {k2tog} around once more. 8 (9, 10) sts remain.
Finishing and Assembly
Cut the working yarn, leaving a tail about 6 inches / 15 cm long. Thread it onto a tapestry needle and pass it through every remaining live stitch while removing the stitches from the needle. Pull the crown closed gradually, secure the tail on the inside, and weave it through the fabric in several directions.
Remove the scrap yarn completely, weave in the cast-on tail, and lightly block if desired. Add a securely attached pom-pom only after the crown is fully closed.
Final Safety Check
- Confirm that the folded brim stays above the eyes without painful pressure.
- Choose a fiber the wearer tolerates, particularly when the yarn contains wool.
- Secure and regularly inspect pom-poms or other decorations.
- Do not use an adult-style beanie as infant sleepwear.
- Include fiber content and washing instructions when gifting or selling a finished hat.
Troubleshooting a Chunky Beanie
The Brim Feels Too Tight
First check whether the cast-on or joining round is restricting the stretch. If the ribbing itself is dense, the needle may be too small. When the stitch gauge is correct but the brim still feels tight, compare the intended negative ease with the wearer’s preference.
The Brim Flips or Flares Out
A brim can flare when the outer layer is longer than the inner layer, when the join is loose, or when the ribbing has not relaxed after knitting. Light wet blocking may settle the fabric. Do not stretch the brim wider while blocking.
A Ladder Appears Between Needles
When using DPNs or magic loop, move the transition point by a few stitches every couple of rounds. After working the first stitch on a new needle, gently snug the second stitch rather than pulling the first stitch excessively tight.
The Crown Has a Hole
Leave a generous finishing tail, pass it through the remaining live stitches twice, and pull it closed gradually. Secure the tail on the inside by weaving through nearby stitches in more than one direction.

Check the Fit Before Shaping the Crown
Try the hat on, or place it on a head form with the correct circumference, before beginning the decrease section. The folded brim should sit flat against the forehead without leaving a painful line, and the body should reach the intended crown height without being stretched upward. Remember that the finished crown uses some vertical length; a hat that already looks perfectly tall before shaping may become too long.
If you are making the beanie as a gift, compare the work with a well-fitting hat owned by the recipient. Lay both hats flat and compare the unstretched width, the depth from folded edge to crown, and the amount of recovery after gently stretching the brim. This is more useful than comparing only the labeled size.
Small Fit Adjustments That Preserve the Design
- For a firmer brim: use a slightly smaller needle for the brim only, then return to the gauge needle for the body.
- For sensitive skin: choose a soft wool blend, acrylic or other yarn the wearer already tolerates. A warm hat is not useful if the fiber feels itchy.
- For more or less depth: adjust the straight body length only after accounting for the crown section and available yardage.
- For a major circumference change: choose the designer’s nearest graded size instead of casually adding stitches. The cast-on repeat, brim ribbing and crown decrease math must remain compatible.
Before cutting yarn: confirm the brim stretches comfortably, the joined edge is smooth, the body has the desired depth, and the crown tail is long enough to close and weave securely.
Customization Ideas
- Add a removable faux-fur or yarn pom-pom after the crown is completely secure.
- Use a heathered neutral for a classic unisex hat or a warm rust, plum or dusty rose for a cozy autumn look.
- Work the brim in a contrasting color while keeping the body solid.
- For a slightly slouchier silhouette, add length only after confirming the yarn quantity and the designer’s construction.
- Embroider a small duplicate-stitch motif on the body after blocking, keeping the floats loose.
Blocking and Care
Follow the yarn label first. For a washable wool-acrylic blend, soak gently in cool water with a wool-safe cleanser, press out moisture without wringing, reshape, and dry flat. Avoid aggressive stretching because it can permanently widen the ribbing. If the beanie is a gift, include the fiber content and care instructions on a small card.
Designer credit and use: Original pattern and design by Nicole Peters of The Woolly Kraken. This HooksyLane English US edition is reproduced with permission. Finished hats may be sold on a small-scale basis with proper pattern attribution, according to the original designer terms.
Get the Printable HooksyLane PDF
Prefer a clean printable copy of this chunky knit beanie pattern? The licensed HooksyLane PDF includes the complete three-size pattern, materials, sizing table, safety guidance, technique notes and troubleshooting pages.
The featured project is the Wilkes Beanie, an original knitting pattern by Nicole Peters of The Woolly Kraken.
Keep Learning with HooksyLane
Explore more yarn and tool guides, practical projects in our crochet learning library, and free crochet patterns. Save new ideas from HooksyLane on Pinterest, or browse printable crochet resources in the HooksyLane store.