Easy Crochet Newborn Blanket Pattern for Beginners
Table of Contents
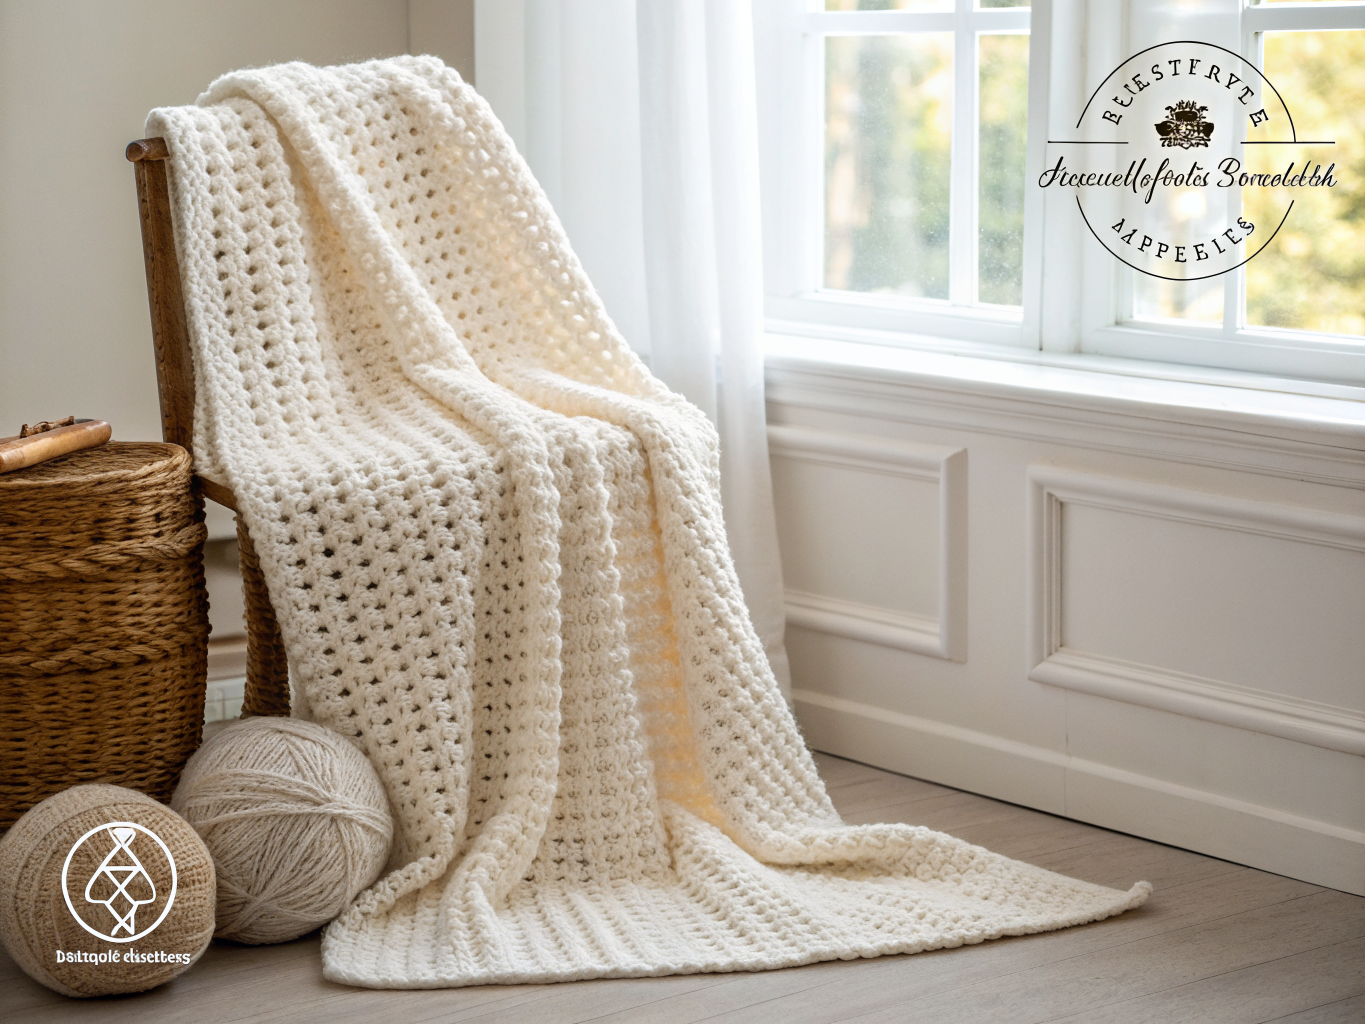
Making a blanket for a new baby is one of the most rewarding projects a crocheter can take on, and it doesn’t have to be complicated. This crochet newborn blanket pattern uses simple, repeatable stitches so you can build confidence while creating something genuinely useful. It’s a great next step after smaller projects like booties or hats, since it uses the same basic stitches on a larger scale.
This pattern is written for beginners who are comfortable with a foundation chain, single crochet, and basic turning chains. Before you start, it helps to know your yarn’s recommended hook size and to work a small swatch so your fabric feels soft and drapey rather than stiff. Because finished blanket sizes vary widely depending on yarn weight, hook size, and personal tension, this guide focuses on technique and structure rather than one fixed measurement, so you can size the blanket to your own preference.
Project Overview
| Detail | Description |
|---|---|
| Skill level | Beginner |
| Crochet terminology | US terms |
| Construction method | Flat, worked in rows, then bordered |
| Yarn type | Soft machine-washable DK/light-worsted or worsted baby yarn |
| Hook size | 4–5.5 mm, matched to your yarn and gauge |
| Stitch pattern | Single crochet body with a simple border |
Materials and Tools
Essential materials:
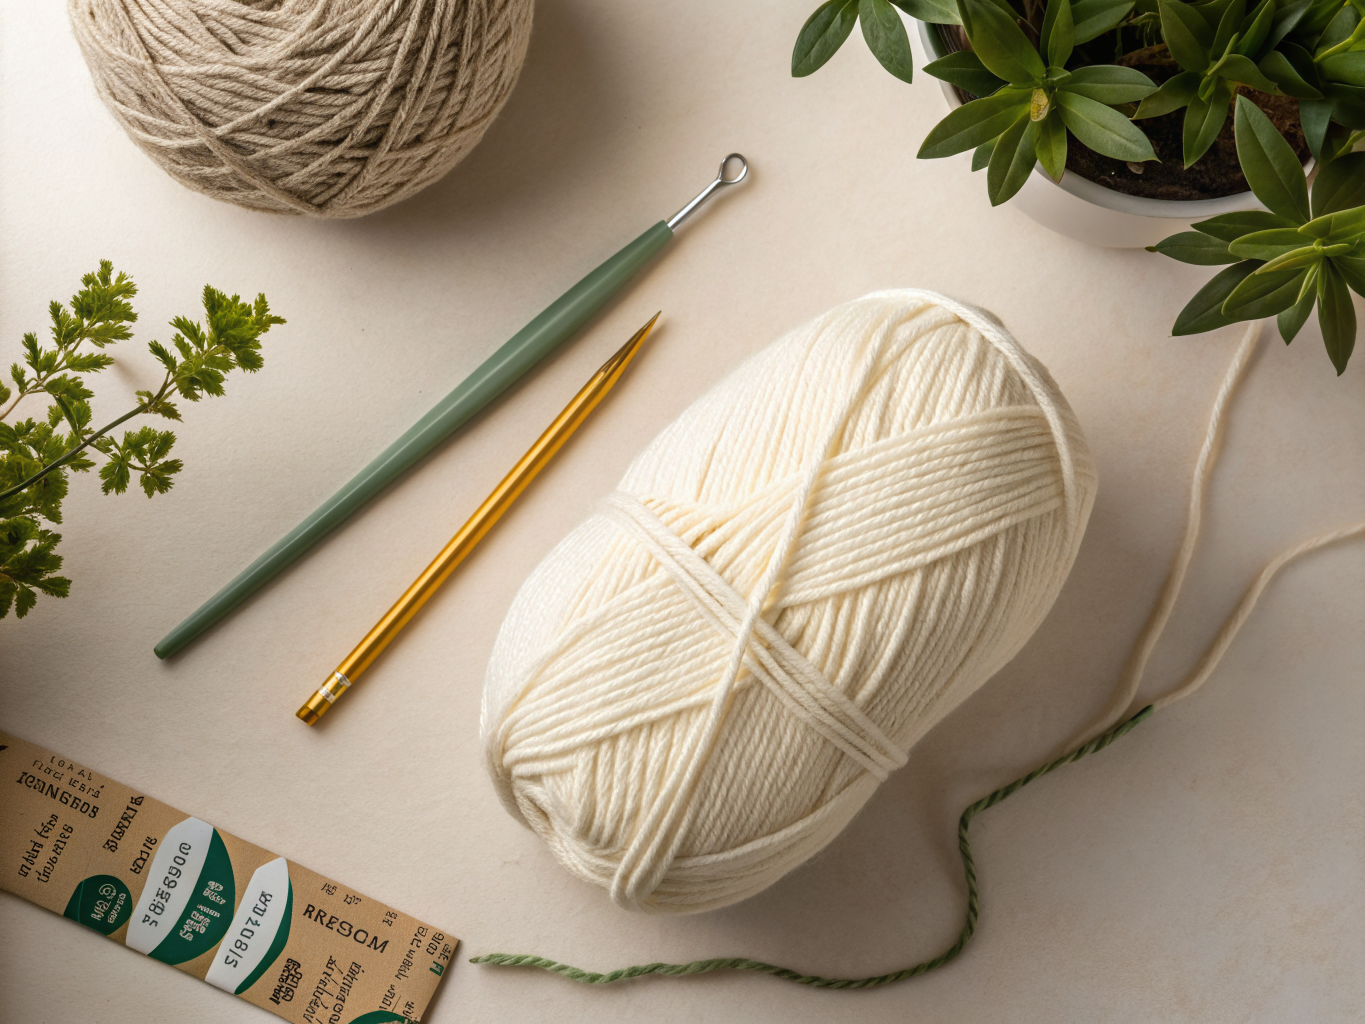
- Soft, machine-washable DK/light-worsted or worsted weight baby yarn
- A 4–5.5 mm crochet hook, sized to match your gauge
- Tapestry needle for weaving in ends
- Scissors
- Stitch markers to track row starts or border sections
- Tape measure to check your work as you go
Optional but helpful:
- Blocking mats
- Rustproof pins, for shaping the finished blanket and border
Crochet Abbreviations
- ch – chain
- sc – single crochet
- st(s) – stitch(es)
- sk – skip
- sl st – slip stitch
- rep – repeat
Important Notes Before You Begin
This blanket is worked flat in turned rows, not in continuous rounds, so each row ends with a turning chain and a turn of the work. The border is added afterward by working around the entire outer edge.
Use a stitch marker to mark the first stitch of each row if you find it easy to lose track of your turning chain, especially along the edges where stitch placement matters most for a straight border later.
Consistent tension matters more in a blanket than in almost any other project, because uneven tension shows clearly across a large flat surface. Try to keep your hook grip relaxed and your stitches uniform in height and tightness throughout.
Since this is a flat panel rather than a stuffed shape, there is no stuffing stage in this pattern. If you plan to change colors for stripes, always change colors on the last stitch of the previous row so the new color starts cleanly on the following row, and weave in color-change tails securely as you go rather than leaving a pile of ends for the end.
Because this blanket is intended for a newborn, avoid adding any buttons, beads, or other small attachable embellishments. Small parts can present a choking hazard, and embroidered or crocheted-in details are a safer way to add visual interest to baby items.
Crochet Pattern Instructions
Main Blanket Panel (make 1)
The panel is worked in single crochet rows. Because there are no increases or decreases across the body, your stitch count stays the same from your foundation chain through every row, which keeps the edges straight and simple to border later.
Foundation Row: Chain a number of stitches to reach your desired width, plus 1 turning chain. Single crochet in the 2nd chain from the hook and in each chain across. (Stitch count matches your starting chain minus the turning chain, and this number carries through every row below.)
Row 1: Chain 1, turn. Single crochet in the first stitch and in each stitch across. (Same stitch count as the foundation row.)
Rows 2 and following: Repeat Row 1 for every row, chaining 1 and turning at the end of each row, until the panel reaches your desired length. (Stitch count remains unchanged in every row, since single crochet worked straight across neither adds nor removes stitches.)
Fasten off after your final row, leaving a long tail if you plan to use it for the first stitch of your border. Otherwise, weave in the tail securely with a tapestry needle.
Border (worked once, around the entire panel)
The border is worked directly into the outer edge of the finished panel, turning corners at each of the four sides.
Round 1: Join yarn with a slip stitch in any corner stitch of the panel, or continue from your fastened-off tail if you left one. Chain 1. Single crochet evenly along each side, working 3 single crochet stitches into each corner stitch to turn the corner smoothly. Continue around all four sides. Join with a slip stitch to the first stitch of the round. (Stitch count depends on your panel’s row and stitch totals, with 3 stitches worked into each of the 4 corners.)
Round 2 (optional second border round): Chain 1. Single crochet in each stitch around, again working 3 single crochet in each corner stitch from the previous round to keep the corners square. Join with a slip stitch to the first stitch. (Stitch count increases only at the 4 corner positions compared to the sides, keeping the border flat rather than rippled.)
Fasten off after your last border round and weave in the tail.
Assembly and Finishing
Because this pattern produces a single panel with an attached border, there are no separate pieces to sew together. Once your border rounds are complete, weave in all remaining yarn tails along the wrong side of the fabric using a tapestry needle, running each tail through several stitches before trimming.
If your edges look slightly wavy after the border, wet or steam block the blanket on blocking mats, pinning the corners square with rustproof pins until dry. This step is optional but can noticeably improve the finished shape.
Customization Ideas
- Color blocking or stripes: Change yarn color every few rows for simple stripes, or work the entire border in a contrasting color for a clean frame effect.
- Textured stitch variation: Once you’re comfortable with single crochet, try substituting half double crochet for the main panel to create a slightly different drape and texture.
- Simple edging swap: Replace the second border round with a single row of reverse single crochet (crab stitch) for a slightly more textured finished edge.
- Personalized touch: Add a small embroidered initial or simple motif to one corner using leftover yarn and a tapestry needle, rather than sewn-on embellishments.
Care and Safety
Since this pattern calls for machine-washable baby yarn, most finished blankets can be laundered following the care instructions on your yarn label. Always check the specific yarn band for washing and drying recommendations, since fiber content affects care needs.
Avoid adding buttons, plastic eyes, beads, or other small attachable pieces to a newborn blanket. These items can detach over time and present a choking hazard. Embroidered details worked directly into the yarn are a safer alternative if you want to add visual interest. Keep in mind that no handmade item can be considered fully child-safe or certified without formal testing, so supervise use accordingly.
Common Mistakes and Troubleshooting
| Problem | Likely cause | How to fix it |
|---|---|---|
| Blanket edges curl or wave | Uneven tension row to row, or missed turning chain | Keep tension consistent, always chain 1 before turning, and block the finished piece |
| Stitch count drifts wider or narrower | Stitches added or skipped at the row’s start or end | Count stitches at the end of every few rows and use a stitch marker at the first stitch |
| Corners look bunched or too tight | Not enough stitches worked into the corner during the border | Work exactly 3 single crochet stitches into each corner stitch |
| Border looks rippled or too tight | Uneven stitch spacing along the border round | Space border stitches evenly along each side and check your corner stitch counts |
| Visible color-change bumps | Yarn changed mid-row instead of at the row’s end | Always change color on the last stitch of the previous row |
Frequently Asked Questions
What size will my finished blanket be?
Finished size depends on your starting chain length, number of rows, yarn weight, and hook size, so it’s best to measure your panel as you work and stop once it reaches the size you want.
Can I use worsted weight yarn instead of DK weight?
Yes, worsted weight works well for this pattern. Just be sure to check your gauge, since a heavier yarn will produce a firmer, slightly less drapey fabric than DK weight.
Why does my blanket look tighter on one edge?
This usually happens when tension loosens or tightens gradually across a project. Working a few practice rows first and checking your stitch height regularly can help even things out.
Is single crochet too stiff for a baby blanket?
Single crochet worked at a relaxed tension with a soft baby yarn typically produces a nice, cozy fabric. If you prefer more drape, try a slightly larger hook or switch to half double crochet.
Can I make this blanket bigger for a toddler later?
Yes, simply chain a longer foundation row and work additional rows until you reach your desired length, keeping the same stitch pattern throughout.
Do I need to block this blanket?
Blocking is optional, but it can help square off the corners and even out the border, especially if your tension varied slightly while working the rows.
Final Thoughts
You’ve now walked through building a simple, sturdy newborn blanket from a basic foundation chain, through straight single crochet rows, and finished with a clean border that squares off the edges. This structure is easy to repeat for future blankets in different sizes or colors once you’re comfortable with the basic steps.
If you give this pattern a try, we’d love to see how it turns out, so feel free to share your finished blanket or leave a comment with your questions. For another beginner-friendly baby project, check out our easy crochet baby booties pattern, or browse more crochet inspiration on our Pinterest page for future ideas.