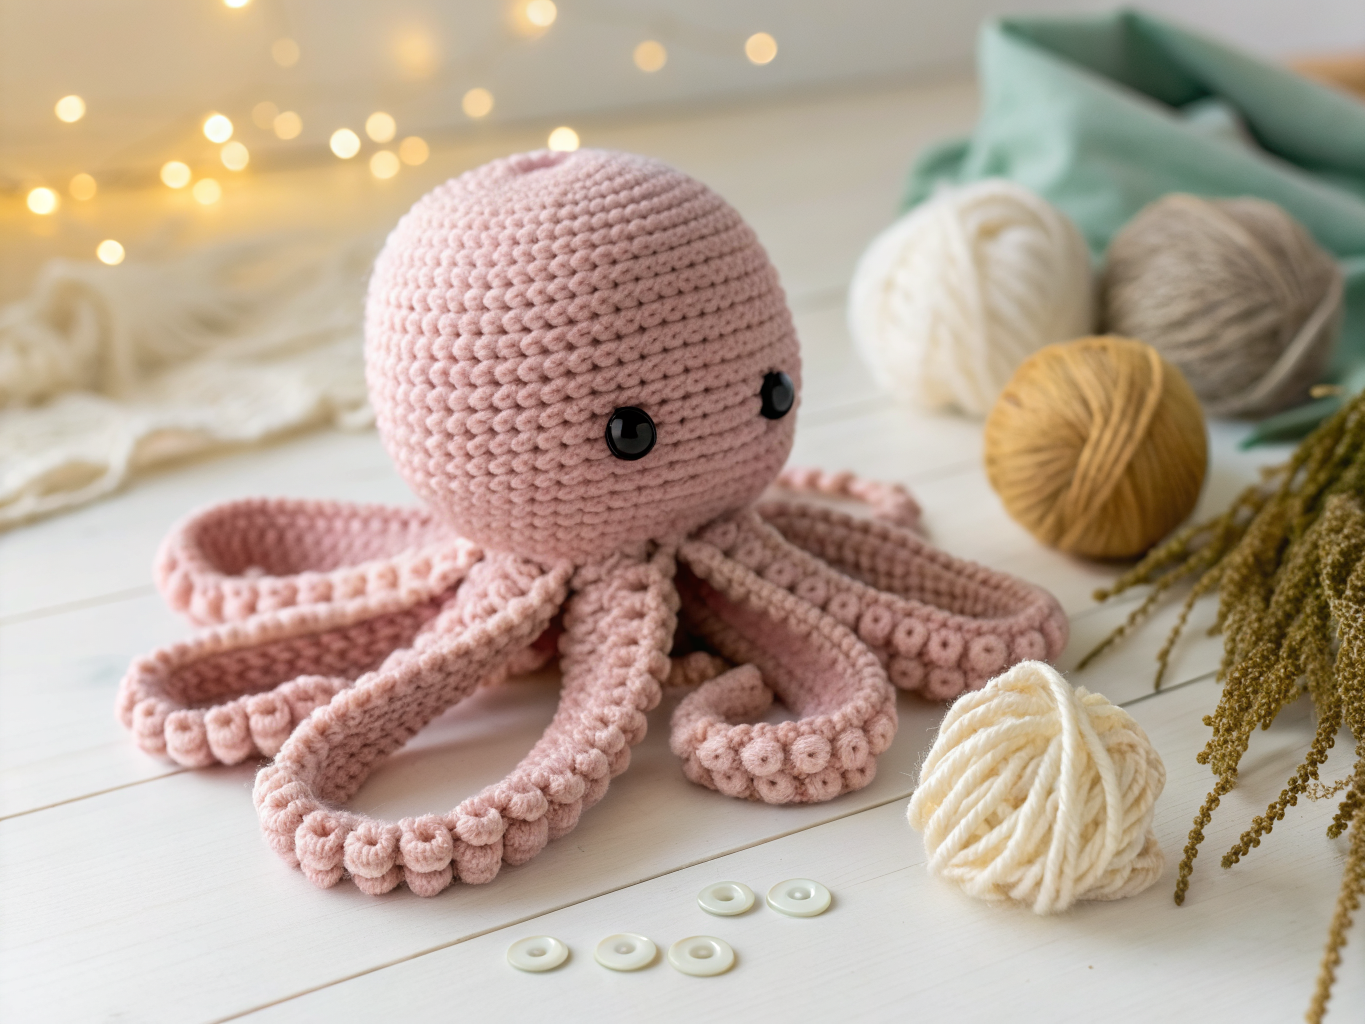
Easy Crochet Octopus Amigurumi Pattern
Table of Contents
Octopus amigurumi are among the most satisfying small sea creatures to crochet because the round body comes together quickly and the curling legs give the finished toy real personality. This guide walks you through a complete beginner-friendly project from the first magic ring to the last stitch of embroidery, so you always know exactly where you are in the pattern.
This crochet octopus amigurumi pattern is written for confident beginners who already know basic amigurumi shaping like single crochet, increases, and decreases worked in continuous rounds. If you have made a simple amigurumi ball or sphere before, you already have the skills you need for this project. Before you start, it helps to have a stitch marker on hand, since every round in this pattern is worked continuously (not joined), and losing track of the round start is one of the most common amigurumi mistakes.
Project Overview
| Detail | Information |
|---|---|
| Skill level | Confident beginner |
| Crochet terminology | US terms |
| Construction method | Worked in continuous (spiral) rounds, pieces assembled by sewing |
| Yarn type | DK weight cotton or acrylic |
| Hook size | 2.5–3.5 mm |
| Finished size | Varies with yarn, hook, gauge, and tension |
Materials and Tools
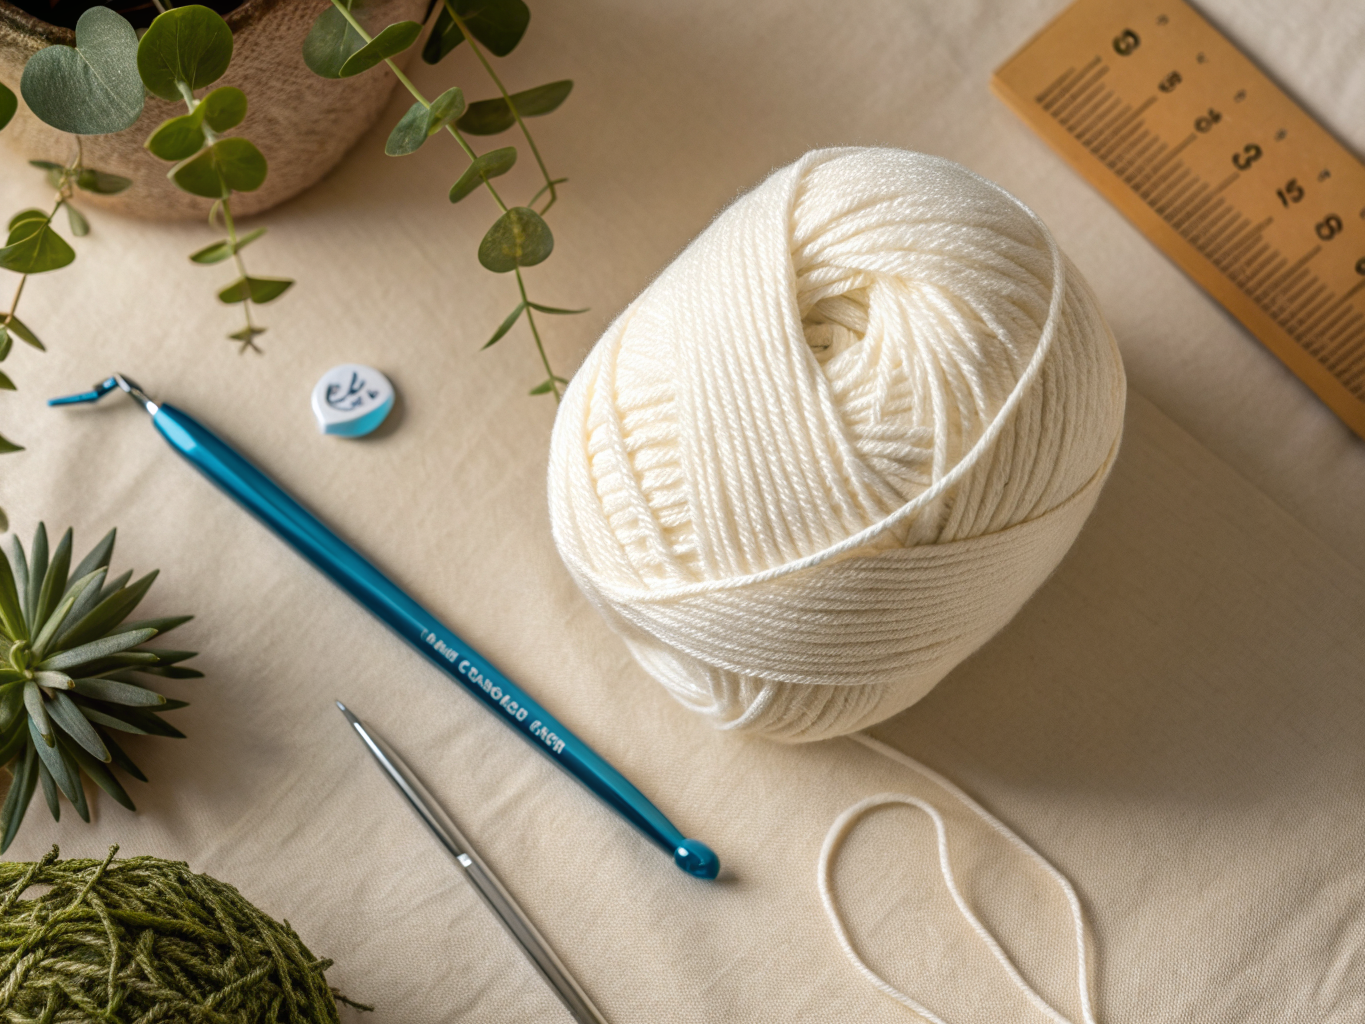
Essential materials:
- DK weight cotton or acrylic yarn in your chosen colors
- 2.5–3.5 mm crochet hook
- Polyester fiberfill
- Stitch marker
- Tapestry needle
- Scissors
Optional details:
- Embroidery floss for facial features
- Safety eyes (for display pieces, not recommended for babies or young children)
Crochet Abbreviations
- sc – single crochet
- inc – increase (2 single crochet stitches worked into the same stitch)
- dec – decrease (2 stitches worked together as one, invisible decrease recommended)
- st(s) – stitch(es)
- rnd(s) – round(s)
- rep – repeat
- approx. – approximately
Important Notes Before You Begin
This pattern is worked entirely in continuous rounds (also called spiral rounds), meaning you do not join with a slip stitch or chain at the start of each round. Instead, place a stitch marker in the first stitch of every round and move it up each time you complete a round. This keeps your stitch counts accurate and prevents visible jogs or seams.
Keep your tension even throughout. Amigurumi pieces should be worked fairly tightly so stuffing doesn’t peek through the stitches, but not so tight that your hand tires quickly or the fabric puckers.
Stuff the body gradually as you go rather than waiting until the opening is nearly closed. Adding small amounts of fiberfill a few rounds before closing gives you better control over the final shape and avoids lumps.
When sewing pieces together, use a tapestry needle and leave long tails specifically for assembly rather than cutting them short. This gives you enough length to sew securely and weave in ends invisibly afterward.
If this octopus may end up in the hands of a baby or young child, embroidered eyes made with embroidery floss are a safer choice than safety eyes or any glued-on plastic pieces, since small attached parts can present a choking hazard if they come loose. A handmade toy should never be considered certified safe for infants regardless of the materials used.
Crochet Pattern Instructions
Body
Make 1.
Work in continuous rounds. Use a stitch marker to track the start of each round.
- Magic ring, 8 sc into the ring (8)
- Inc in each st around (16)
- (Sc 1, inc) x8 (24)
- (Sc 2, inc) x8 (32)
- (Sc 3, inc) x8 (40)
- Sc even around (40)
- Sc even around (40)
- Sc even around (40)
- Sc even around (40)
- (Sc 3, dec) x8 (32)
- (Sc 2, dec) x8 (24)
Begin adding fiberfill now, pushing it into the base of the piece and working more in as the opening narrows.
- (Sc 1, dec) x8 (16)
- Dec x8 (8)
- Dec x4 (4)
Fasten off, leaving a short tail. Thread the tail through the tapestry needle, weave through the remaining 4 stitches, pull snug to close the opening, then weave the end in through the stuffing to secure it.
Legs
Make 8, all identical.
Work each leg in continuous rounds.
- Magic ring, 6 sc into the ring (6)
- Sc even around (6)
- Sc even around (6)
- Sc even around (6)
- Sc even around (6)
- Sc even around (6)
- Sc even around (6)
- Dec, sc 4 (5)
Fasten off, leaving a long tail for sewing. Add a small pinch of fiberfill to each leg, pushing it in gently with the blunt end of your crochet hook so the legs hold a soft curve without becoming stiff. These legs are worked as simple tapered tubes for an easy, stylized look rather than anatomically detailed legs with suckers, so don’t worry about matching real octopus anatomy exactly.
Assembly and Finishing
Once the body is stuffed and closed and all 8 legs are made, lay the body flat with Round 9 (the last 40-stitch round before the body begins narrowing) facing you. This round gives you 40 stitches to divide evenly among 8 legs, which works out to spacing every 5 stitches.
Using the long tail on each leg, pin or hold it in place around Round 9, spacing them evenly so the legs fan out around the lower half of the body. Sew each leg on securely with a whipstitch or mattress stitch, going through both the leg opening and the body fabric several times before fastening off. Weave in all tails through the body’s stuffing so no yarn ends are visible on the surface.
For the face, decide on a front and back of the body first. Using embroidery floss, embroider two eyes onto Round 4, spacing them symmetrically apart and centering them above the row of attached legs. Simple French knots or small satin stitch circles both work well. If you prefer safety eyes for a display-only piece, insert them at the same round before you finish stuffing the head, since they need to be secured from the inside before the opening is fully closed.
Once the legs are sewn on and the face is embroidered, give the legs a gentle curl by hand if you’d like a more playful, wavy look, or leave them straight for a simpler silhouette.
Customization Ideas
- Color blocking: Work the top rounds of the body in one color and switch to a second color partway through for a two-tone octopus. Change colors at the start of a round by working the last stitch of the previous round until two loops remain, then finishing it with the new color.
- Sucker details: Add small embroidered dots or tiny surface crochet stitches along the underside of each leg for a more detailed look.
- Alternate attachment method: Instead of sewing separate legs onto the finished body, some crocheters prefer to crochet legs directly from stitches picked up along the body’s surface, skipping a separate sewing step. This is a popular no-sew octopus crochet technique, though it requires adjusting stitch placement as you go rather than following fixed round numbers.
- Size variations: Working with a smaller hook and thinner yarn naturally produces a mini crochet octopus, while a larger hook and thicker yarn creates a bigger, huggable version.
For more amigurumi color and styling ideas, browsing a dedicated amigurumi inspiration board can help you plan combinations before you start.
Care and Safety
Because this pattern uses DK cotton or acrylic yarn, hand washing in cool water and laying the piece flat to dry will help it keep its shape longer than machine washing. Avoid soaking it for extended periods, since fully saturated stuffing can take a long time to dry through and may affect the piece’s shape.
If this octopus is intended for a baby or toddler, choose embroidered eyes over safety eyes or any other glued or snap-on parts. Small attached pieces can detach over time with handling and washing, creating a choking risk. No handmade toy should be considered certified safe for children regardless of the materials or techniques used.
Common Mistakes and Troubleshooting
| Problem | Likely cause | How to fix it |
|---|---|---|
| Stitch counts drift higher or lower than stated | Losing track of the round start without a stitch marker | Place a stitch marker in the first stitch of every round and move it up each time |
| Body looks lumpy or uneven | Stuffing added all at once near the end | Add small amounts of fiberfill gradually starting a few rounds before closing |
| Legs curl unevenly or twist | Leg pieces stuffed too firmly or unevenly | Use a light, even amount of fiberfill and gently shape legs by hand after sewing |
| Visible gaps between the head and legs | Legs sewn without going through both layers securely | Whipstitch through both the leg opening and body fabric several times before fastening off |
| Eyes look off-center | Placement measured without a fixed reference round | Embroider eyes on the same round (Round 4) and count stitches evenly from center-front for symmetry |
| Yarn tails show through the fabric | Ends woven in too close to the surface | Weave tails deeper into the stuffing before trimming |
Frequently Asked Questions
Can I use worsted weight yarn instead of DK?
You can, but switching to a heavier yarn will produce a noticeably larger finished octopus and may require a larger hook to keep the fabric dense enough to hold stuffing without gaps.
Why are my rounds not lining up correctly?
This pattern uses continuous rounds rather than joined rounds, so without a stitch marker it’s easy to lose track of where each round begins. Keep the marker moving up every round to stay accurate.
How many legs does this pattern make?
The pattern makes 8 identical legs, matching the number needed for the body’s attachment points around Round 9.
Is this a no-sew pattern?
The main instructions use separate legs sewn onto the body, which gives more control over placement for beginners. If you’d like to try a no-sew approach, the Customization Ideas section explains how legs can be crocheted directly from the body’s surface instead.
What size will my finished octopus be?
Finished size depends on your yarn weight, hook size, and tension, so it will vary from one crocheter to the next even when following the same stitch counts.
Are safety eyes okay to use?
Safety eyes work well for display pieces made for adults or older children, but embroidered eyes are the safer choice for anything intended for babies or young kids, since attached plastic parts can become a choking hazard if they loosen over time.
Final Thoughts
You now have a complete path from a magic ring to a finished octopus, including a clearly shaped body, eight tapered legs, and simple guidance for adding a face. Along the way you’ve also picked up practical amigurumi habits like gradual stuffing, symmetrical placement, and secure sewing that will help with future projects too.
If you give this pattern a try, we’d love to see how your colors and details turn out. Share your finished octopus in the comments, and if you’re looking for more small amigurumi projects to build your skills, explore the rest of our amigurumi collection for additional ideas.