Easy Crochet Baby Headband Pattern with Flower
Table of Contents
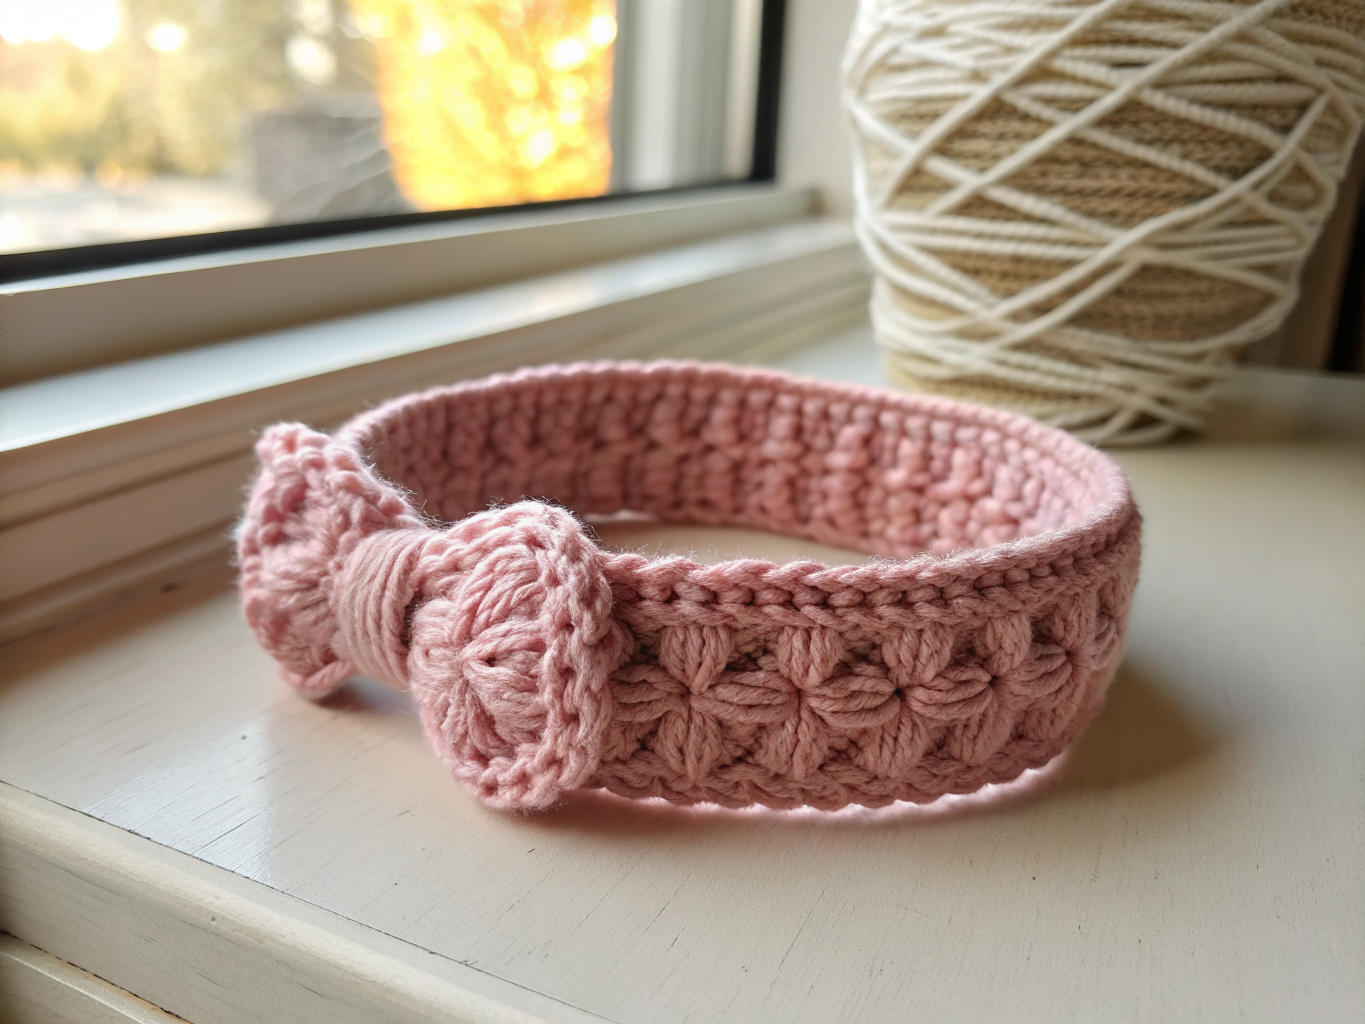
Making a soft, well-fitted headband for a baby is one of those small projects that delivers a big result. This easy crochet baby headband pattern combines a simple crocheted strip with a sweet stitched flower, giving you a finished accessory that looks polished without requiring advanced skills.
This project works well for confident beginners who already know how to chain, single crochet, and sew pieces together with a tapestry needle. Because the headband is worked as a flat strip and then joined into a loop, you can easily check the fit against a baby’s head as you go instead of relying on a fixed measurement.
Project Overview
| Detail | Information |
|---|---|
| Skill level | Beginner-friendly |
| Crochet terminology | US terms |
| Construction method | Flat strip worked in rows, seamed into a loop; flower worked in joined rounds and sewn on |
| Yarn type | Soft sport or DK weight baby yarn |
| Hook size | 3–4 mm |
| Finished size | Adjustable — determined by the number of rows worked and the baby’s head measurement |
Materials and Tools
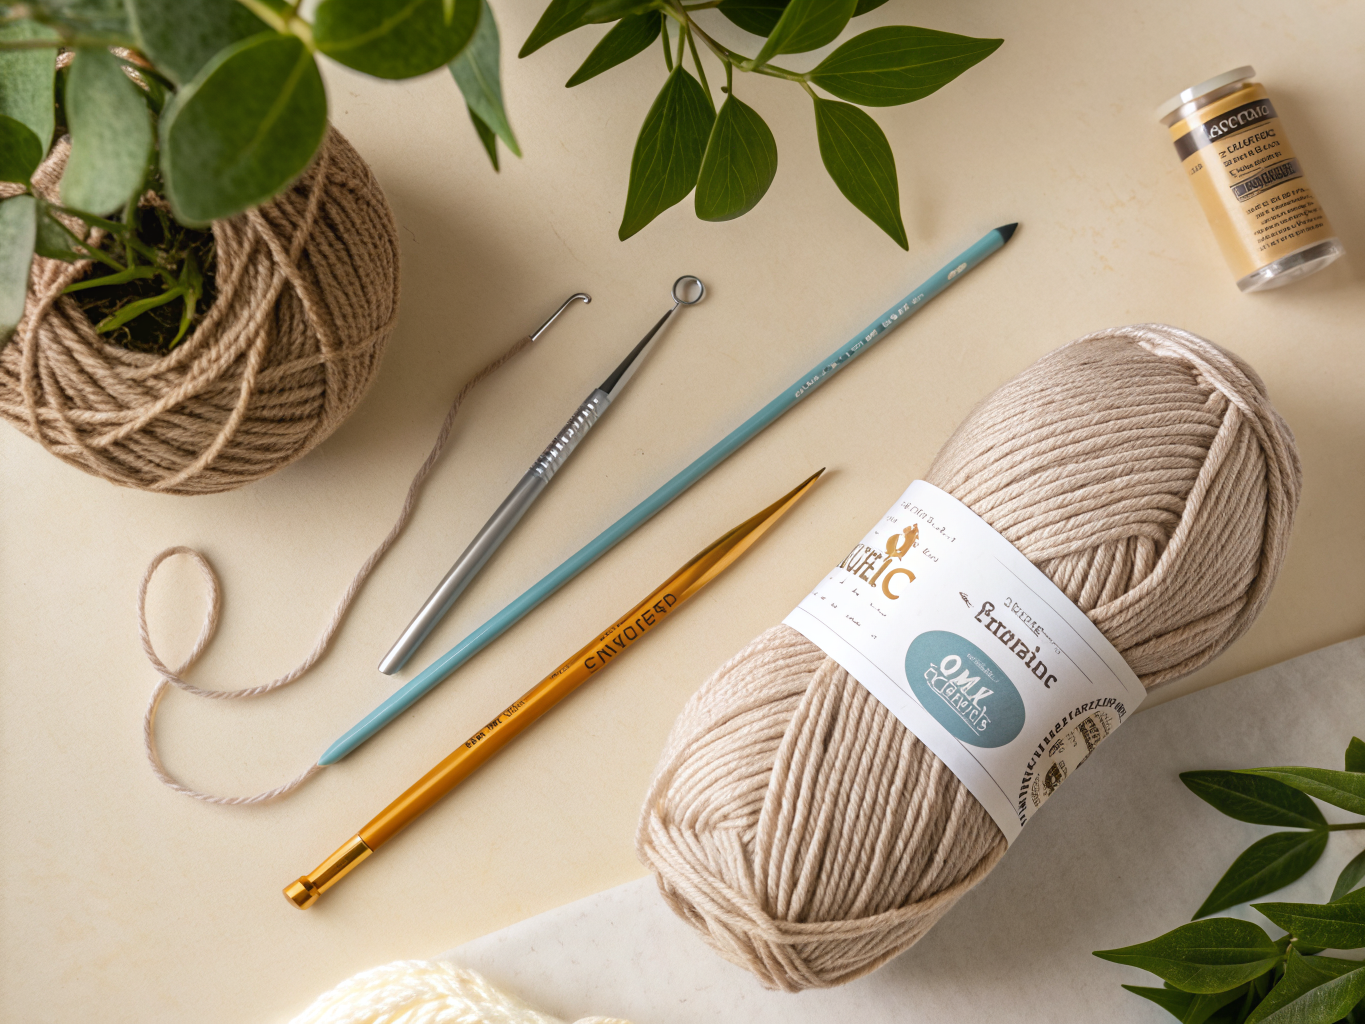
Essential materials:
- Soft sport or DK weight baby yarn (main color for the headband band)
- 3–4 mm crochet hook
- Tapestry needle for seaming and weaving in ends
- Scissors
- Stitch marker
- Tape measure
Optional decorative materials:
- A small amount of contrasting yarn for the flower and for embroidering a simple center detail
No beads, buttons, or other detachable embellishments are used in this pattern. Every decorative element, including the flower, is crocheted and stitched securely in place.
Crochet Abbreviations
- ch – chain
- sc – single crochet
- sl st – slip stitch
- st(s) – stitch(es)
- rnd(s) – round(s)
- rep – repeat
Important Notes Before You Begin
The headband band is worked flat in turned rows, not in continuous rounds. You will turn your work at the end of each row after making the required turning chain. The flower, on the other hand, is worked in joined rounds, meaning each round ends with a slip stitch into the first stitch of that round.
Use a stitch marker to mark the right side of your headband strip as you begin, especially if your yarn looks similar on both sides. This makes it easier to keep the flower placement consistent later.
Because baby yarn is often a bit stretchy or splitty, keep your tension even and avoid pulling stitches too tight, which can make the band stiff and less comfortable against a baby’s skin.
This pattern does not include any stuffed pieces, so there is no stuffing stage. The band is a flat strip from start to finish until it is seamed into a loop during assembly.
If you switch to a contrasting color for the flower or for embroidered details, finish the last stitch of the old color, then draw the new color through to complete it before continuing, and weave in the tail once the piece is finished.
For safety, all decorative elements in this pattern are crocheted or embroidered directly onto the fabric. Embroidered features are a safer choice than glued-on or sewn-on plastic pieces, which can loosen over time and present a choking hazard for babies and young children. No claim is made that a finished handmade headband is certified safe; always supervise babies while they wear any handmade accessory.
Crochet Pattern Instructions
Headband Band
Make 1 strip.
Row 1: Chain 9. Sc in the 2nd ch from the hook and in each remaining ch across, turn. (8 sc)
Row 2: Ch 1, sc in each st across, turn. (8 sc)
Rows 3 and onward: Repeat Row 2, working ch 1 and 8 sc in every row, until the strip reaches comfortably around the baby’s head when measured with a tape measure. Check the fit periodically by wrapping the strip loosely around the head, since it will stretch slightly when seamed.
Once the desired length is reached, fasten off after completing a full row, leaving a long tail of at least 12 inches for seaming.
Flower
Make 1 flower.
Round 1: Ch 2. Work 8 sc into the 2nd ch from the hook, sl st to the first sc to join. (8 sc)
Round 2: Ch 3, sl st in the next st around the ring, repeat this sequence 8 times total to form 8 small petals. (8 petals)
Fasten off, leaving a tail long enough to sew the flower onto the headband.
If you would like a contrasting center, embroider 2–3 small straight stitches or a French knot in the middle of the flower using a contrasting color before fastening off completely. This keeps the center fully attached and avoids any small, detachable pieces.
Assembly and Finishing
Lay the finished band flat with the foundation chain edge and the final row edge lined up. Using the long tail left from the last row, whipstitch the two short ends together to form a continuous loop. Weave the tail through a few stitches on the inside of the seam to secure it, then trim.
Position the flower either directly over the seam to hide the join, or at the center front, opposite the seam, whichever placement you prefer. Using the tail left on the flower, sew through the center of the flower and into the headband several times, making several small stitches around the base of the flower for a secure hold. Weave in the remaining tail through the inside of the band.
Turn the headband right side out if needed, and check that the flower and seam both sit flat without puckering.
Customization Ideas
- Color combinations: Use a soft pastel for the band and a brighter contrasting color for the flower to make it stand out.
- Multiple flowers: Crochet two or three smaller flowers using fewer petals per round and cluster them along one section of the band instead of a single centered flower.
- Embroidered details: Add a few embroidered leaves in green yarn beside the flower for a slightly more finished look.
- Width variation: Work the foundation row with more or fewer stitches to make a narrower or wider band, keeping the stitch count consistent throughout every row.
Care and Safetycenter, are
Because this pattern uses soft sport or DK baby yarn, check the yarn label for specific washing instructions, as fiber content affects how it should be laundered. Hand washing and laying the piece flat to dry is a gentle option for most baby yarns unless the label states otherwise.
Since this headband is intended for a baby, all decorative elements, including the flower and any embroidered center are crocheted or stitched directly into the fabric rather than attached with beads, buttons, or other detachable hardware. Embroidered and crocheted details are generally a safer choice than add-on plastic or hardware pieces, which can loosen with wear and washing and create a choking risk. This guidance does not mean the finished headband is certified safe for unsupervised wear; always supervise babies closely while they have any handmade accessory on.
Common Mistakes and Troubleshooting
| Problem | Likely cause | How to fix it |
|---|---|---|
| Headband band comes out too narrow or too wide | Starting chain was too short or too long | Adjust the starting chain length, keeping the sc count consistent across every row afterward |
| Stitch count drifts higher or lower than 8 sc per row | Missed the first or last stitch, or worked into the turning chain by mistake | Count stitches at the end of every row and recount before turning if the number looks off |
| Band feels stiff or curls | Tension is too tight | Relax your grip slightly and aim for even, consistent stitches |
| Seam looks bulky or uneven | Whipstitches were spaced too far apart or pulled unevenly | Use smaller, evenly spaced whipstitches and gently tug the tail to close small gaps |
| Flower looks flat or petals overlap oddly | Petals were worked too tightly or unevenly spaced around the ring | Work each ch-3 petal with even tension and check that all 8 sts from Round 1 were used |
| Flower shifts or feels loose | Not enough sewing stitches used to attach it | Add several more small stitches around the base of the flower, anchoring through the headband fabric each time |
Frequently Asked Questions
Can I make this headband in a specific size for my baby?
Yes. Since the band is worked in rows rather than to a fixed length, you can check the fit against the baby’s head as you crochet and simply add or remove rows until it feels comfortable.
What yarn weight works best for this pattern?
Soft sport or DK weight baby yarn is recommended because it creates a gentle, comfortable band without adding bulk. The exact drape and softness will vary depending on the fiber content of the yarn you choose.
Do I need to use a stitch marker for this project?
A stitch marker is helpful for marking the right side of your work early on, so you can keep track of orientation, especially if your yarn color makes the front and back hard to distinguish.
Is this pattern suitable for a first-time crocheter?
It works well for beginners who already know basic chain and single crochet stitches. If you are brand new to crochet, practicing those two stitches on a small swatch first will make this pattern easier to follow.
Can I add more than one flower to the headband?
Yes. You can crochet extra flowers using the same instructions and sew them along the band in a cluster or evenly spaced pattern, depending on the look you want.
Why does my finished headband look different in size from someone else’s?
Finished size naturally varies with yarn weight, hook size, and individual tension, so two people using the same instructions can end up with slightly different results.
Final Thoughts
You now have a simple, repeatable method for turning a basic crocheted strip into a sweet baby headband, complete with a securely stitched flower. The construction is flexible enough to adjust for different head sizes while still keeping the stitch pattern easy to follow from start to finish.
If you give this pattern a try, we would love to see how your finished headband and flower turn out. Feel free to share your results, leave a comment with any questions, and explore more beginner-friendly crochet projects on HooksyLane for your next make.