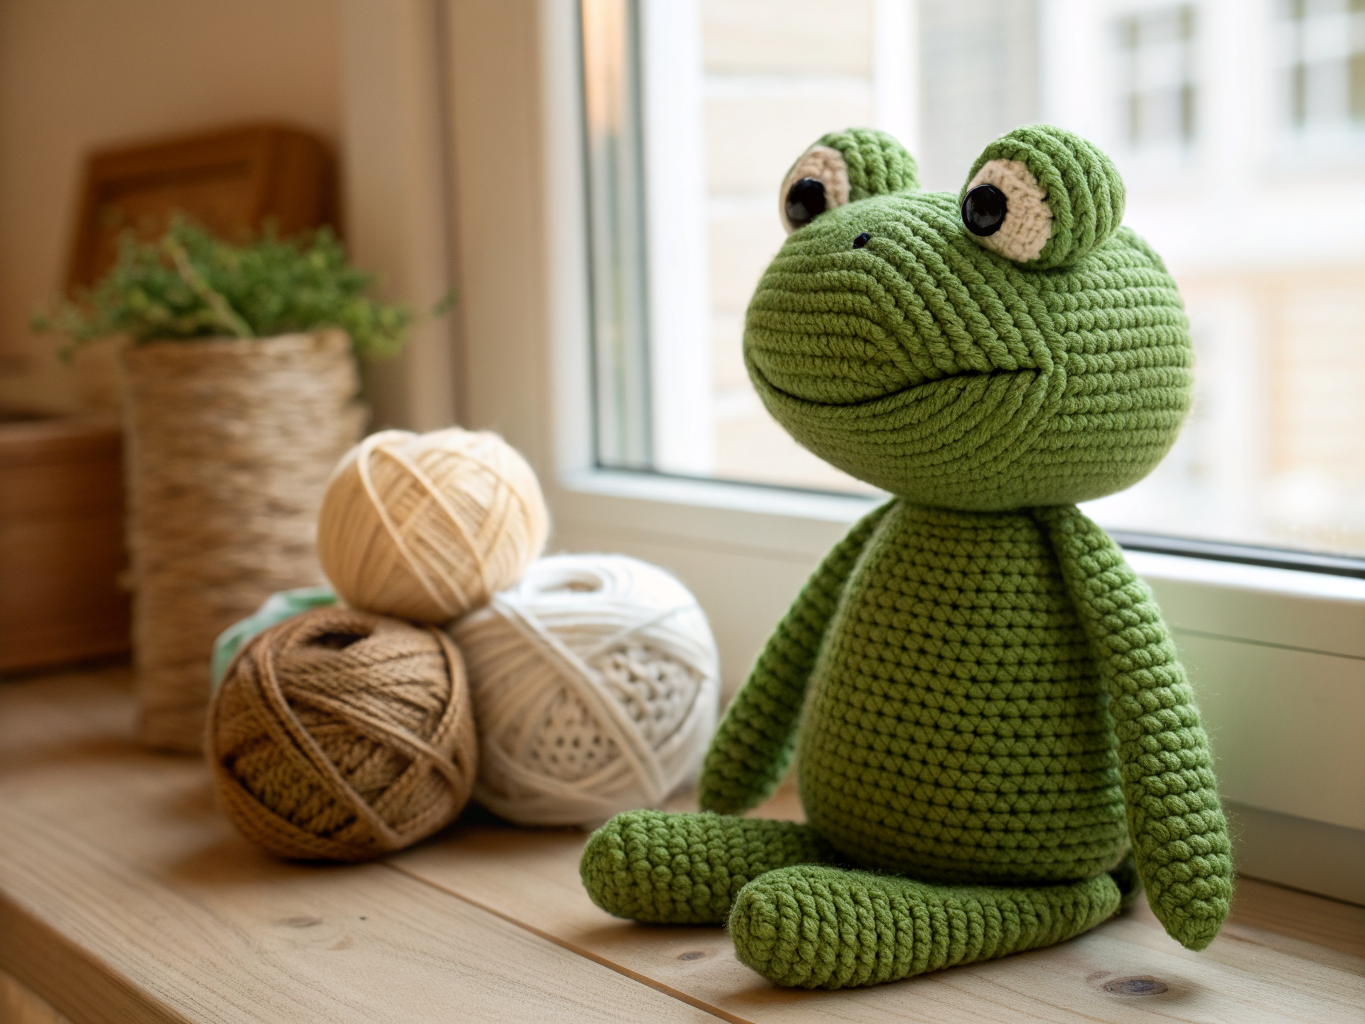
Easy Crochet Frog Amigurumi Pattern for Beginners
Table of Contents
Frogs make some of the most cheerful amigurumi projects you can crochet, and this design keeps the shaping simple while still capturing that classic wide-mouth, big-eyed frog charm. If you’ve completed a basic amigurumi ball before, this project is a comfortable next step, and if you haven’t, the instructions below walk through every round so you can follow along with confidence.
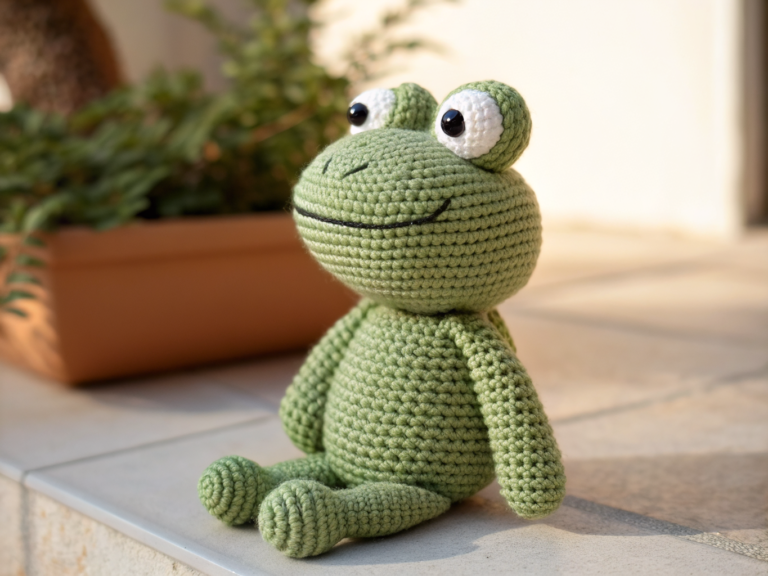
This crochet frog amigurumi pattern uses a combined head-and-body shape, two simple legs, two small arms, bulging top eyes, and a sewn-on belly patch for contrast. Before you start, make sure you’re comfortable working in continuous rounds, increasing and decreasing evenly, and sewing pieces together neatly. None of the shaping here is complicated, but reading each round carefully will help your frog come out symmetrical.
Project Overview
| Detail | Information |
|---|---|
| Skill level | Beginner to advanced beginner |
| Crochet terminology | US terms |
| Construction method | Worked in continuous rounds (no joining), pieces sewn together |
| Yarn type | Green DK or worsted weight yarn, plus small amounts of a contrast color for the belly |
| Hook size | 3–3.5 mm |
| Finished size | Varies with yarn weight, hook size, and personal tension |
Materials and Tools
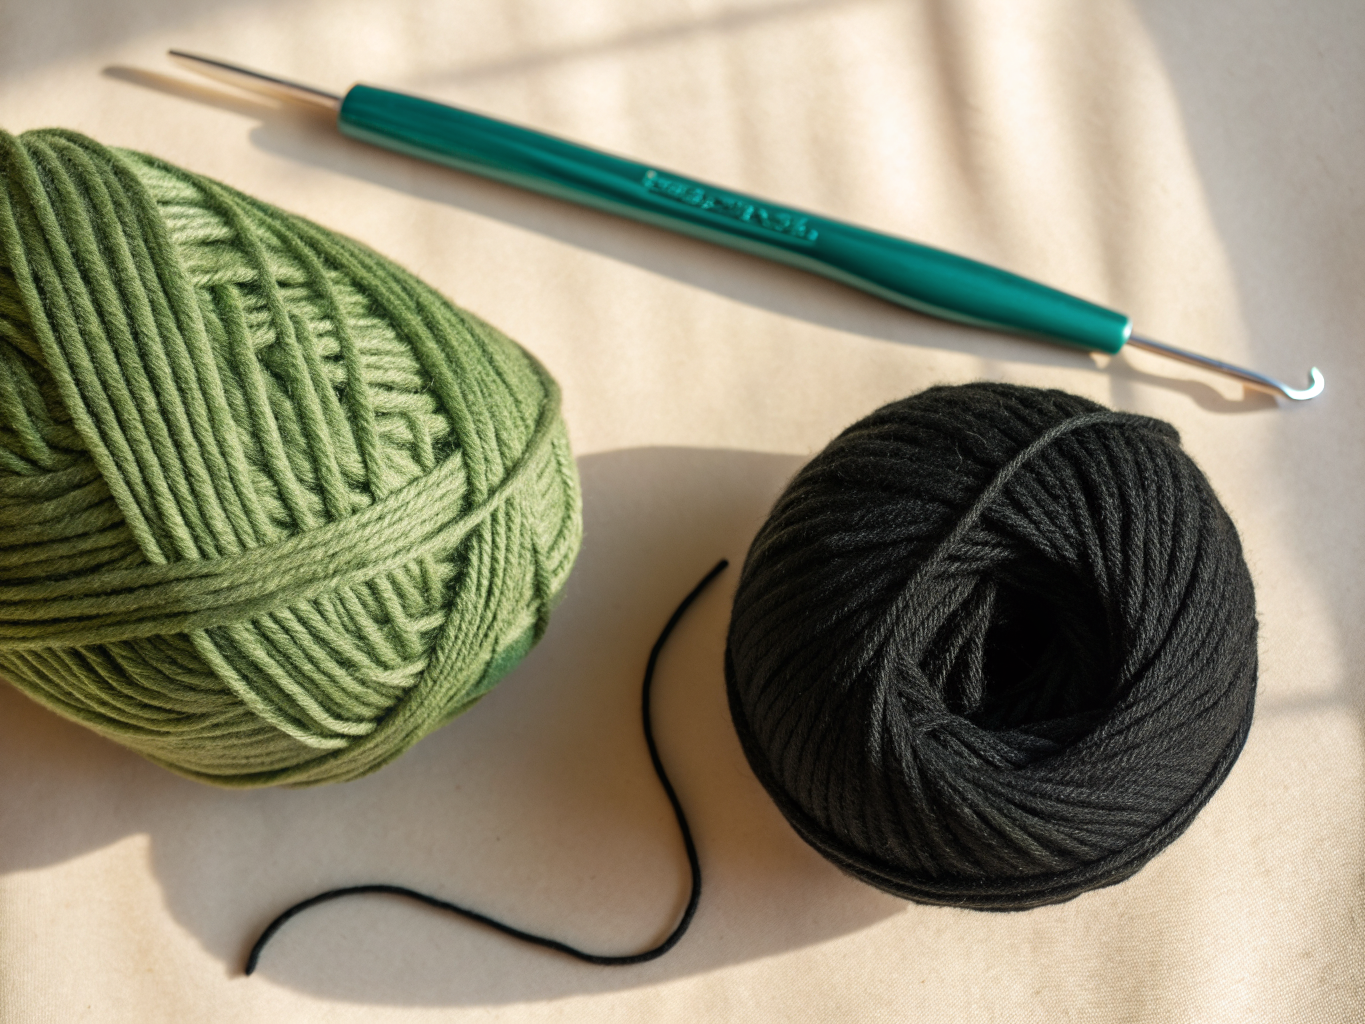
Essential materials:
- Green DK or worsted weight yarn (for the body, head, arms, and legs)
- A small amount of contrasting yarn for the belly patch
- 3–3.5 mm crochet hook
- Polyester fiberfill
- Stitch markers
- Tapestry needle
- Scissors
- Black embroidery floss (for the mouth and, if not using safety eyes, the pupils)
Optional:
- Safety eyes, as an alternative to embroidered eyes
Crochet Abbreviations
- st(s) – stitch(es)
- sc – single crochet
- inc – increase (2 sc worked into the same stitch)
- dec – decrease (single crochet 2 stitches together)
- rnd(s) – round(s)
- MC – magic circle
- FO – fasten off
Important Notes Before You Begin
This pattern is worked entirely in continuous rounds, meaning you do not join or chain at the start of each round. Instead, place a stitch marker in the first stitch of each new round and move it up every time you complete a round, so you always know where a round begins and ends.
Keep your tension even throughout. Amigurumi generally works best with a slightly tighter stitch than you might use for a garment, since this helps stitches close up and keeps stuffing from peeking through.
Stuff pieces gradually as you crochet rather than waiting until the very end. Small amounts of fiberfill added a little at a time, and pushed into the corners of the shape with your fingers or the end of the tapestry needle, will give a smoother, more even result than stuffing everything in at once.
When you fasten off a piece that will be sewn to another, leave a long tail (roughly 10–12 inches) instead of a short one. This gives you enough length to sew securely without needing to add new yarn.
If you plan to give this frog to a baby or very young child, embroidered eyes made with black embroidery floss are a safer choice than safety eyes or any other small, attachable parts, since detachable pieces can present a choking hazard. Handmade toys should not be considered certified safe for infants regardless of the materials used.
Crochet Pattern Instructions
Body and Head (make 1)
The head and body are worked as one continuous piece, starting from the bottom.
Round 1: 6 sc in MC (6)
Round 2: inc in each st around (12)
Round 3: 1 sc, inc around (18)
Round 4: 2 sc, inc around (24)
Round 5: 3 sc, inc around (30)
Round 6: 4 sc, inc around (36)
Rounds 7–10: sc in each st around (36) — repeat this round 4 times total
Round 11: 4 sc, dec around (30)
Round 12: 3 sc, dec around (24)
Begin stuffing firmly at this point, adding more fiberfill as you continue shaping the top of the head.
Round 13: 2 sc, dec around (18)
Round 14: 1 sc, dec around (12)
Round 15: dec around (6)
Fasten off, leaving a short tail. Weave the tail through the remaining 6 stitches, pull tight to close the opening, and secure.
Eyes (make 2)
Round 1: 6 sc in MC (6)
Round 2: inc in each st around (12)
Round 3: sc in each st around (12)
Fasten off, leaving a long tail for sewing. Add a small pinch of fiberfill to give the eye a rounded shape before sewing it to the head. If you’re using safety eyes instead of embroidering the pupils, insert the safety eye through the front of the piece before adding stuffing, following the manufacturer’s instructions for that hardware.
Arms (make 2)
Round 1: 6 sc in MC (6)
Rounds 2–5: sc in each st around (6) — repeat this round 4 times total
Fasten off, leaving a long tail for sewing. Add a very small amount of stuffing, or leave the arm mostly flat for a softer, floppier look.
Legs (make 2)
Round 1: 6 sc in MC (6)
Round 2: inc in each st around (12)
Rounds 3–7: sc in each st around (12) — repeat this round 5 times total
Fasten off, leaving a long tail for sewing. Stuff each leg lightly, leaving the last round or two unstuffed so it lies flat against the body when sewn on.
Belly Patch (make 1)
This piece is worked flat and is never stuffed or closed.
Round 1: 6 sc in MC (6)
Round 2: inc in each st around (12)
Round 3: 1 sc, inc around (18)
Fasten off, leaving a long tail for sewing. Set the flat circle aside; it will be sewn directly onto the front of the body as-is.
Assembly and Finishing
Start by weaving in the closing tail from the body piece if you haven’t already, then move on to attaching the smaller pieces in this order:
1. Belly patch: Pin the flat circle to the center front of the body, roughly spanning rounds 6 through 12. Sew around the outer edge using a whip stitch, keeping the edge smooth and tucking the yarn tail inside the body when finished.
2. Eyes: Position the two eye pieces on top of the head, centered over rounds 11–13, spacing them about 4–5 stitches apart on either side of the center top. Sew each one in place around its base, then bring the tail through the head and out near the back to hide it before trimming.
3. Arms: Attach one arm to each side of the body, centered around rounds 7–9, at the widest part of the body shape. Sew around the base of each arm, keeping both at the same height for a symmetrical look.
4. Legs: Attach one leg to each side of the lower front of the body, centered around rounds 9–11, angled slightly outward so the frog can sit upright. Sew firmly around the base of each leg.
5. Face details: Using black embroidery floss, stitch a curved smile beneath the eyes, following the top edge of the belly patch as a natural guide line. If you did not use safety eyes, add a small black French knot or straight stitch to the center of each eye for the pupil.
Once every piece is sewn on, do a final check for any gaps at the seams and reinforce with a few extra stitches if needed. Weave in all remaining tails through the body and trim closely.
Customization Ideas
- Work the belly patch and eyes in a bright accent color like yellow or cream for a classic pond-frog look.
- Add tiny embroidered nostrils above the mouth using two small straight stitches in black floss.
- Crochet a second, smaller belly patch shape (an oval instead of a circle) for a slightly different silhouette.
- Use a solid or speckled green yarn to give the finished frog a more textured, natural appearance.
- Attach a short crocheted chain or i-cord loop to the back of the head if you’d like to turn the frog into a hanging ornament.
Care and Safety
Because this pattern is made with standard acrylic or wool-blend DK or worsted yarn, hand washing in cool water and reshaping while damp is generally the gentlest approach for keeping the fiberfill and stitches intact. Always check the specific care label of the yarn you used, since fiber content affects how it should be washed and dried.
If this frog is intended for a baby or toddler, embroidered eyes are a safer choice than safety eyes or any other small, attachable pieces, since those parts can detach over time and pose a choking risk. This applies even if the piece has been sewn on securely, and no handmade toy should be assumed to be certified safe for children without appropriate testing.
Common Mistakes and Troubleshooting
| Problem | Likely cause | How to fix it |
|---|---|---|
| Body looks lumpy or uneven | Stuffing added unevenly or all at once | Add fiberfill gradually in small pinches and smooth it with your fingers as you go |
| Stitch count is off partway through a round | Missed an increase or decrease, or lost track of the round start | Use a stitch marker consistently and count stitches every few rounds to catch errors early |
| Eyes or belly patch sit off-center | Pieces attached without checking placement first | Pin pieces in place and compare both sides before sewing permanently |
| Visible gaps between sewn pieces | Whip stitches spaced too far apart | Sew with smaller, closer stitches and go around the seam a second time if needed |
| Legs or arms feel loose or wobbly | Not enough stitches used to anchor the piece during sewing | Sew through several layers of the body stitch and secure with a few extra backstitches at the base |
| Body piece looks twisted | Rounds worked without keeping the marker in place | Re-check the stitch marker placement each round and make sure the fabric isn’t rotating as you work |
Frequently Asked Questions
Can I use a different yarn weight than DK or worsted?
Yes, but switching yarn weights will change the finished size of your frog and may require a different hook size to keep the stitches tight enough to hide stuffing.
Do I need to use safety eyes, or can I embroider the eyes instead?
Either option works for this pattern. Embroidered eyes made with black floss are generally the safer choice if the frog will be given to a baby or young child.
Why does my finished frog look different in size than expected?
Finished size depends on your yarn weight, hook size, and personal tension, so two crocheters using the same instructions can end up with slightly different results.
How much should I stuff the body?
Stuff firmly enough that the piece holds its shape without stitches showing through, adding fiberfill gradually rather than all at once for the smoothest result.
Can I make the legs longer for a different pose?
Yes, you can add extra even rounds to the legs before fastening off, just keep in mind this will change the proportions of the finished frog.
What’s the best way to attach the belly patch neatly?
Pin it in place first, then use a whip stitch close to the edge, checking the placement is centered before you begin sewing permanently.
Final Thoughts
You now have everything you need to crochet a friendly little frog from start to finish, including sizing guidance, a full stitch-by-stitch pattern, assembly order, and troubleshooting tips for common amigurumi hiccups. This project is a great way to practice basic shaping, sewing, and simple embroidery details while ending up with a genuinely cute finished piece.
If you give this pattern a try, we’d love to see how your frog turns out and hear about any color or detail changes you made along the way. Feel free to share your progress or questions in the comments, and if you’re looking for more ideas, browse our other amigurumi patterns for additional inspiration for your next project.