Easy Crochet Baby Lovey Pattern
Table of Contents
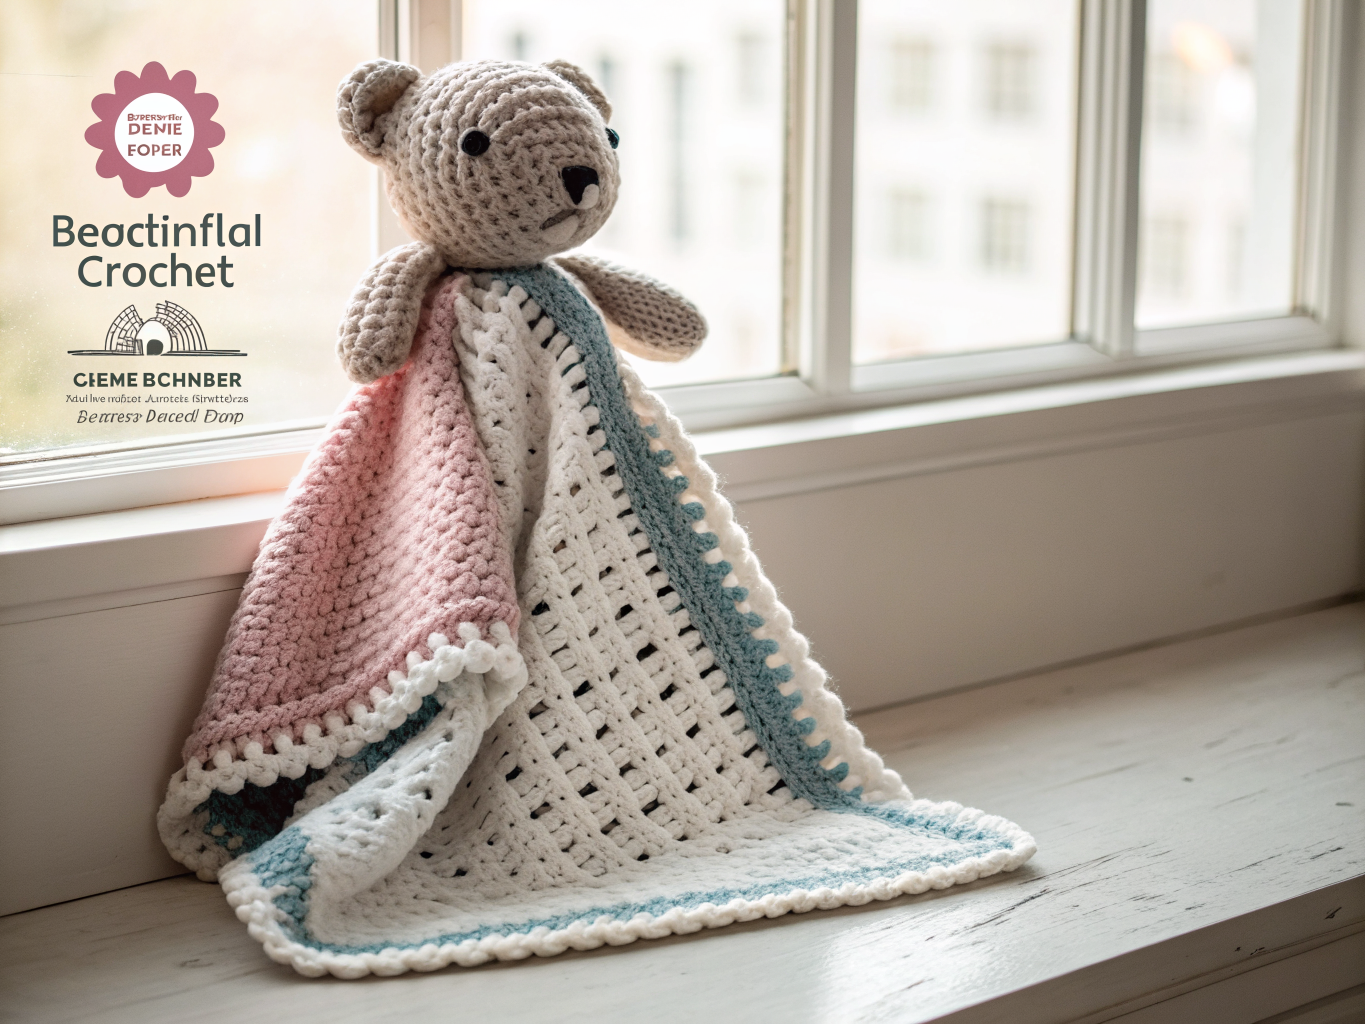
A crochet baby lovey combines a small stuffed animal head with a soft, flat security blanket, creating a comforting piece that many little ones carry, cuddle, and drag around the house. This crochet baby lovey pattern uses simple single crochet shaping throughout, making it approachable for confident beginners and a relaxing project for more experienced crocheters who want a quick, meaningful make.
Because this project is intended for a baby, every design choice favors safety and simplicity over decorative extras. The head is worked in continuous rounds and lightly stuffed, the blanket portion is a flat, unstuffed square, and all facial details are embroidered rather than attached with hardware. Before you start, it helps to be comfortable working in continuous rounds, single crocheting evenly, and using a tapestry needle for sewing pieces together.
Project Overview
| Detail | Information |
|---|---|
| Skill level | Easy / confident beginner |
| Crochet terminology | US terms |
| Construction method | Worked in continuous rounds (head, ears) and turned rows (blanket), then hand-sewn together |
| Yarn type | Soft, washable cotton, bamboo, or acrylic DK weight |
| Hook size | 3–4 mm |
| Finished size | Varies with yarn weight, hook size, and personal tension |
Materials and Tools
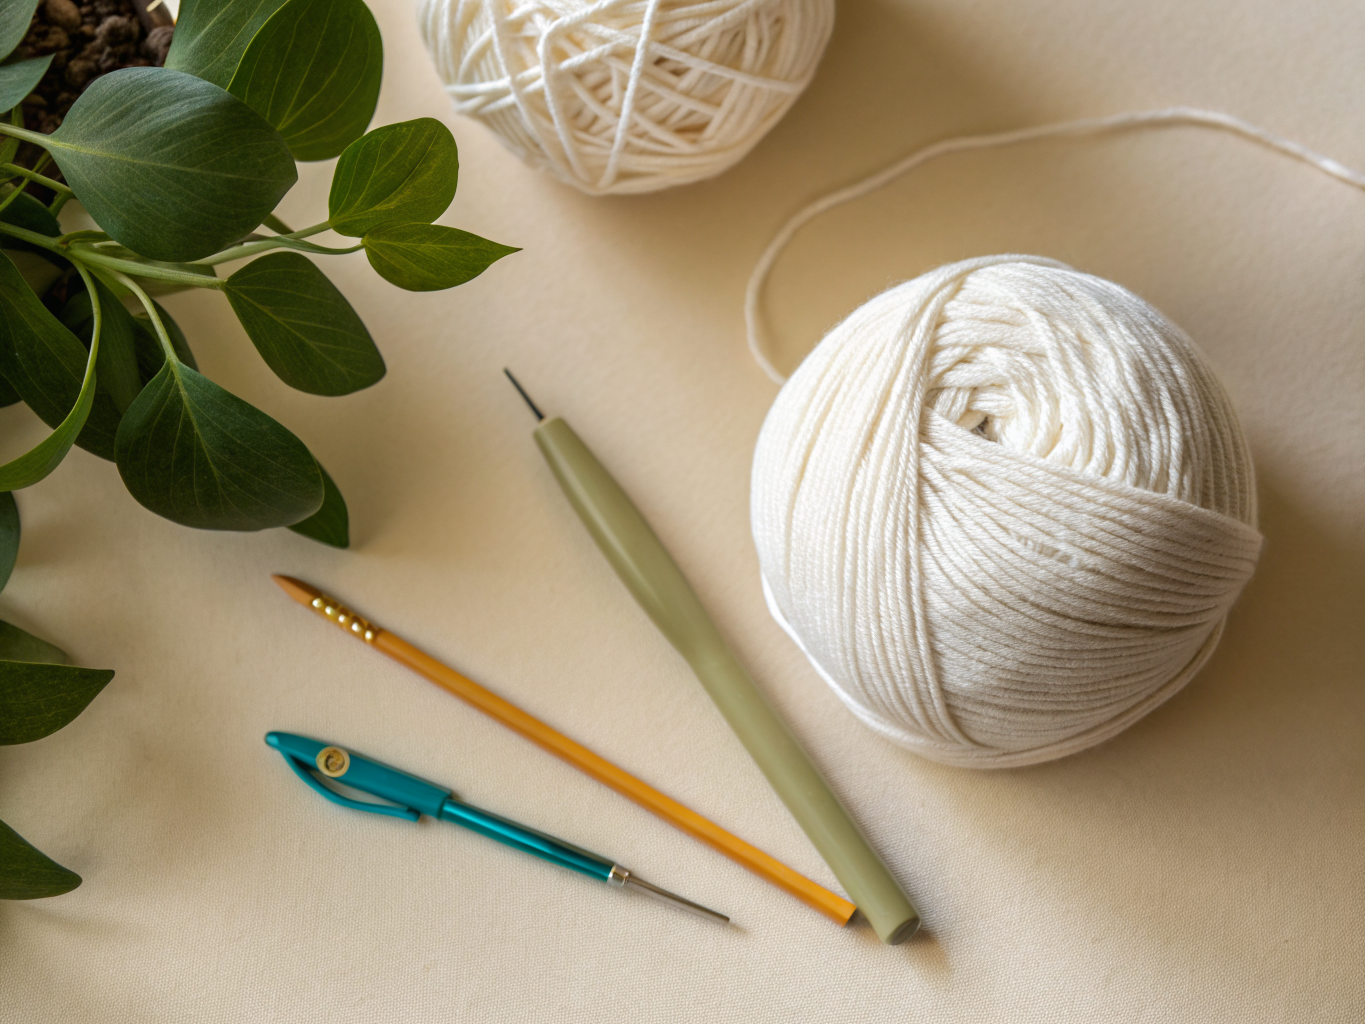
Essential materials:
- Soft, washable cotton, bamboo, or acrylic DK weight yarn
- 3–4 mm crochet hook
- Small amount of polyester fiberfill (for the head only)
- Embroidery floss in one or more colors for the facial details
- Tapestry needle for sewing and weaving in ends
- Stitch markers to track the start of each round
- Scissors
Because this lovey is designed for a baby, it intentionally leaves out safety eyes, buttons, and beads. All facial features are embroidered by hand for a safer finished piece.
Crochet Abbreviations
- ch – chain
- sc – single crochet
- inc – increase (2 sc worked into the same stitch)
- dec – decrease (single crochet 2 stitches together)
- st(s) – stitch(es)
- rnd(s) – round(s)
- sl st – slip stitch
Important Notes Before You Begin
The head and ears are worked in continuous rounds, meaning you do not join or chain at the start of each round. Place a stitch marker in the first stitch of every round and move it up each time so you always know where the round begins and ends.
The blanket square is worked in turned rows, so you will chain 1 and turn at the end of each row before starting the next.
Keep your tension even and slightly firm, especially on the head, so the fiberfill does not show through the stitches. Add the fiberfill gradually as you crochet the final rounds of the head rather than stuffing it all at once, and stop adding stuffing once the piece feels firm but still slightly flexible.
When sewing pieces together, use a whip stitch or mattress stitch through both layers, working in small, even stitches and pulling the yarn gently taut so there are no visible gaps. Always weave in yarn tails several stitches in different directions so they cannot pull loose with regular handling.
Since this project is intended for babies, avoid using any small, detachable, or hard components. Embroidered features are generally considered a safer choice than plastic or glued-on eyes because they cannot be pulled off and swallowed.
Crochet Pattern Instructions
Blanket
Make 1.
Chain 25.
Row 1: Sc in 2nd ch from hook and in each ch across (24 sc). Turn.
Rows 2–24: Ch 1, sc in each st across (24 sc). Turn.
Fasten off after Row 24 and weave in the starting tail.
Border: Join yarn in any corner stitch. Work 1 sc evenly in each stitch along the top and bottom edges and 1 sc in each row along the two side edges, working 3 sc into each of the 4 corner stitches to keep the edge flat and square. Join with a slip stitch to the first sc. The exact stitch total will vary slightly depending on your row gauge, but the piece should lie flat without cupping or rippling.
Fasten off and weave in the tail.
Head
Make 1.
Round 1: 6 sc into a magic circle (6).
Round 2: 2 sc in each st around (12).
Round 3: *(sc, inc) around (18).
Round 4: *(2 sc, inc) around (24).
Round 5: Sc in each st around (24).
Round 6: Sc in each st around (24). Begin adding fiberfill now, a little at a time, shaping it into a smooth round.
Round 7: *(2 sc, dec) around (16).
Round 8: *(dec) around (8). Finish stuffing the head firmly but not overpacked.
Fasten off, leaving a long tail. Thread the tail through the remaining 8 stitches, pull gently to close the opening, and secure with a few stitches before weaving in.
Ears
Make 2.
Round 1: 6 sc into a magic circle (6).
Round 2: 2 sc in each st around (12).
Fasten off, leaving a long tail for sewing. Do not stuff the ears; they remain flat, small discs.
Assembly and Finishing
Fold each ear disc gently in half to create a slightly cupped shape, then pin it to the head at Round 3, spacing the two ears evenly apart on either side of the center front. Sew each ear in place using the leftover tail, catching both layers of the fold so the ear holds its shape.
Center the closed end of the head (Round 8) along the middle of one edge of the blanket, roughly between stitches 10 and 14 of the final row. Pin it in place with the front of the head facing up, then sew around the base of the head using a whip stitch, working through both the head and the blanket edge for a secure hold.
Using embroidery floss and a tapestry needle, stitch two small eyes centered on Round 4 of the head, spaced evenly apart on either side of center front. Add a small embroidered nose just below and between the eyes, and a simple mouth beneath the nose. Weave in all embroidery tails securely on the inside of the head before setting the lovey aside to check that no ends are loose.
Customization Ideas
- Work the head and ears in a contrasting color from the blanket for a playful two-tone look.
- Change the embroidered face shape slightly, such as a small smile or simple whiskers, to suggest a different animal.
- Add a few embroidered dots, stripes, or a small patch of color on the blanket square using the same floss used for the face, keeping all details stitched rather than attached.
- Try a variegated or subtly speckled DK yarn for the blanket portion while keeping the head a solid color for contrast.
Care and Safety
Because this lovey is worked in washable cotton, bamboo, or acrylic yarn, it can generally be laundered according to the yarn label’s care instructions; gentle washing and laying flat to dry will help the stitches and stuffing hold their shape longest.
Embroidered eyes, nose, and mouth are used throughout this pattern because they cannot be pulled loose the way plastic safety eyes, buttons, or beads can, which lowers the risk of small parts becoming a choking hazard. Even so, handmade items are not certified safety products, and any lovey should be checked periodically for loose stitches, thinning yarn, or areas where stuffing may be shifting.
Common Mistakes and Troubleshooting
| Problem | Likely cause | How to fix it |
|---|---|---|
| Head looks lumpy or uneven | Fiberfill added unevenly or in large clumps | Add small amounts of stuffing gradually, smoothing it with your fingers before continuing to crochet |
| Blanket edges ripple or cup | Too many or too few stitches worked in the border corners | Rework the border, keeping exactly 3 sc in each corner stitch and 1 sc in each stitch or row along the sides |
| Stitch count is off partway through the head | A stitch marker slipped or a stitch was missed | Recount the round, move the marker back to the true first stitch, and adjust before starting the next round |
| Ears look flat instead of cupped | Ear disc sewn on without folding | Gently fold the ear in half before pinning and stitch through both layers at the fold |
| Visible gaps between the head and blanket | Sewing stitches spaced too far apart or yarn not pulled snug | Re-sew with smaller, closer stitches and pull the yarn gently taut as you go |
| Facial features look uneven | Eyes or mouth stitched without marking placement first | Use pins or removable stitch markers to test placement before embroidering |
Frequently Asked Questions
Can I make the lovey blanket bigger or smaller?
Yes. Simply chain more or fewer stitches at the start and work additional or fewer rows, keeping the same stitch count consistent across each row you add.
What yarn weight works best for this project?
A DK weight cotton, bamboo, or acrylic yarn paired with a 3–4 mm hook gives a soft, washable result, though your exact gauge and finished size will depend on your personal tension.
Is it safe to use safety eyes instead of embroidery?
This pattern intentionally avoids safety eyes, buttons, and beads because detachable parts can present a choking risk for babies. Embroidered features are the safer choice for this type of project.
Why does my head look smaller or larger than expected?
Finished size varies with yarn weight, hook size, and how tightly or loosely you crochet, so slight differences between makers are normal.
Can I felt or block the blanket square?
Light steam blocking can help the blanket square lie flatter, but always follow the care instructions for your specific yarn fiber first.
How much yarn do I need?
Yardage will depend on your chosen yarn weight, hook size, and how large you make the blanket, so it’s best to have an extra skein on hand rather than relying on an exact amount.
Final Thoughts
You now have a complete, easy-to-follow method for crocheting a baby lovey from start to finish, including a stuffed head, simple ears, and a flat, soothing blanket square joined together with secure seams and embroidered details. With just a few basic stitches repeated thoughtfully, this project turns into a soft, huggable piece perfect for gifting or keeping close to home.
If you give this pattern a try, we’d love to see how your lovey turns out and hear which colors or small details you chose to make it your own. Feel free to leave a comment with your experience, and browse more cozy ideas in our baby crochet collection or for extra inspiration, take a look at our crochet idea boards on Pinterest.