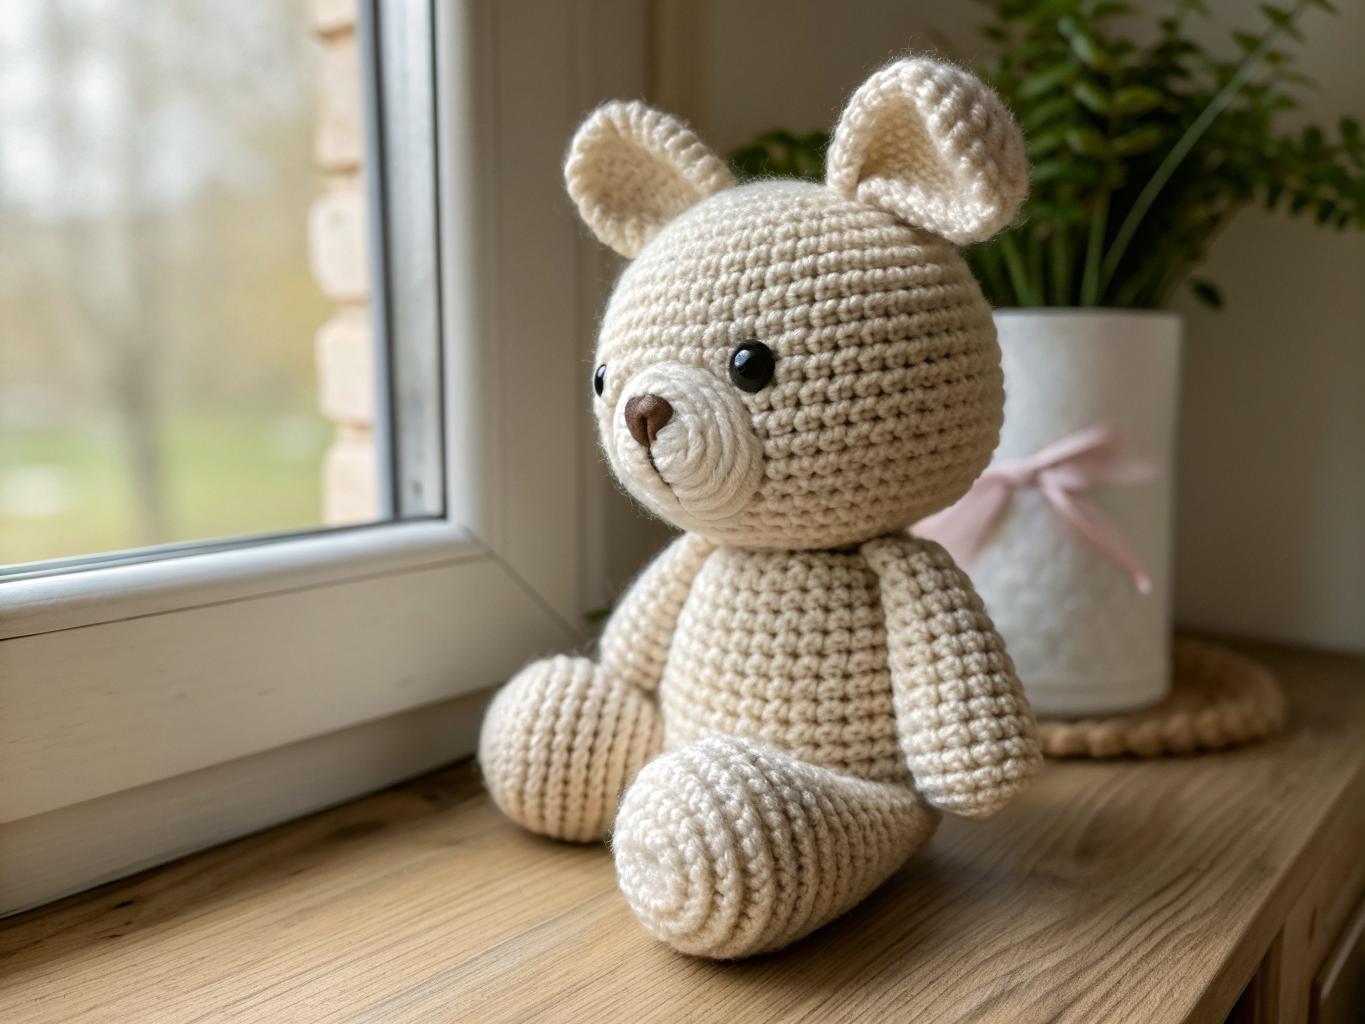
12 No Sew Amigurumi Patterns for Quick Projects
Table of Contents
Amigurumi doesn’t have to mean hours of sewing seams and awkward hand-stitched limbs. Many of the cutest crochet plushies are built almost entirely in one continuous piece, worked in the round from the nose to the tail, so the only sewing you do is closing a small stuffing opening or attaching one or two simple pieces. This makes them faster to finish and much friendlier for anyone who finds mattress-stitch seams frustrating.
This roundup gathers twelve no sew amigurumi patterns and one-piece project ideas, along with guidance on skill level, yarn choices, and simple customization options. Whether you’re a beginner looking for a low-stress first plushie or an experienced maker who just wants to skip the sewing step, you’ll find a project style that fits your time and skill level.
How to Choose the Right Project
Before picking a project, think about how much shaping you’re comfortable with. One-piece designs rely on increases and decreases worked directly into the main body to create ears, snouts, or tails, which means the stitch counts change more often than in a multi-piece animal.
If you’re newer to amigurumi, look for projects described as beginner-friendly with simple round shapes. If you enjoy following more detailed shaping, look for designs with added texture, like ridges, folded ears, or a segmented body.
No-Sew Crochet Animal Ideas
1. One-Piece Amigurumi Bunny
A rounded body-and-head design where long ears are worked as an extension of the head rather than sewn on separately. This style suits beginners because the shaping is gentle and mostly relies on basic increase and decrease rounds. DK or worsted yarn in a soft neutral or pastel color works well, and a small embroidered nose keeps the face simple. You can customize it with a contrast-color tail tuft or a small fabric bow tied around the neck instead of stitched features.
2. No-Sew Amigurumi Whale
A whale shape is naturally suited to one-piece construction because the body, tail flukes, and fins can all be shaped through directional increases rather than separate pieces. This is a good intermediate project since the tail shaping requires some attention to stitch placement. Worsted yarn in blue or gray tones gives the classic look, and a lighter belly section can be added with a color change rather than a separate sewn-on patch.
3. Single-Piece Amigurumi Bear
A rounded bear worked from the top of the head down through the body, with ears formed by small worked-in bobbles rather than sewn circles. This suits beginners and older children learning to crochet their first amigurumi. Worsted yarn holds shape well for the rounded head. Customize with a scarf made from a short chain-and-single-crochet strip, no sewing required.
4. No-Sew Crochet Owl
Owls are a popular no-sew choice because the wings and ear tufts can be shaped using simple picot-style stitches worked directly into the body rather than attached afterward. This is a beginner-to-intermediate project depending on how much wing detail is added. A tapestry needle is still needed to weave in color-change tails when using multiple yarn colors for the face and belly pattern.
5. One-Piece Amigurumi Fox
The fox’s pointed ears and long tail are formed through directional shaping rather than separate crocheted pieces, making this a satisfying single-piece build. It suits confident beginners who have already made a round amigurumi head and want to try more shaping. Orange and white worsted yarn is a classic combination, and the tail tip can be changed to a contrast color for a fun customization.
6. No-Sew Crochet Turtle
A turtle shell and body can be worked as one continuous piece, with the legs formed as short worked extensions rather than separate limbs. This is one of the simpler no-sew designs and works well for beginners. DK yarn in a soft green or blue gives a tidy, compact shell. A simple embroidered spiral or striped color pattern on the shell adds personality without extra sewing.
7. One-Piece Amigurumi Cat
A sitting cat shape with ears worked directly into the head rounds and a curled tail formed as a chained extension. This suits intermediate beginners comfortable with basic increases and decreases. Worsted yarn gives good stitch definition for the ears. Customize with embroidered stripes or a small crocheted collar chain.
8. No-Sew Amigurumi Snail
A snail is an excellent low-sewing project because the shell can be worked as a flat spiral that’s then attached to the body during the final closing round, meaning there’s little to no separate seaming. This is beginner-friendly and quick to finish. DK yarn works nicely for the smaller shell spiral. Try two contrasting colors for the shell rings as a simple customization.
9. One-Piece Amigurumi Hedgehog
The hedgehog’s rounded body and pointed snout are shaped through the same continuous piece, and simple loop or picot stitches can suggest spines without adding separate pieces. This is an intermediate project because of the added stitch texture. Worsted yarn in brown or tan tones works best for defined spine texture. A lighter-colored snout section can be added with a color change.
10. No-Sew Crochet Ladybug
A ladybug’s domed body and small head are worked as one piece, with the wing division created using embroidery rather than a sewn seam. This is a great beginner project because the shape is simple and compact. DK yarn in red and black gives strong color contrast. Customize the number and placement of embroidered spots for a playful variation.
11. One-Piece Amigurumi Penguin
The penguin’s body, head, and small wings are worked continuously, with the wings shaped as flat extensions rather than sewn-on pieces. This suits confident beginners. Worsted yarn in black, white, and a small amount of orange or yellow for the beak works well. A simple embroidered beak keeps the face detail low-effort.
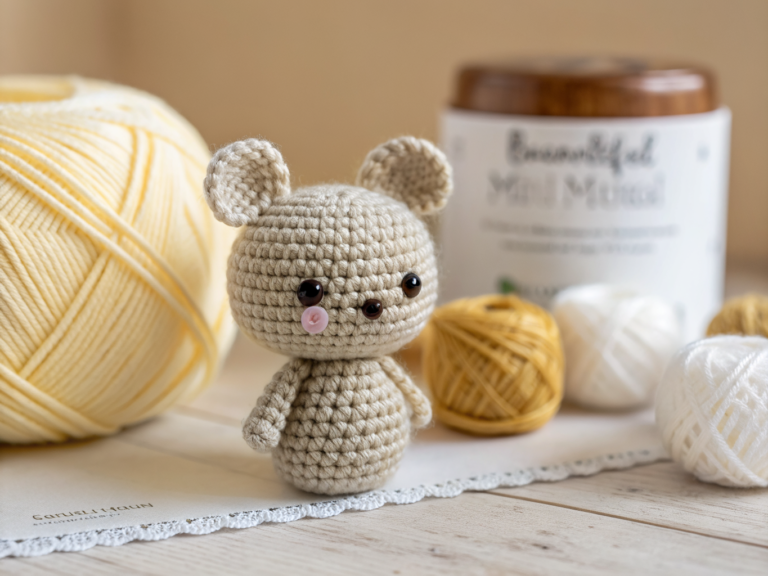
12. No-Sew Amigurumi Mouse
A mouse with rounded ears worked directly into the head and a thin crocheted or braided tail attached at the final closing round is one of the quickest projects in this list. It’s ideal for beginners who want a fast, low-sewing result. DK yarn keeps the finished mouse small and tidy. Try adding a tiny embroidered heart or contrast-color nose for extra charm.
For more finished-project inspiration and color pairing ideas, browsing a dedicated amigurumi inspiration board can help you visualize how different yarn colors and finishing touches come together.
Materials and Tools
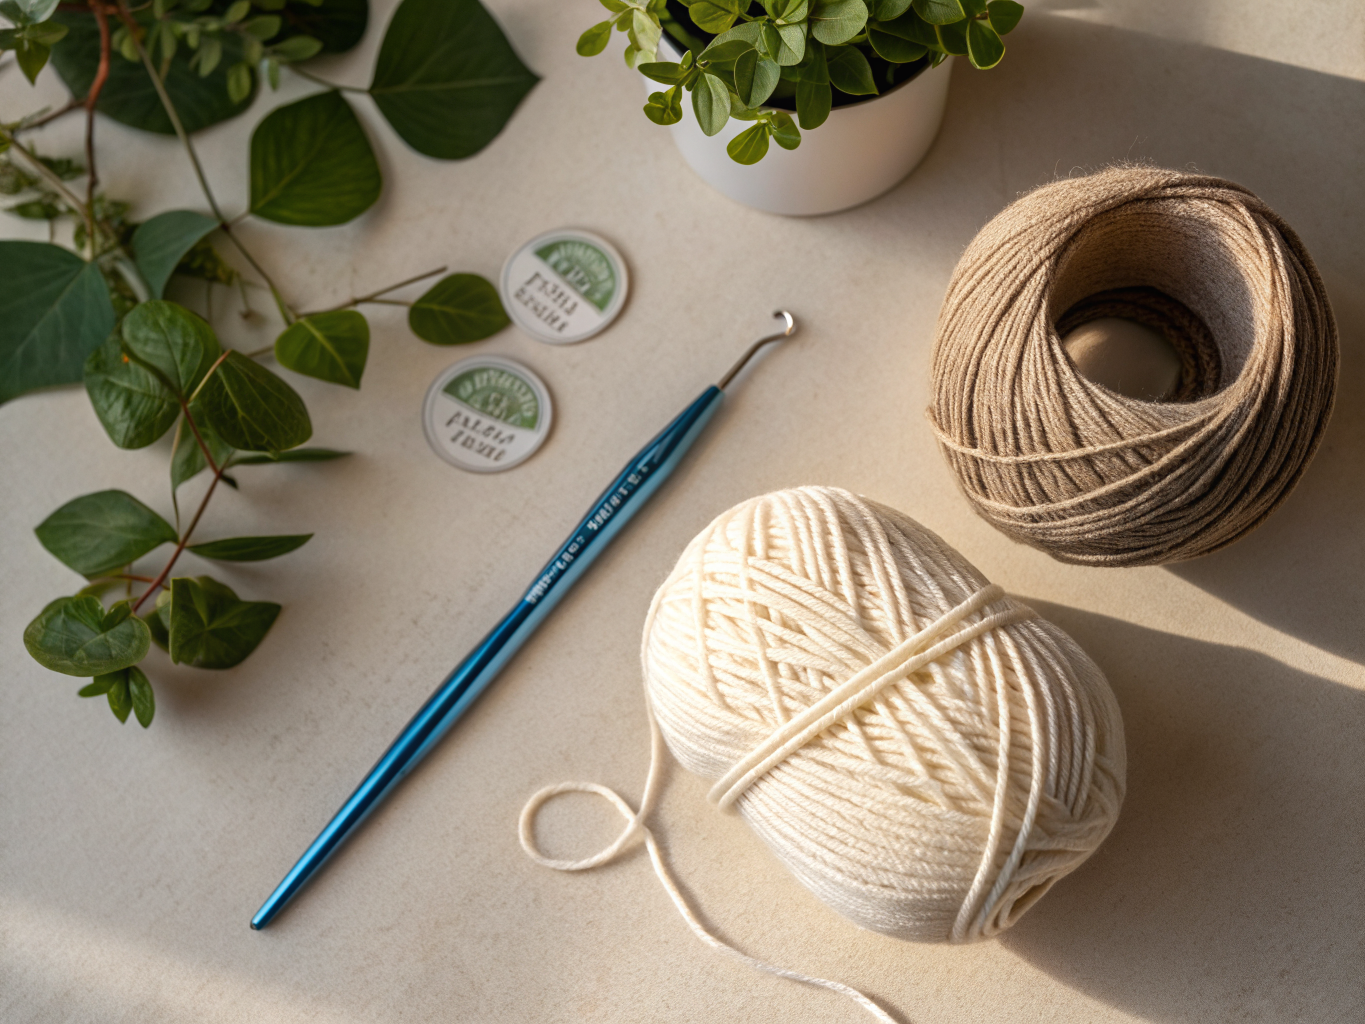
Essential materials:
- DK or worsted weight yarn in your chosen project colors
- A 2.5–4 mm crochet hook, sized to match your yarn weight
- Polyester fiberfill for stuffing
- A stitch marker to track the start of each round
- Scissors
- A tapestry needle for weaving in the final tail
Optional materials:
- Embroidery floss for facial features
- Safety eyes, if you prefer them over embroidered details
Yarn and Hook Considerations
DK and worsted weight yarns are both good choices for no-sew amigurumi because they hold their shape well and are forgiving of small tension inconsistencies, which matters more in one-piece designs since there are fewer opportunities to hide uneven stitches inside a seam.
A smaller hook relative to the yarn weight, generally within the 2.5–4 mm range, helps create a tighter fabric that holds stuffing without gaps. If your stitches look loose or fiberfill peeks through, try dropping down half a millimeter in hook size rather than changing yarn weight.
Smooth, non-splitting yarn is easier to work with for the increase and decrease clusters that create ears, snouts, and tails directly in the body, since these areas often involve stitching into tight spaces.
Tips for Better Results
Use a stitch marker on the first stitch of every round and move it up as you go. This is especially important in one-piece designs, since losing track of the round start can throw off where a shaping section begins.
Stuff gradually as you crochet rather than waiting until the piece is fully closed. Adding small amounts of fiberfill a few rounds before closing makes it much easier to distribute stuffing evenly and avoid lumps.
When a pattern calls for a color change partway through a continuous piece, change colors on the last pull-through of the final stitch in the old color, then continue with the new color on the next stitch. This keeps the color transition clean without extra sewing.
Care and Safety
Most DK and worsted acrylic or cotton-blend yarns can be surface cleaned with a damp cloth; check any yarn label for specific washing guidance before laundering a finished piece.
If a project is intended for a baby or young child, embroidered eyes and features are generally a safer choice than safety eyes or other small attached plastic parts, since detachable pieces can present a choking hazard. A handwritten or handmade item should never be assumed to be certified safe for children; use your judgment about the recipient’s age and supervision needs.
Common Mistakes and Troubleshooting
| Problem | Likely cause | How to fix it |
|---|---|---|
| Stitch count drifts higher or lower than expected | Missed or accidental extra stitch during a round | Recount after every round while using a stitch marker, and rip back to the marker if the count is off |
| Visible stuffing through the fabric | Hook too large for the yarn weight, or stitches worked too loosely | Size down the hook slightly or tighten tension on each stitch |
| Closing round leaves a small hole | Final decrease round not pulled tight enough | Cinch the last few stitches firmly before weaving in the tail |
| Ears, snout, or tail look lopsided | Shaping increases worked into the wrong stitches | Use stitch markers to mark shaping points before starting each section |
| Color change looks messy | Color switched mid-stitch instead of on the last pull-through | Always change color on the final yarn-over of the last stitch in the old color |
Frequently Asked Questions
Are no-sew amigurumi patterns easier than traditional multi-piece designs?
They can be, since there’s less seaming, but one-piece designs often involve more frequent increases and decreases within a single continuous round, so the shaping itself may require closer attention.
Can I substitute DK yarn for worsted weight in these projects?
Yes, but expect a difference in finished size and stitch density. Switching yarn weight without adjusting hook size can leave the fabric too loose or too tight to hold stuffing well.
Why does my one-piece amigurumi come out a different size than expected?
Finished size depends on your yarn weight, hook size, and personal tension, so results vary from maker to maker even when following the same stitch counts.
Do I need safety eyes, or can I embroider the face instead?
Either option works for adult use, but embroidered features are the safer choice for anything intended for babies or young children, since safety eyes are a detachable small part.
How do I keep track of rounds in a continuous one-piece design?
A stitch marker placed at the start of each round and moved up every time is the most reliable way to avoid losing your place during shaping sections.
Can these designs be made without fiberfill?
Fiberfill gives amigurumi its rounded shape and firmness, so skipping it will result in a flatter, less structured plushie.
Final Thoughts
No-sew and one-piece amigurumi designs are a practical way to finish a plushie without spending extra time on seaming, while still ending up with a shape that feels intentional and well-formed. From a simple bunny to a more detailed hedgehog or fox, there’s a project style here for nearly every skill level.
Pick the idea that matches your current comfort with shaping, gather your yarn and hook, and give one of these designs a try. If you finish a project you’re happy with, share a photo or leave a comment about how it turned out, and feel free to explore more crochet animal patterns for your next quick make.