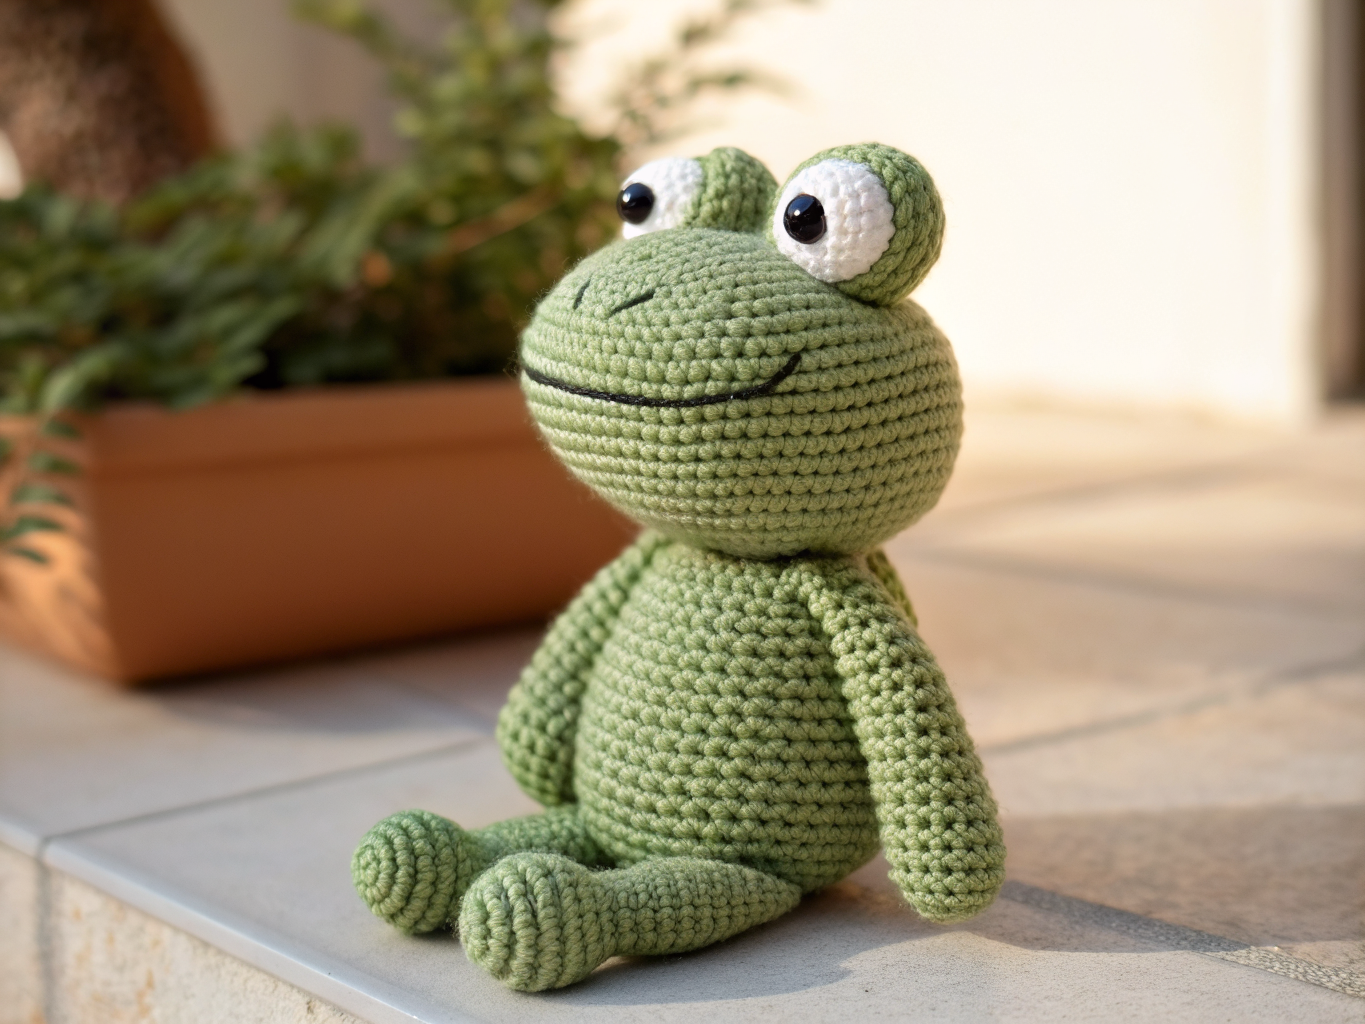
Cute Crochet Frog Amigurumi Pattern for Beginners
Table of Contents
Crochet Frog Amigurumi Pattern for Beginners
Ever wanted to make an amigurumi that looks friendly, sits up on its own, and doesn’t require a dozen tiny pattern pieces? A frog is one of the easiest amigurumi shapes to master, and it’s forgiving if your stitches aren’t perfectly even yet.
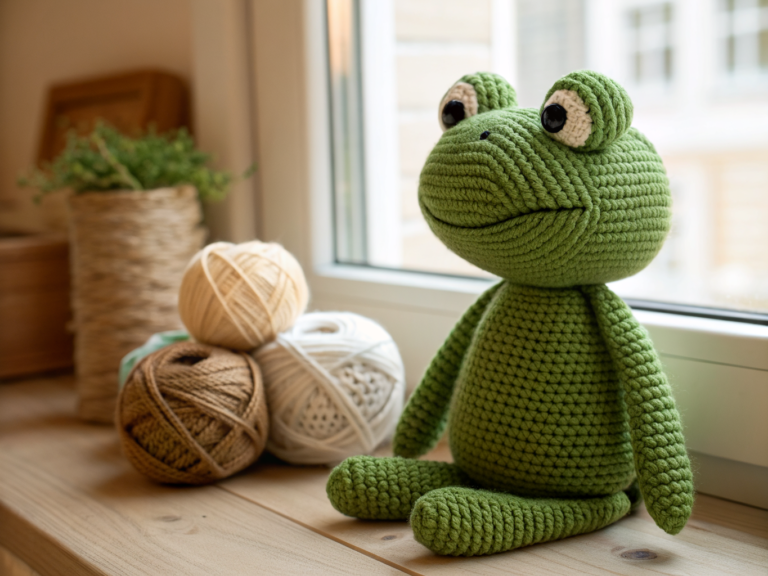
This 4 crochet frog amigurumi pattern walks you through a small, beginner-friendly plush frog from the first chain to the final stitch of embroidery. You’ll learn the shaping for a rounded body and head, simple leg construction, and two options for the face so you can choose what feels right for your skill level and the frog’s future owner.
Project overview
| Detail | Information |
|---|---|
| Skill level | Beginner |
| Terminology | US crochet terms |
| Yarn type/weight | DK or worsted weight, green plus small amounts for belly and details |
| Hook size | 3–3.5 mm |
| Construction | Worked in continuous rounds (amigurumi style), pieces assembled and sewn together |
| Finished size | |
| Gauge |
Gauge isn’t critical for amigurumi success the way it is for garments, but a tighter tension helps keep fiberfill from peeking through your stitches.
Why you’ll love this project
This mini crochet frog uses only a handful of amigurumi shaping techniques, so it’s a smart next project after you’ve learned single crochet and basic increases. The rounded body and simple legs mean fewer pieces to sew together compared to more detailed animal amigurumi. It also uses small amounts of yarn, making it a great stash-buster for leftover green DK or worsted skeins.
Materials
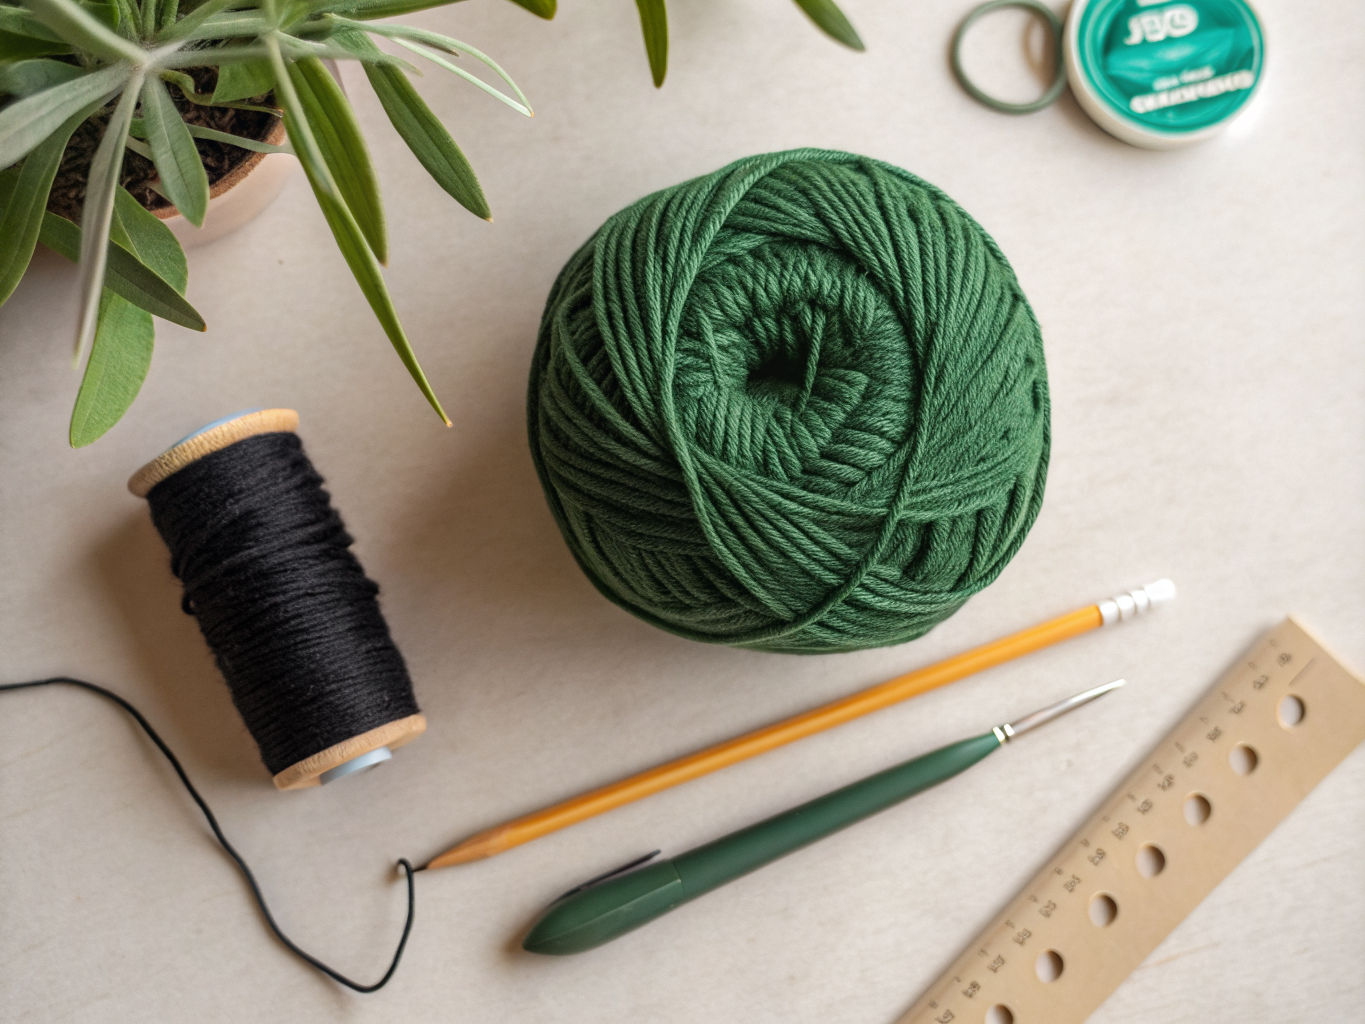
- Green DK or worsted weight yarn (main color, for body, head, and legs)
- Small amounts of contrasting yarn for the belly and facial details
- 3–3.5 mm crochet hook
- Polyester fiberfill
- Stitch markers
- Tapestry needle
- Scissors
- Black embroidery floss
- Optional safety eyes (see safety note below)
Safety note: if this frog plush is intended for a baby or very young child, skip the safety eyes and use embroidered facial details instead. Embroidered eyes and mouth are the safer choice for any recipient who might mouth or handle the toy without supervision.
Crochet abbreviations
- ch – chain
- sl st – slip stitch
- sc – single crochet
- inc – increase (2 sc in same stitch)
- dec – decrease (single crochet 2 stitches together)
- st(s) – stitch(es)
- rnd – round
- FO – fasten off
For a full reference on standard abbreviations, see the Craft Yarn Council’s crochet abbreviations guide.
Before you begin
This easy frog crochet pattern is worked in continuous rounds without joining, which is standard for amigurumi. Place a stitch marker in the first stitch of each round and move it up as you go so you don’t lose track of where rounds begin.
Use a hook one size smaller than the yarn label recommends. A tighter fabric keeps stuffing from showing between stitches and gives your frog plush crochet a firmer shape.
Switch colors for the belly patch by dropping the working color and picking up the new one on the last pull-through of the previous stitch. Weave in color-change ends as you go to save finishing time later.
Pattern instructions
Body and head (worked as one piece)
Rnd 1: Ch 2, 6 sc in second chain from hook. (6)
Rnd 2: Inc in each st around. (12)
Rnd 3: Sc, inc repeat around. (18)
Rnd 4: Sc 2, inc repeat around. (24)
Rnd 5–8: Sc in each st around, no increases. (24)
Rnd 9: Sc 2, dec repeat around. (18)
Rnd 10: Sc, dec repeat around. (12)
Begin adding fiberfill once the piece is deep enough that stuffing won’t fall back out.
Rnd 11: Dec around. (6)
Stuff firmly, then fasten off and close the opening using the tapestry needle.
Eyes (make 2)
Rnd 1: Ch 2, 6 sc in second chain from hook. (6)
Rnd 2: Inc in each st around. (12)
FO, leaving a long tail for sewing. If using safety eyes, insert them before closing the eye pieces, following the manufacturer’s instructions, and only for recipients where safety eyes are appropriate.
Legs (make 4)
Rnd 1: Ch 2, 6 sc in second chain from hook. (6)
Rnd 2–5: Sc in each st around. (6)
Stuff lightly, leaving the top open and flat for easy attachment. FO, leaving a tail for sewing.
Belly patch
Rnd 1: With contrasting yarn, ch 2, 6 sc in second chain from hook. (6)
Rnd 2: Inc in each st around. (12)
Rnd 3: Sc, inc repeat around. (18)
FO, leaving a long tail for sewing the patch to the front of the body.
Assembly and finishing
Pin the belly patch to the front of the body before sewing so you can check placement and adjust if it looks off-center. Sew it in place using a whip stitch and the tapestry needle.
Attach the two front legs slightly below the head and the two back legs near the base of the body, spacing them evenly so the frog sits upright without tipping.
Sew the eye pieces to the top of the head, close together, so the frog has that classic wide-eyed look.
Use black embroidery floss to add a curved smile and small nostril dots. A simple upward curve works well for a friendly expression, and you can always unpick and re-embroider if the first attempt isn’t quite right.
Weave in all remaining yarn tails securely before setting the finished amigurumi frog pattern aside.
Customization ideas
Swap the green main color for a bright color-blocked look, or use a variegated yarn for a poison-dart-frog effect. A smaller hook and thinner yarn will shrink the whole project down to a true mini crochet frog for keychains or ornaments. You can also add a small crochet lily pad base using flat rounds in a contrasting green.
Care and safety
Hand wash the finished frog plush in cool water with mild soap and reshape it while damp, then let it air dry fully before handling again. Avoid machine washing, since agitation can distort the stuffing and loosen embroidered details over time.
If you used safety eyes, check them periodically for tightness and never leave the toy unsupervised with infants or very young children. For any baby-safe version, stick with embroidered eyes and mouth only, and remove any detachable decorative elements.
Common mistakes and fixes
| Mistake | Likely cause | Fix |
|---|---|---|
| Visible gaps between stitches | Hook too large for yarn weight | Drop down to a smaller hook for tighter tension |
| Frog won’t sit upright | Legs attached too high or too close together | Reposition legs lower and space them wider apart |
| Lumpy body shape | Uneven or insufficient stuffing | Add fiberfill in small pieces, working it evenly with fingers |
| Stitch count drifts off | Lost track of round start | Use a stitch marker and move it up every round |
Frequently asked questions
What size hook works best for a mini crochet frog?
A 3–3.5 mm hook paired with DK or worsted weight yarn gives good stitch definition for amigurumi. Smaller hooks create denser, smaller finished pieces.
Can I make this frog without safety eyes?
Yes. Embroidered eyes using black floss are a fully suitable substitute and are the recommended option for any toy intended for babies or toddlers.
How much yarn do I need?
Exact yardage depends on your gauge and finished size. [EDITOR REVIEW: verify before publishing] with a small test swatch before starting.
Why is my frog’s head floppy?
This usually means the stuffing is too loose or the stitches are too loose. Stuff firmly in small amounts and check your tension against the recommended hook size.
Can I turn this into a keychain or ornament?
Yes. Reduce the yarn weight and hook size, and consider skipping the legs for a simplified hanging version.
Final thoughts
This easy frog crochet pattern gives you a cheerful, beginner-friendly amigurumi with just a few simple pieces to shape and sew together. Save this pattern for your next stash-busting project, and if you enjoyed making it, browse more amigurumi ideas in our amigurumi category for your next crochet project.