
Bobble Stitch Crochet: How to Master This Textured Stitch
Table of Contents
Bobble stitch crochet creates a rounded raised bump by grouping unfinished double crochets in one stitch and closing them together. That small bump can add texture to a plain piece of fabric and give a familiar project a fresh look.
A partial double crochet is a double crochet worked partway and left unfinished on the hook so it can be closed together with other partial stitches. Your pattern sets the number of partial stitches, so you can follow its instructions without guessing. Start small if the hook movement feels new. A few practice stitches can help you get a feel for the loops before you work into your project yarn. The method suits home projects where you want raised texture, and learning it can be a fun way to try a new stitch. This tutorial covers the basic construction and useful checks, without asking you to master several new skills at once. A small swatch is a low-pressure way to practice before adding bobbles to a larger
project.
How Bobble Stitch Crochet Builds Raised Texture
The defining move is to leave several double crochets unfinished in one stitch and close their loops together. A partial double crochet stops before its final yarn pull, keeping its last loop on the hook. That shared closure gathers the stitch tops into a rounded bump.
A bobble commonly uses 3-5 partial double crochets, with the pattern setting the exact number. For example, a 3-partial-double-crochet bobble has 4 loops on the hook before closure. The gathered stitches create the crochet bobble stitch’s raised shape, while the surrounding fabric holds its base.
Patterns may call similar textured stitches a bobble, cluster, or puff. The names can vary, so the written special-stitch instructions matter more than the label. In U.S. crochet terms, “bo” means bobble, as listed in the Craft Yarn Council abbreviation list.
Follow the pattern’s special-stitch definition when names such as bobble, cluster, and puff seem to overlap.
A bobble uses unfinished double crochets closed together; a popcorn stitch uses completed double crochets. That difference changes how you form the raised texture, even when the stitches look alike from a distance. A double-bobble name does not promise one standard method across all patterns.
Check the pattern’s own definition before making a double bobble. The label alone cannot tell you how many partial stitches to work or how to close them. This matters when a repeat depends on a particular stitch count, because a different construction may change its shape.
The Craft Yarn Council’s U.S. abbreviations help you read common shorthand, but special-stitch terms still vary by pattern designer. Before starting a pattern, check its special-stitch section for the exact number of partial double crochets. That definition gives you the construction to follow.

🧶 Crochet Essentials You’ll Love
Explore useful supplies for your next project
As an Amazon Associate, I earn from qualifying purchases.
How to Make a 4-DC Bobble Step by Step
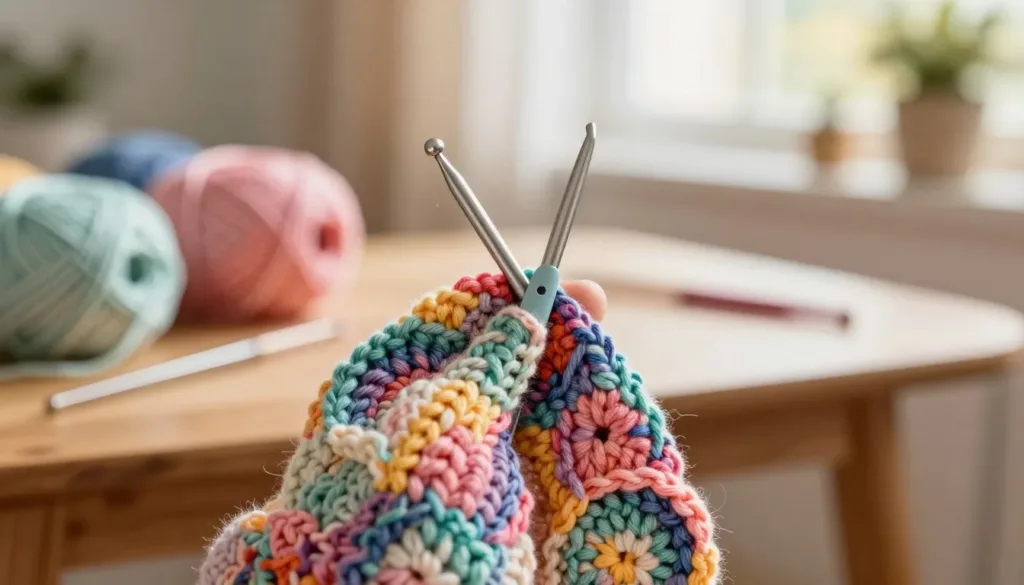
For a 4-dc bobble, work four partial double crochets into one stitch, then close the five loops together. Count as you go so the grouped stitches stay easy to track. The steps below show the basic hand movement.
Keep all four partial double crochets in the same target stitch. Work the following sequence slowly on a practice swatch:
- Yarn over and insert the hook into the target stitch.
- Yarn over and pull up a loop.
- Yarn over and pull through 2 loops, leaving the partial double crochet unfinished.
- Repeat that partial double crochet in the same stitch until you have four.
- Yarn over and pull through all 5 loops on the hook.
Each partial stitch adds a loop that stays on the hook. Four partial double crochets leave five loops before closure. A 5-partial-double-crochet version leaves six loops, then closes through all six.
A pattern may tell you to work a single crochet after closing the bobble. That stitch can lock the bobble in place, so include it when the instructions call for it. The same basic construction works in rows and rounds, though directions for the first bobble can differ.
Bobble stitch crochet for beginners is easiest to practice one stitch at a time on a swatch. A YouTube bobble stitch crochet tutorial can show the hook movement; choose a right-handed or left-handed demonstration to match your own hand.
Watch how the yarn pull moves through each set of loops. The pull loops hook motion can feel crowded at first, especially when the loops sit tightly together. Check that the hook passes through the full group before pulling the yarn through.
Try a few times with a smooth yarn and steady pace before adding the stitch to a finished piece. If the first attempt feels crowded, pause after each partial double crochet and count the loops before closing.
Where Bobbles Sit and How to Fix Them
A bobble’s raised face usually appears on the side opposite the one you are working from. When you work from the wrong side, bobbles commonly protrude on the right side. Guide the bump toward the right side as you form a 4-dc bobble.
Small changes in loop space, yarn weight, and spacing can make the texture clearer. Use these checks if a bobble lies flat or feels hard to close:
- Side orientation: Push the bobble toward the right side as you work the 4-dc version.
- Tight loops: If the hook struggles to pass through, loosen the stitches slightly while keeping your tension consistent.
- Yarn weight: Worsted-weight and bulky yarns make more pronounced bobbles than finer yarns.
- Spacing: Leave at least 1 stitch between neighboring bobbles to help each bump stand apart.
On a row, the fabric’s front is the right side and its back is the wrong side. The bumps may face away from your working side, so check the fabric after turning it. A gentle push can help the bump settle without changing the stitch count.
A tight yarn pull through loops can make closure difficult, but loosening only the grouped loops is enough. Keep the rest of your tension even. For fit-sensitive projects, a crochet baby bonnet pattern also benefits from a gauge swatch and measured stitch count.
Thicker yarn adds more visible relief, while finer yarn makes a subtler texture. Placement matters too: bobbles packed too close can lose some of their three-dimensional effect. Give each one breathing room within the pattern repeat.
Look at the fabric from both sides before deciding a bump is misplaced. If it sits on the wrong side, use the row direction and the pattern’s turning instructions to guide your next attempt. If the bump still looks flat, check that neighboring bobbles have enough room rather than adding more partial stitches automatically.
Choose a Bobble Blanket Pattern and Adjust Its Size
A 35 in x 35 in finished size is one concrete option for a bobble blanket. The free Bobble Lines Baby Blanket starts with 120 chains and uses a size repeat of a multiple of 7, plus 8. Follow its own repeat when you change the width.
Use the chosen pattern’s stitch repeat, not another pattern’s starting chain. The Bobble Lines design calls for Bernat Softee Baby yarn and a size H/5.00 mm hook. Its color plan uses 4 skeins of White, plus 1 skein each of Soft Red, Soft Peach, Aqua, and Navy.
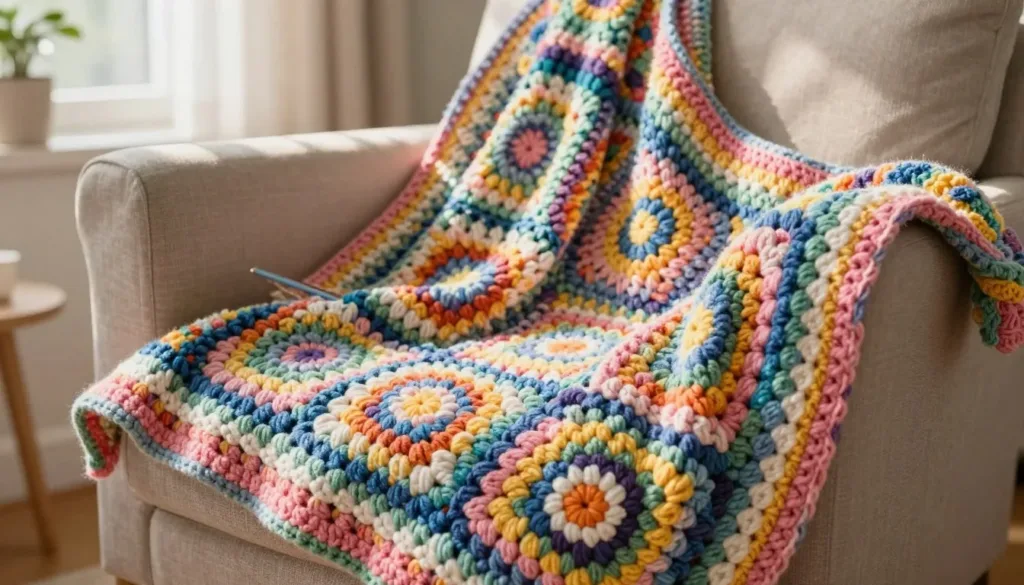
A second free option, the Easy Crochet bobble blanket pattern, has a 40 in x 40 in receiving blanket size. Its repeat is a multiple of 6 plus 1, and its gauge is 12 stitches by 7 rows for a 4 in x 4 in square.
That pattern uses two strands of yarn held together. You can instead use one strand with half the listed skeins and yardage. Follow the pattern’s stated option so the fabric matches its intended size and feel.
Another bobble blanket pattern lists approximate dimensions of 22 in wide by 26 in long for a baby size. Its sofa-throw size is about 42 in wide by 50 in long. These examples show how much finished size can differ across patterns.
A bobble stitch crochet blanket can be resized only by preserving that pattern’s stated repeat. A bobble stitch crochet baby blanket should also be checked against its finished measurements, especially when you need a particular fit. For more ways to plan fabric and dimensions, see crochet stitches for blankets.
A gauge swatch helps you compare your stitches and rows with the pattern’s gauge before you begin the full blanket. Confirm the gauge and stitch repeat before changing a blanket’s starting chain.
Projects That Use Bobble Stitches
Raised bobbles can become small motifs, lettering, or decorative features as well as blanket texture. Crochet bobble stitch patterns can form simple hearts, animals, and other designs across a flat fabric. A few bumps can also add texture to pillows, hats, and bags.
Plan the bobble and its surrounding stitches as part of the same chart unit. In one charted motif, a unit can show a bobble plus a single crochet across 2 stitch spaces. The same two spaces can instead hold 2 double crochets.
Charted designs often alternate bobble rows with single crochet rows. The plain rows give the fabric a base between raised sections, while the chart helps you place each bump. A photo can show the finished look, but the written instructions explain how to work each row.
Test a few chart units in fabric because the finished motif may not keep the chart’s exact proportions.
A small sample can reveal whether the design reads clearly at your chosen stitch size. A heart with narrow points, for example, may look wider once the bobbles rise from the surface. Adjust the chart before repeating the motif across a larger piece.
You can also use bobbles as features on amigurumi, such as raised details on a toy’s surface. For more project ideas, browse crochet patterns and project categories, including amigurumi, baby crochet, home decor, and bags.
Keep the chart simple while you learn how the raised stitches affect the fabric. A photo of the swatch beside the chart can help you judge the shape and placement. Sketch a small motif first and test a few chart units before committing to a large design.
Conclusion
The key to a clear bobble is closing the pattern’s specified partial double crochets together. Your pattern’s stitch count and instructions set the shape, so follow its definition rather than relying on the stitch name alone.
A small swatch gives you room to learn the hook movement and see how the raised texture sits in your fabric. You can also check whether your chosen yarn and stitch spacing suit the design before working across a full project. Pick a small swatch project and make a few bobbles before working them into your larger piece.


