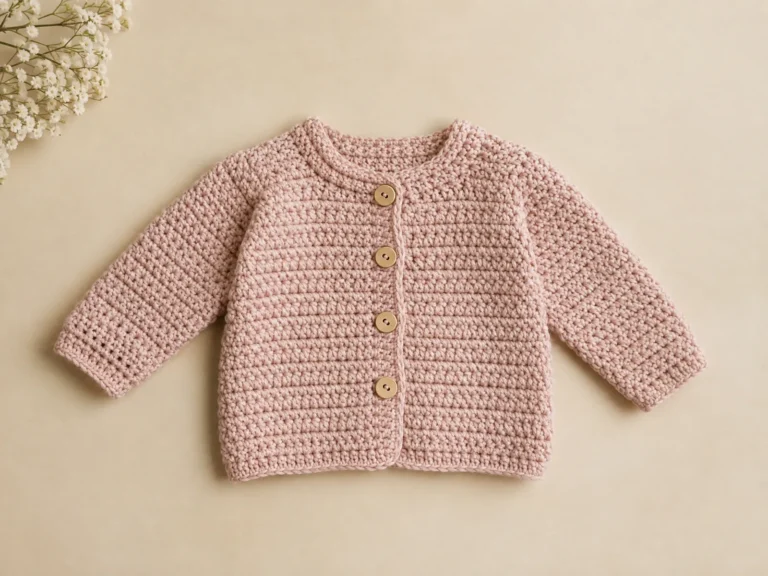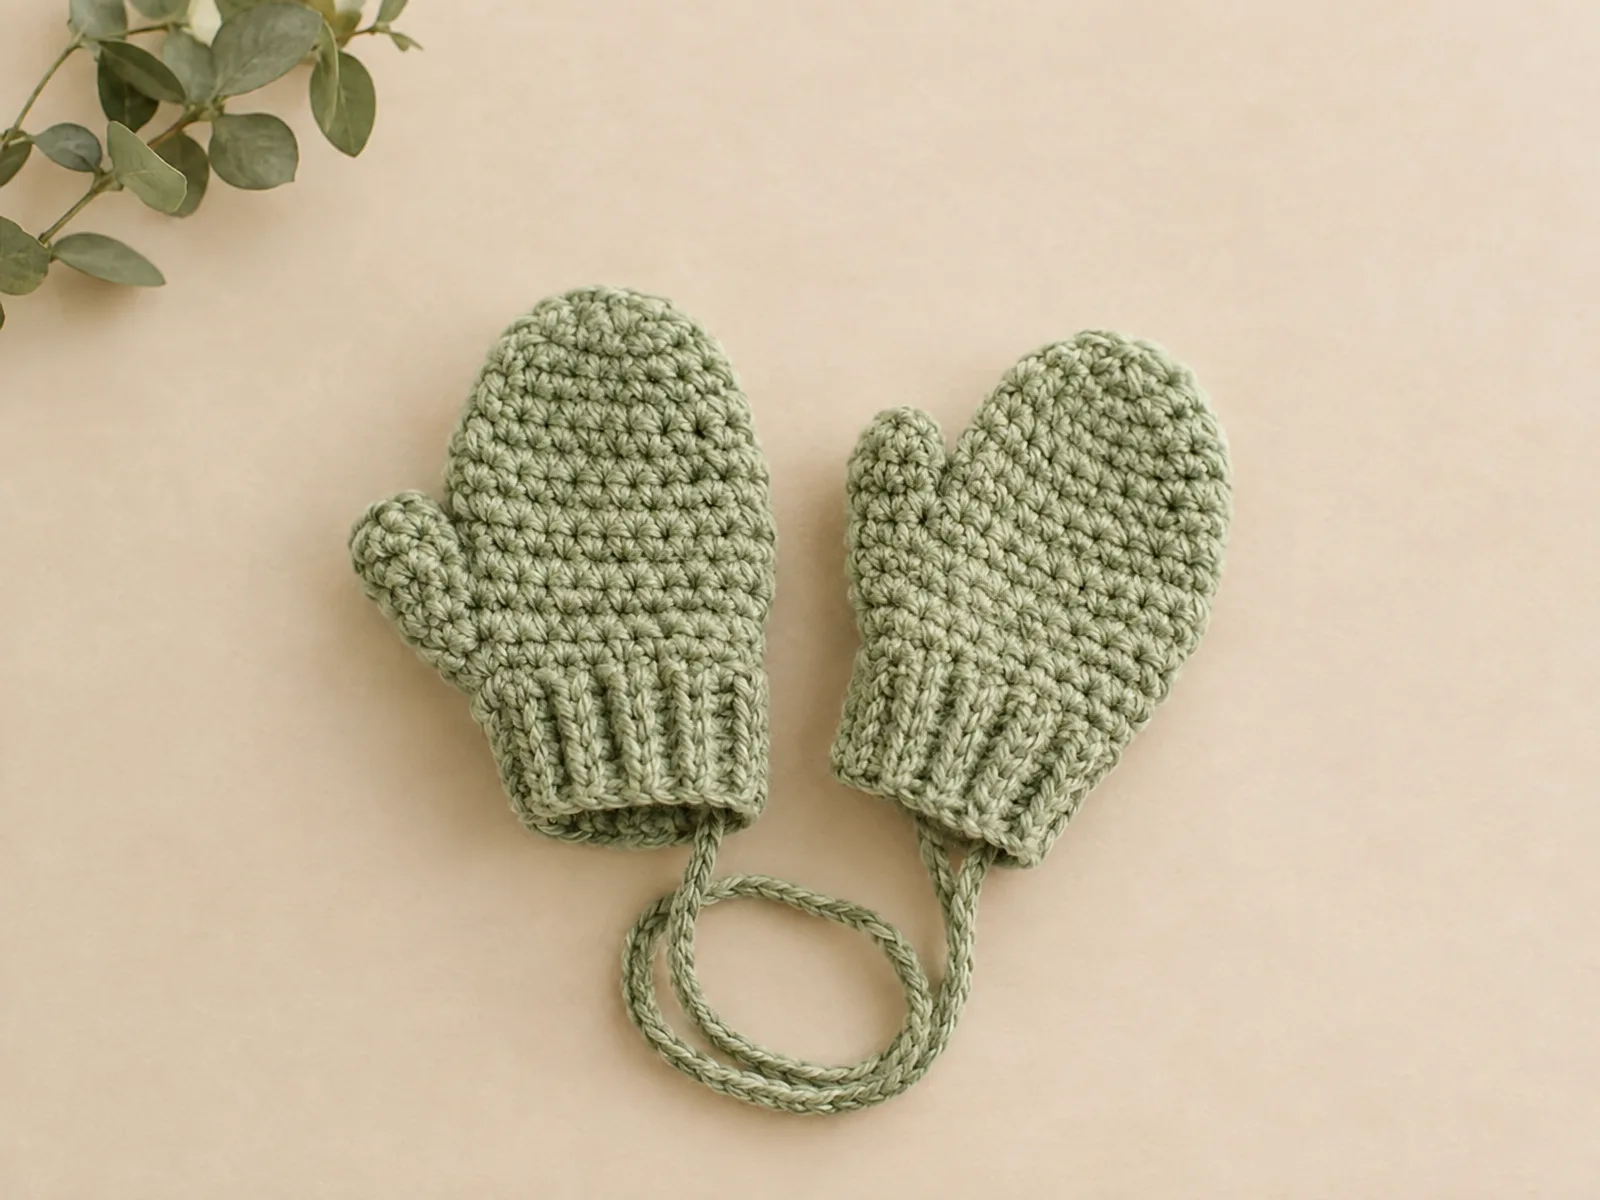
Easy Crochet Baby Mittens Pattern
Table of Contents
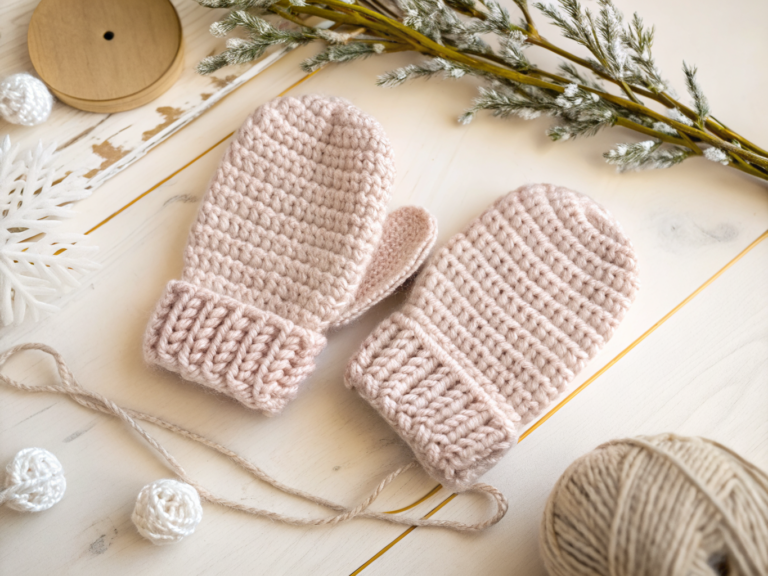
Baby mittens are one of those small projects that make a big difference. They keep tiny hands warm, protect delicate newborn skin from scratches, and work up quickly even if you’re still building your crochet skills. This simple crochet baby mittens pattern uses basic stitches and a seamless construction method, so there’s no sewing pieces together when you’re done.
This pattern is a good match for beginners who already know how to single crochet and work in continuous rounds. If you’ve made amigurumi or simple hats before, the technique here will feel familiar. Before you start, it helps to know your gauge and have a stitch marker handy, since the mitten body is worked without turning or joining each round.
Project Overview
| Detail | Information |
|---|---|
| Skill level | Beginner-friendly |
| Crochet terminology | US terms |
| Construction method | Worked in continuous rounds (seamless, starting from a magic circle) |
| Yarn type | Soft machine-washable DK baby yarn |
| Hook size | 3–4.5 mm, matched to your yarn’s gauge |
| Finished size | Varies with yarn weight, hook size, and tension |
| Gauge | Not fixed; swatch and adjust hook size as needed |
Materials and Tools
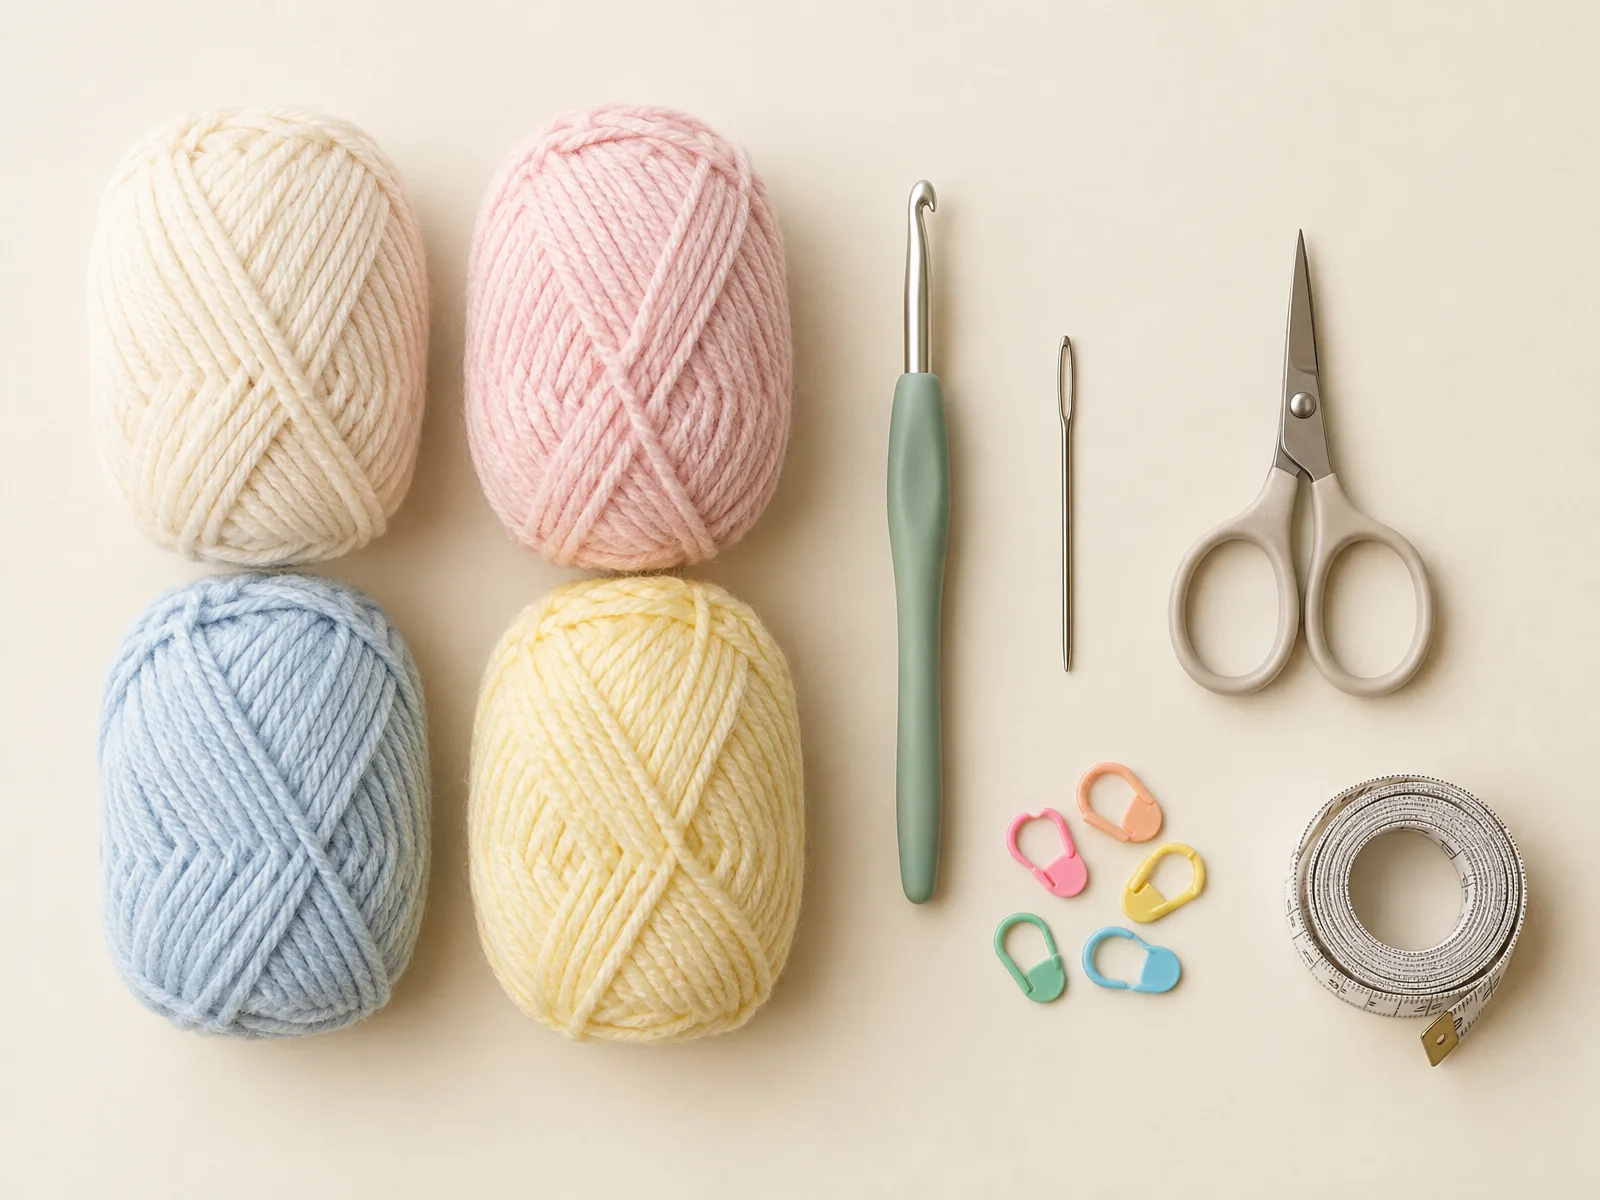
Essential materials:
- Soft, machine-washable DK weight baby yarn
- Crochet hook sized 3–4.5 mm, matched to your gauge
- Tapestry needle for weaving in ends
- Scissors
- Stitch markers (to track the start of each round)
- Tape measure
This pattern intentionally skips cords, ties, buttons, and loose embellishments, so you won’t need any extra hardware or trim beyond the list above.
Crochet Abbreviations
- sc – single crochet
- hdc – half double crochet
- BLO – back loop only
- st(s) – stitch(es)
- rnd(s) – round(s)
- rep – repeat
Important Notes Before You Begin
This mitten is worked in continuous rounds, meaning you do not join or chain at the start of each round. Instead, place a stitch marker in the first stitch of round 1 and move it up into the first stitch of every new round as you go. This keeps your round count accurate and helps you spot where each round begins.
Keep your tension even throughout, especially during the increase rounds, since loose or tight stitches here will affect how the mitten opening and width come out. Because this pattern makes a simple tube-shaped mitten, there is no stuffing involved at any stage.
Since this project is sized for infants, avoid adding any detachable decorations, plastic pieces, buttons, or drawstring cords. If you want to personalize the mittens, use embroidery or color changes worked directly into the yarn instead of anything that could come loose.
Crochet Pattern Instructions
Mitten (make 2)
Round 1: Make a magic circle, work 6 sc into the ring. (6 sts)
Round 2: 2 sc in each st around. (12 sts)
Round 3: *Sc in next st, 2 sc in next st; rep from * around. (18 sts)
Rounds 4–9: Sc in each st around. Work this round six times total. (18 sts)
Round 10: Hdc in BLO of each st around. (18 sts)
Rounds 11–13: Hdc in BLO of each st around. (18 sts)
After round 13, fasten off and weave in the tail along the inside of the cuff edge.
The magic circle at round 1 naturally closes the fingertip end of the mitten, so no separate closure round is needed. The opposite end, finished with the back-loop-only ribbing in rounds 10–13, remains open to form the wrist opening.
Repeat the entire pattern a second time to make a matching pair.
Assembly and Finishing
Because each mitten is a single continuous piece, there’s no seaming or joining required between parts. Finishing simply means securing your yarn tails and checking the fit.
- Weave in the starting tail at the magic circle end using your tapestry needle, working it through a few stitches on the inside of the fabric.
- Weave in the fastening-off tail from round 13 along the inside of the ribbed cuff.
- Lightly steam or block the mittens if your yarn label allows it, to help the ribbing sit evenly around the wrist opening.
- Compare both mittens side by side to confirm they match in height and width before considering the pair finished.
Customization Ideas
- Stripes: Change yarn color at the start of any round (ideally round 4 or later) to add simple stripes without disrupting the stitch pattern.
- Embroidered accents: Add a small embroidered detail, such as a tiny heart or dot, onto the mitten body using yarn and a tapestry needle instead of attaching anything separate.
- Yarn weight adjustments: Switching to a slightly thicker or thinner yarn, paired with an appropriately sized hook, will change the finished size, so swatch first if you want a specific fit.
- Cuff length: Add or remove a round or two from the ribbed cuff section (rounds 10–13) for a shorter or taller wrist edge.
Care and Safety
Since this pattern calls for machine-washable DK baby yarn, check the yarn label for specific washing and drying instructions, as care requirements vary between brands and fibers.
If these mittens are intended for a baby or young child, embroidered details are a safer choice than glued-on or snap-in plastic pieces, which can detach and become a choking hazard. This pattern already omits cords, ties, and buttons for that reason. Keep in mind that no handmade item should be considered fully child-safe or certified without appropriate testing, so supervise use and check the mittens periodically for loose stitches or wear.
Common Mistakes and Troubleshooting
| Problem | Likely cause | How to fix it |
|---|---|---|
| Stitch count drifts higher or lower than expected | Missed or accidentally added stitches, often during the increase rounds | Count stitches at the end of every round and use a stitch marker to confirm where each round starts |
| Mitten opening feels too tight or too loose | Hook size doesn’t match yarn weight, or tension is uneven | Swatch with a different hook size, and keep tension consistent across all rounds |
| Fabric looks loose or has visible gaps | Stitches are too loose, often from working too far back in the stitch | Work stitches slightly further forward and keep consistent tension throughout |
| Ribbed cuff looks uneven | Inconsistent stitch height in the BLO rounds | Work hdc stitches at a consistent height and check that you’re going into the back loop only each time |
| Two mittens turn out different sizes | Tension changed between the first and second mitten | Recheck your gauge before starting the second mitten and try to match your working pace |
Frequently Asked Questions
What size will these mittens turn out?
Finished size depends on your yarn weight, hook size, and personal tension, so there isn’t one fixed measurement. Swatching with your chosen yarn and hook before starting will give you the most accurate idea of the finished size.
Can I use a different yarn weight than DK?
Yes, but switching yarn weights will change the finished size and may require a different hook size to keep the fabric structure even. Always test your gauge first if you substitute yarn.
Why doesn’t this pattern include a cord to connect the mittens?
Cords and ties are intentionally left out of this pattern for safety reasons, since loose cords near a baby’s neck or hands can pose a risk. If you’d like a way to keep track of both mittens, consider clipping them to a garment with a short, secure attachment rather than a long cord.
How do I keep both mittens the same size?
Working both mittens with the same tension, hook, and yarn batch helps keep them consistent. Measuring your work after a few rounds on each mitten can also help you catch any differences early.
Is this pattern suitable for complete beginners?
This project is considered beginner-friendly since it only uses single crochet, half double crochet, and basic increases worked in continuous rounds. Comfort with magic circles and stitch markers will make the process smoother.
How do I care for the finished mittens?
Follow the washing instructions on your yarn label, since machine-washable baby yarns can still vary in care requirements depending on the brand and fiber content.
Final Thoughts
With just a few basic stitches and a straightforward round-by-round structure, this crochet baby mittens pattern comes together without any complicated shaping or assembly. The seamless construction means less finishing work and a cozy, simple result for little hands.
If you give this pattern a try, we’d love to see how your mittens turn out, feel free to share your finished pair or leave a comment with any questions. For more cozy baby project ideas, check out our crochet baby booties pattern, and browse our crochet inspiration board for more design ideas to pair with your next project.