Easy Crochet Baby Mittens Pattern
Table of Contents
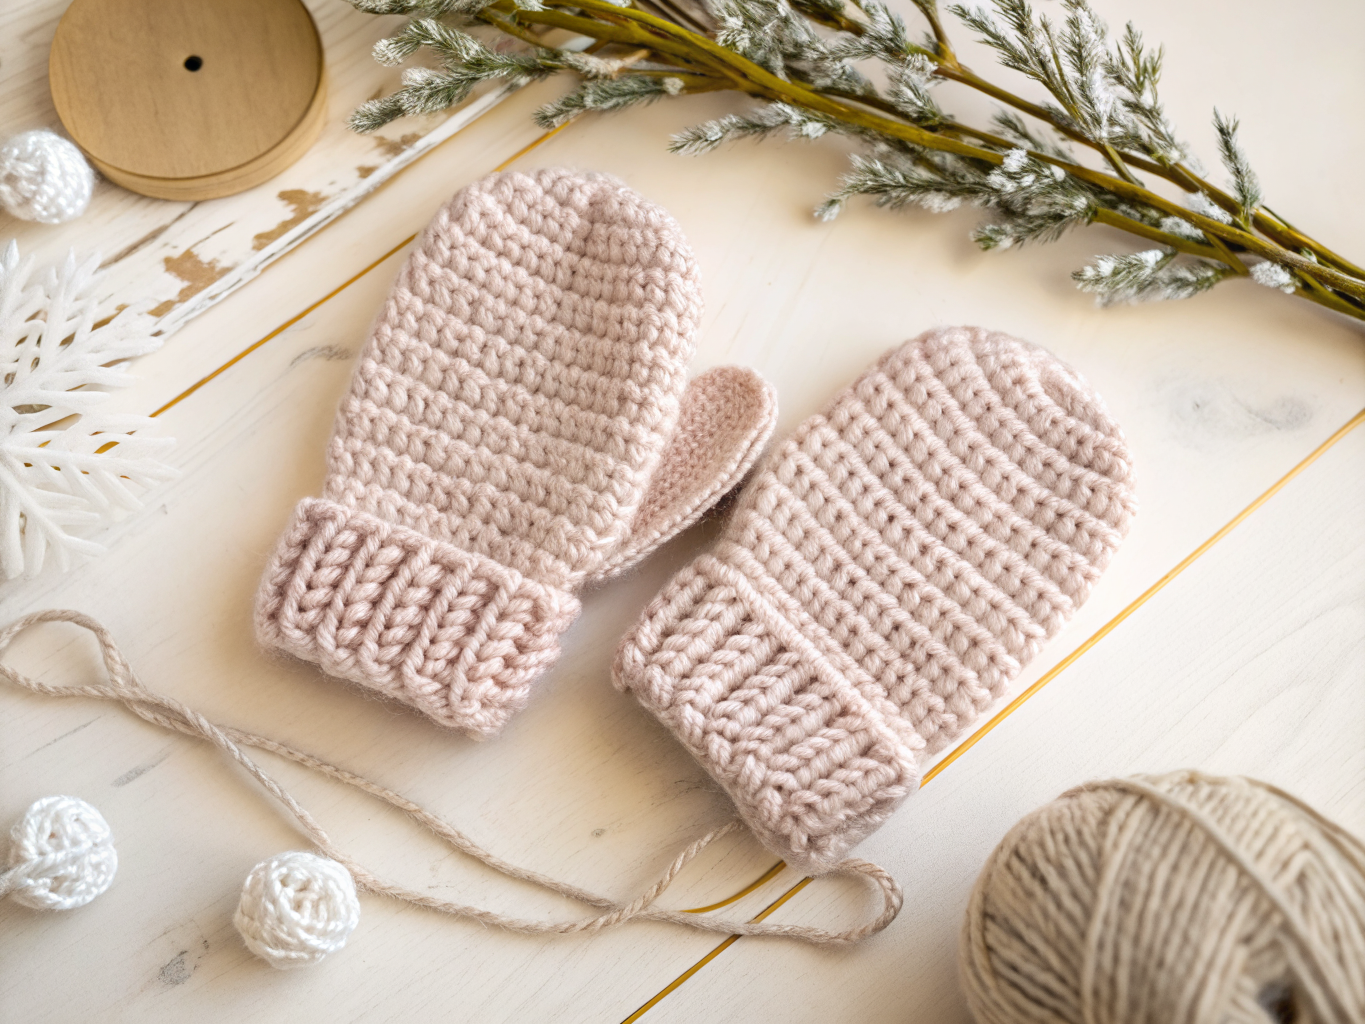
Baby mittens are one of the most satisfying quick makes in a crocheter’s repertoire, and this simple version is designed with comfort and safety in mind. This crochet baby mittens pattern uses a straightforward tube construction with no thumb shaping, making it perfect for scratch mittens that protect delicate newborn skin without adding bulk or complicated seams.
This pattern is written for confident beginners who already know how to single crochet, increase, and half double crochet in continuous rounds. If you’ve made a hat or a simple amigurumi ball before, you’ll pick up the shaping here quickly. Before you start, gather soft, machine-washable baby yarn and read through the abbreviations and notes so the rounds make sense as you work.
Project Overview
| Detail | Information |
|---|---|
| Skill Level | Easy / Beginner-friendly |
| Crochet Terminology | US terms |
| Construction Method | Worked in continuous (spiral) rounds, no seaming |
| Yarn Type | Soft, machine-washable DK weight baby yarn |
| Hook Size | 3–4.5 mm, matched to gauge |
| Finished Size | Varies with yarn, hook, and tension |
Materials and Tools
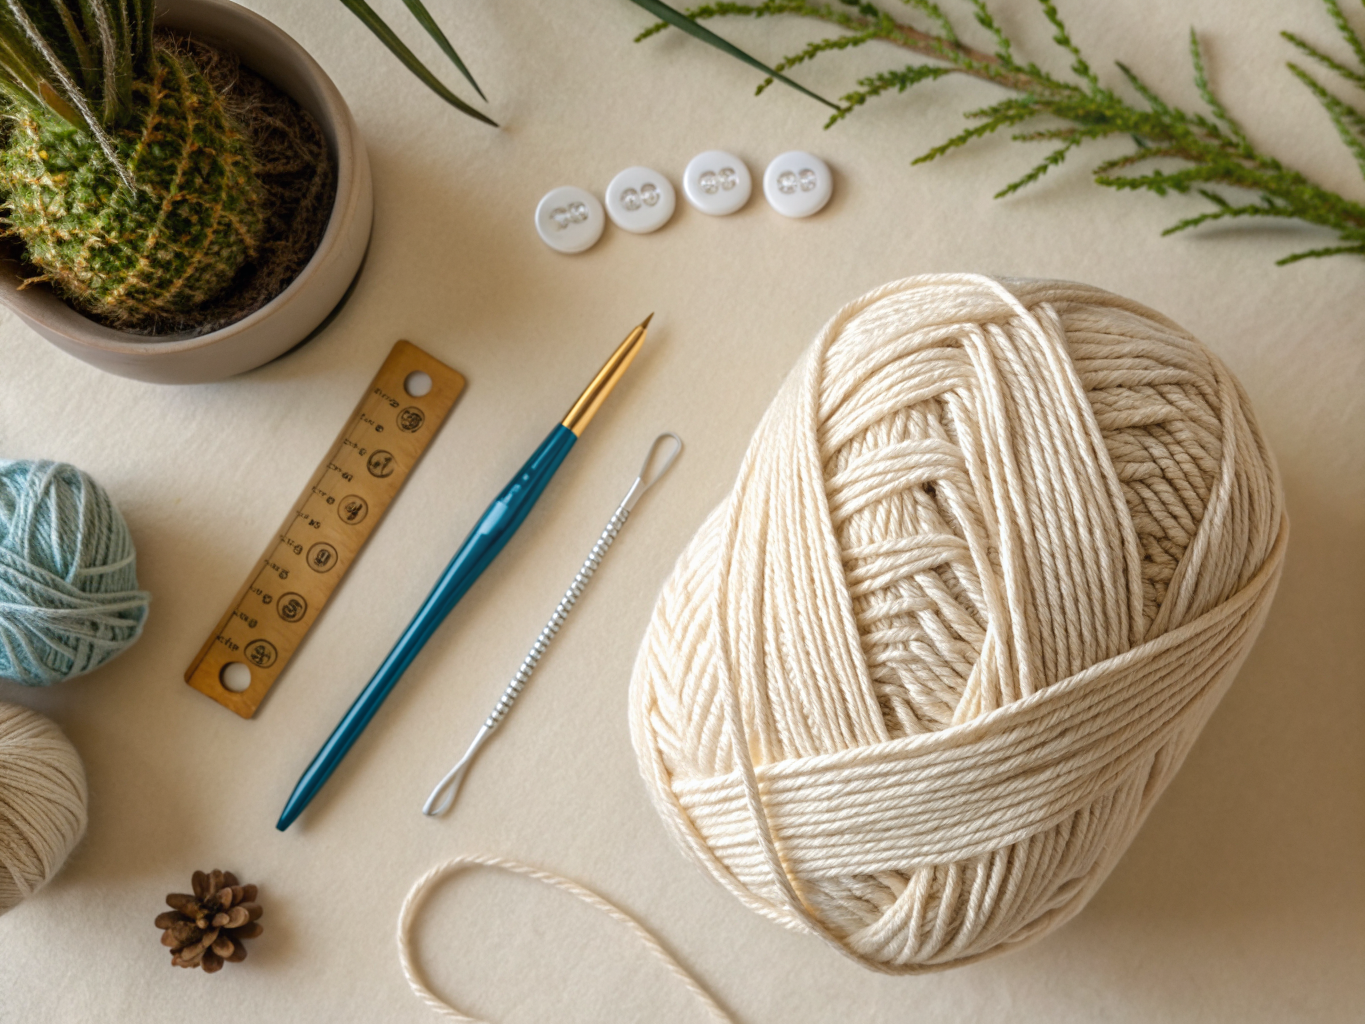
Essential materials:
- Soft, machine-washable DK weight baby yarn
- Crochet hook between 3 mm and 4.5 mm, matched to your gauge
- Tapestry needle for weaving in ends
- Scissors
- Stitch markers to track the beginning of each round
- Tape measure to check sizing as you go
Important note: This pattern intentionally omits cords, ties, buttons, and any loose embellishments. Keeping the design free of small attachable parts helps make the mittens simpler and safer for a baby’s hands and mouth.
Crochet Abbreviations
- sc – single crochet
- hdc – half double crochet
- inc – increase (2 stitches worked into the same stitch)
- BLO – back loop only
- st(s) – stitch(es)
- rnd(s) – round(s)
Important Notes Before You Begin
This pattern is worked in continuous, spiral rounds rather than joined rounds. Place a stitch marker in the first stitch of each round and move it up every time you complete a round so you don’t lose track of where the round starts.
Keep your tension relaxed and even throughout. Baby mittens are small, so tight, inconsistent stitches will show more noticeably than they would on a larger project. If your fabric feels stiff or your stitches are hard to work into, try a slightly larger hook.
These mittens are not stuffed. They’re worked as an open pouch that slips over a baby’s hand, so there’s no stuffing step and no need to close the cuff opening. The only “closing” happens at the very top, which is formed naturally by starting the piece at a magic ring.
Because this project may be used for infants, avoid adding any glued, sewn-on, or clip-style embellishments. Small attachable pieces can present a choking hazard, and even securely sewn details can loosen over time with washing and handling.
Crochet Pattern Instructions
Mitten (make 2)
Each mitten is worked as a single, seamless tube starting at the fingertip and ending at the open cuff edge. Make two mittens total, one for each hand.
Round 1: Magic ring, 6 sc into the ring. (6 sts)
Round 2: Inc in each st around. (12 sts)
Round 3: Sc 1, inc around. (18 sts)
Round 4: Sc 2, inc around. (24 sts)
Round 5: Sc in each st around. (24 sts)
Round 6: Sc in each st around. (24 sts)
Round 7: Sc in each st around. (24 sts)
Round 8: Sc in each st around. (24 sts)
Round 9: Sc in each st around. (24 sts)
Round 10: Sc in each st around. (24 sts)
Rounds 5 through 10 build the length of the hand portion of the mitten. If you’d like a longer mitten to fit over a bit more of the wrist, repeat round 10 one or two additional times before moving on to the cuff.
Round 11: Hdc in the BLO of each st around. (24 sts)
Round 12: Hdc in the BLO of each st around. (24 sts)
Round 13: Hdc in the BLO of each st around. (24 sts)
Round 14: Hdc in the BLO of each st around. (24 sts)
Working the cuff rounds in the back loop only creates a subtle ribbed texture that helps the opening hug the wrist gently without needing elastic, cords, or ties. Fasten off after round 14 and leave a 6-inch tail for weaving in.
Repeat all 14 rounds to make the second mitten.
Assembly and Finishing
Because each mitten is worked as one continuous piece from fingertip to cuff, there’s no seaming required. Once both mittens are complete, weave in the fastening-off tail from each piece down through several stitches on the inside of the cuff, then trim the excess yarn close to the fabric.
Weave in the starting tail from the magic ring at the fingertip end in the same way, tucking it into the inside of the mitten so no loose yarn is exposed on the outside.
Lay both mittens flat and compare them side by side to confirm they match in length and width. Light steam blocking (following your yarn label’s care instructions) can help even out the stitches and relax any curling at the cuff edge, but this step is optional.
Customization Ideas
- Work the entire mitten in a single soft pastel, or switch colors between the hand rounds and the cuff rounds for a simple two-tone look.
- Add a few extra rounds of sc before starting the cuff if you want a longer mitten for a slightly older baby.
- Try a contrasting yarn color just for rounds 11–14 to make the ribbed cuff stand out.
- Embroider a small initial or simple heart shape onto the top of the hand section using yarn and a tapestry needle instead of adding any sewn-on decoration.
Care and Safety
Because this pattern uses soft, machine-washable DK baby yarn, these mittens can generally be laundered according to the care instructions printed on your yarn label. Always check the label before washing or drying, since fiber content varies between brands.
If you’d like to personalize these mittens with a face, initial, or decorative detail, embroidered details worked directly into the yarn are generally a safer choice than glued or clipped-on plastic pieces, since small attachable parts can present a choking risk for infants. Even with careful stitching, no handmade item should be considered fully child-safe or safety-certified, so continue to supervise use and inspect the mittens periodically for loose stitches or wear.
Common Mistakes and Troubleshooting
| Problem | Likely cause | How to fix it |
|---|---|---|
| Mitten comes out too small or too large | Hook size doesn’t match yarn weight, or tension is too tight or too loose | Try a different hook within the 3–4.5 mm range and check your gauge swatch before continuing |
| Stitch count doesn’t match at the end of a round | A stitch was skipped or an extra increase was worked accidentally | Count stitches after every round, especially rounds 1–4, and use a stitch marker to confirm where each round begins |
| Fabric looks bumpy or uneven at the fingertip | Tension around the magic ring was too loose | Pull the starting tail firmly before working round 1, and tighten the ring completely before continuing |
| Cuff doesn’t lie flat or curls | Cuff rounds were worked with tighter or looser tension than the hand section | Relax your grip slightly on the hdc rounds and consider blocking the finished mitten |
| Two mittens end up different sizes | Tension shifted between the first and second mitten | Recount stitches at the end of each round on the second mitten and compare row-by-row to the first |
| Cuff edge feels loose and slips off easily | Not enough rounds worked in BLO for cuff texture | Add one or two extra BLO rounds to increase the ribbed grip at the cuff |
Frequently Asked Questions
Can I use a different yarn weight for this pattern?
Yes, but switching yarn weights will change your stitch count needs and finished size. If you use a lighter or heavier yarn than DK, adjust your hook size to match your gauge and expect the finished mitten to run smaller or larger accordingly.
Do these mittens need a thumb section?
No. This pattern is designed as a simple scratch-mitten style pouch without a separate thumb, which keeps the construction easy and avoids extra shaping that isn’t necessary for young infants.
How do I make the mittens fit more snugly at the wrist?
Working the back-loop-only rounds at the cuff creates a naturally close-fitting ribbed texture. If you want an even snugger fit, try dropping down half a hook size just for the cuff rounds.
Can I add a drawstring or button closure?
This pattern is intentionally designed without cords, ties, or buttons to avoid loose or small parts. If you’d like to explore a closure style, that would require a different construction approach than the one used here.
Why is my finished mitten a different size than expected?
Finished size depends on your yarn thickness, hook size, and personal tension, so results can vary even when following the same instructions. Checking your gauge with a small swatch before starting is the most reliable way to predict your outcome.
Is this pattern good for a beginner’s first project?
It’s a great option for someone who already knows basic single crochet, increases, and half double crochet worked in the round. If you’re brand new to crochet, practicing those stitches on a simple swatch first will make this project easier to follow.
Final Thoughts
You’ve now got a complete, no-fuss method for making a matching pair of baby mittens from the fingertip all the way to a comfortably ribbed cuff, without any seaming, stuffing, or small attachable parts to worry about. The simple continuous-round construction makes this an approachable project for building confidence with shaping and consistent tension.
If you give this pattern a try, we’d love to see how your finished mittens turn out and hear which yarn colors you chose. Feel free to leave a comment with your questions or results, and if you’re looking for a matching set, check out more baby-friendly crochet projects on HooksyLane for coordinating booties and accessories.