Easy Crochet Baby Hat Pattern in Multiple Sizes
Table of Contents
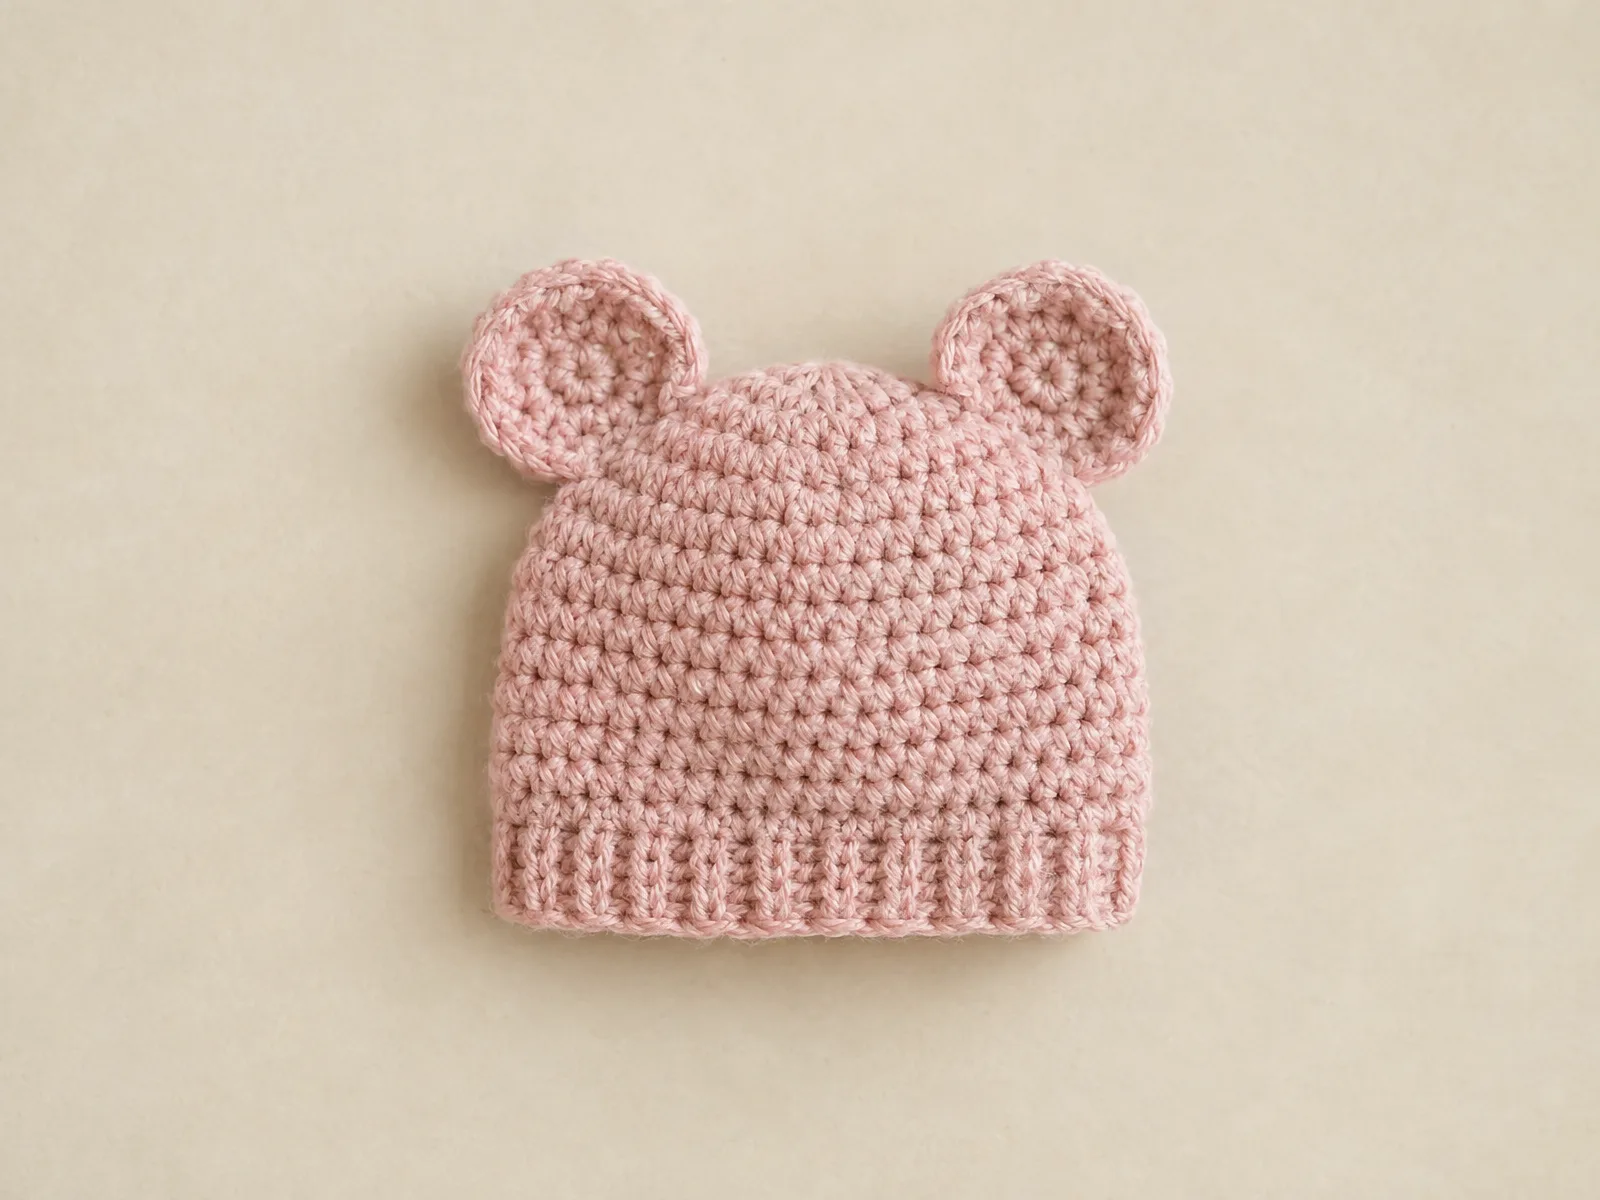
Baby hats are one of the most rewarding beginner-friendly projects in crochet. They use a small amount of yarn, work up quickly compared to larger garments, and make wonderful handmade gifts for baby showers, hospital donations, or your own little one. This particular crochet baby hat pattern is designed to be worked in multiple sizes using simple, repeatable stitches, so you can make one hat or a whole set as your baby grows.
This pattern is well suited to confident beginners who already know how to single crochet, increase, and work in continuous rounds. If you have made a basic amigurumi ball or a simple crochet circle before, you already have the skills needed to complete this newborn crochet hat pattern and its larger sizes.
Project Overview
| Detail | Information |
|---|---|
| Skill level | Beginner to easy intermediate |
| Crochet terminology | US terms |
| Construction method | Worked in continuous rounds from the crown down, no joining required |
| Yarn type | Soft, machine-washable DK or worsted weight baby yarn |
| Hook size | 3.5–5 mm, matched to your yarn and gauge |
| Finished size | Varies by size worked and by personal gauge and tension |
Because finished measurements depend heavily on your individual gauge, hook, and yarn choice, treat any head circumference references in this guide as general starting points rather than guaranteed measurements. Always check your work against a soft tape measure or an actual baby head circumference before finishing the brim.
Materials and Tools
Essential materials:
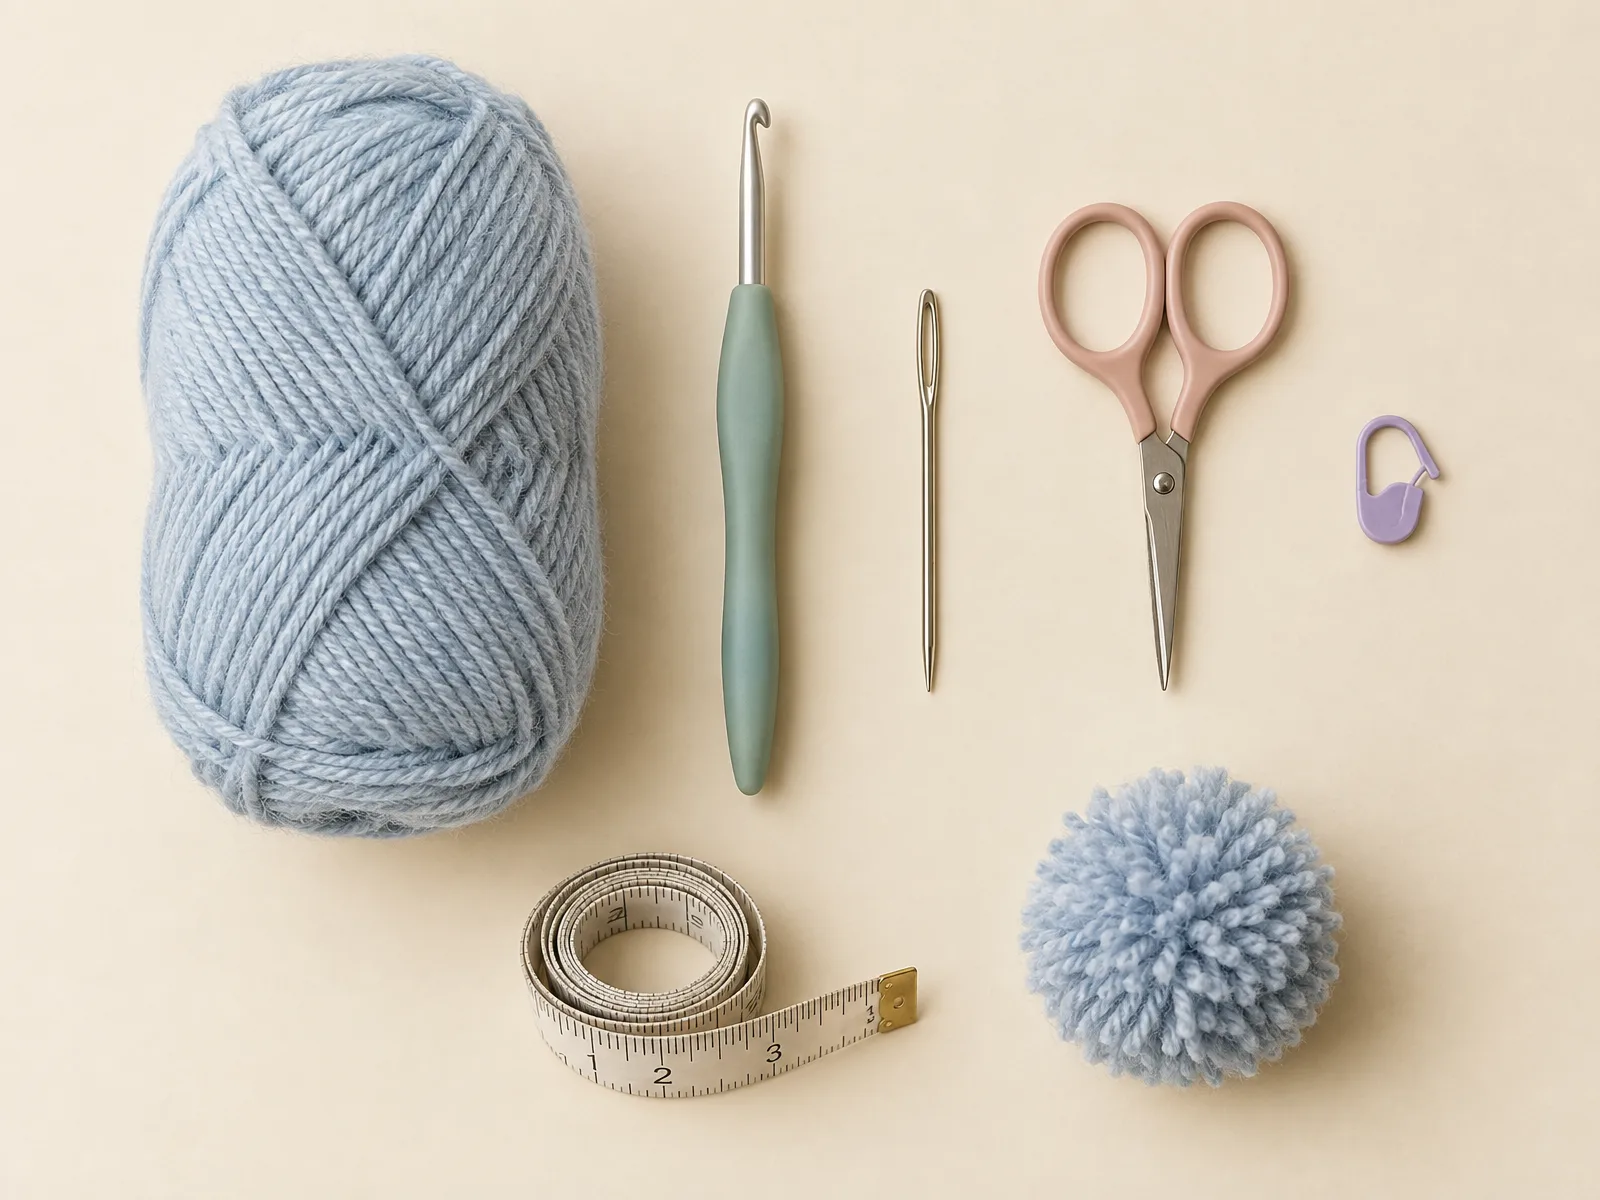
- Soft, machine-washable DK or worsted weight baby yarn
- A 3.5–5 mm crochet hook, sized to match your yarn and gauge
- A tapestry needle for weaving in ends
- Scissors
- A stitch marker to track the start of each round
- A tape measure for checking fit as you go
Optional:
- A soft pom-pom made entirely from yarn (no plastic pieces) as a finishing touch
Crochet Abbreviations
- sc – single crochet
- hdc – half double crochet
- inc – increase (2 sc worked into the same stitch)
- st(s) – stitch(es)
- rnd(s) – round(s)
- sl st – slip stitch
Important Notes Before You Begin
This hat is worked in continuous rounds, not joined rounds, which means you do not chain or slip stitch to close each round as you go. Instead, place a stitch marker in the first stitch of every round and move it up as you complete each new round so you always know where a round begins and ends.
Keep your tension relaxed but consistent. Crown increases can tighten up if you crochet too firmly, which may cause the top of the hat to cup or ripple instead of lying flat. If your crown is not sitting flat after the increase rounds, check that you have the correct stitch count before continuing.
This pattern does not require stuffing, since a hat is a wearable, unstuffed piece. There is also no separate piece assembly, since the entire hat is worked as one continuous spiral, so there are no seams to sew other than weaving in your starting and ending tails.
If you plan to add a pom-pom, choose a yarn-only pom-pom rather than a plastic or wire-based one. Small detachable pieces can present a choking hazard for babies and very young children, so embroidered or yarn-based details are the safer choice for anything made for a baby.
Crochet Pattern Instructions
This pattern includes three sizes worked from the same crown shaping. Work the shared rounds first, then follow the instructions for your chosen size.
Crown (All Sizes)
Make 1 crown per hat, worked in continuous rounds using sc.
- Round 1: 6 sc into a magic ring (6)
- Round 2: 2 sc in each st around (12)
- Round 3: sc 1, inc around (18)
- Round 4: sc 2, inc around (24)
- Round 5: sc 3, inc around (30)
- Round 6: sc 4, inc around (36)
- Round 7: sc 5, inc around (42)
If you are making the Newborn (0–3 months) size, stop increasing here and move to the Body section for that size.
- Round 8 (3–6 Months and 6–12 Months only): sc 6, inc around (48)
If you are making the 3–6 Months size, stop increasing here and move to the Body section for that size.
- Round 9 (6–12 Months only): sc 7, inc around (54)
Body
Continue in continuous sc rounds with no further increases. Every round in this section keeps the same stitch count as the round before it.
Newborn (0–3 months): Work Rounds 8–13, six even rounds total, sc in each st around (42) each round.
3–6 Months: Work Rounds 9–15, seven even rounds total, sc in each st around (48) each round.
6–12 Months: Work Rounds 10–18, nine even rounds total, sc in each st around (54) each round.
Try the hat on, or hold it against a soft tape measure, before moving to the brim. If you want extra height, you can add one or two additional even rounds at this stage using the same stitch count.
Brim
The brim uses hdc instead of sc for a slightly firmer edge that helps the hat hold its shape.
Newborn (0–3 months): Work Rounds 14–15, two rounds of hdc in each st around (42) each round.
3–6 Months: Work Rounds 16–17, two rounds of hdc in each st around (48) each round.
6–12 Months: Work Rounds 19–20, two rounds of hdc in each st around (54) each round.
After the final brim round, sl st into the next stitch to neaten the edge, fasten off, and leave a tail long enough for weaving in.
Assembly and Finishing
Because this hat is worked as a single continuous piece, there is no seaming or piecing together of separate sections. Finishing simply means securing your ends and adding any optional details.
Weave the fastening-off tail through several stitches on the inside of the brim, then trim it close to the fabric. Do the same with the tail left over from starting your magic ring at the crown.
If you are adding an optional yarn pom-pom, attach it to the very center of the crown, right at Round 1, using a tapestry needle and matching or contrasting yarn. Stitch through the pom-pom base several times in different directions so it stays secure through wear and gentle washing.
Customization Ideas
- Color blocking: Change colors between the crown and body rounds for a two-tone look, or add stripes every few rounds in the body section.
- Bonnet-style ties: For a crochet bonnet pattern variation, add two crocheted chain ties at the base of the brim on either side, near where the ears would sit, and secure them with a few stitches.
- Textured brim: Swap the hdc brim for a front-loop-only or back-loop-only sc brim for a subtle ribbed texture instead of a smooth edge.
- Embroidered details: Add a small embroidered star, heart, or initial to the front of the body section using a contrasting yarn color and a tapestry needle.
Care and Safety
Since this easy baby beanie crochet pattern calls for machine-washable DK or worsted baby yarn, most finished hats can be laundered according to the yarn label’s care instructions. Always check the yarn band before washing, and air-dry flat when possible to help the hat keep its shape.
For any hat intended for a baby or young child, choose embroidered or yarn-only details over glued or plastic pieces. Detachable parts, including safety eyes, buttons, or plastic embellishments, can present a choking risk. A handmade item should never be considered child-safe or safety-certified simply because it was made by hand, so use your own judgment about age-appropriateness and supervision.
Common Mistakes and Troubleshooting
| Problem | Likely cause | How to fix it |
|---|---|---|
| Crown does not lie flat | Increase rounds were skipped or worked too tightly | Recount stitches after each increase round and relax your tension slightly |
| Hat looks too small or too large | Gauge, hook size, or yarn weight differs from the pattern’s assumptions | Check stitch count against the pattern, and try on or measure before working the brim |
| Visible gap or hole at the very top | Magic ring was not pulled tight enough before Round 1 | Tighten the magic ring’s center loop firmly before starting Round 2 |
| Brim curls instead of lying flat | Not enough even rounds worked before switching to hdc | Add one or two extra even sc rounds before starting the hdc brim |
| Spiral seam looks twisted | Stitch marker was not moved consistently each round | Move the marker to the first stitch of every new round without skipping any |
| Edge looks loose or stretched | Hdc rounds worked too loosely compared to the sc body | Keep the same general tension throughout, checking hdc stitches are snug but not tight |
Frequently Asked Questions
Can I use this pattern for a newborn crochet hat pattern specifically?
Yes. The Newborn (0–3 months) size uses the shortest crown, body, and brim sequence in this pattern, making it a good starting point if you are working primarily for a newborn.
What yarn works best for a baby hat like this?
A soft, machine-washable DK or worsted weight baby yarn is recommended, since it is gentle against skin and easy to care for. Always match your hook size to the yarn label’s suggested range and your own gauge.
How do I know which size will fit my baby?
Since fit depends on your personal gauge and tension, the most reliable method is to try the hat on as you work, or hold it against a soft tape measure alongside the baby’s own head measurement, before completing the brim rounds.
Can I skip the brim rounds?
You can, though the hdc brim rounds help the edge hold its shape and lie flatter against the head. If you skip them, expect a slightly softer, less structured edge.
Is it safe to add a pom-pom for a baby gift?
A pom-pom made entirely from yarn, with no plastic core or wire, is a reasonable choice for many babies, but any small attached piece can pose a risk if it becomes loose. For infants, embroidered details are generally the more cautious option.
Can I make this pattern larger than 6–12 months?
You can continue the same increase pattern with additional increase rounds and more even rounds in the body section, adjusting the final stitch count and round numbers to suit a larger head size.
Final Thoughts
You now have a complete, multi-size crochet baby hat pattern that takes you from a simple magic ring all the way through crown shaping, body rounds, and a neat hdc brim. With just a few materials and some basic stitches, you can create a soft, wearable hat suited to a range of baby sizes.
Give this pattern a try, and don’t be afraid to experiment with stripes, an embroidered detail, or a soft pom-pom to make it your own. If you enjoyed this project, take a look at more beginner-friendly baby patterns on HooksyLane, and feel free to share how your finished hat turned out in the comments below.