Magic Ring Crochet: Beginner Guide With Easy Steps
Table of Contents
A beginner facing a round crochet pattern may find its first instruction is to make an adjustable center. That small start can feel like a puzzle when yarn, hook, and fingers all need attention at once. You may wonder where the tail goes or which strand to move.
The hand movements can feel unfamiliar at first, but they become clearer with practice. You will practice making a loop, stitching into it, and closing the center. The strand connected to the yarn ball is the working yarn.
Your thumb can help hold the crossing while your fingers keep the loop open. A few slow tries with easy-to-see yarn can help you learn how the strands move. Knowing what this start does and when it helps makes the practice feel more useful.
What Does a Magic Ring Do for Crochet Projects?
A magic ring gives you a center that can be tightened after you work into it. It starts crochet worked in the round and lets you close the center without leaving a large hole. A magic circle, adjustable ring, and adjustable loop are other names for this start.
A magic ring starts crochet in the round and lets you tighten its center after stitching.
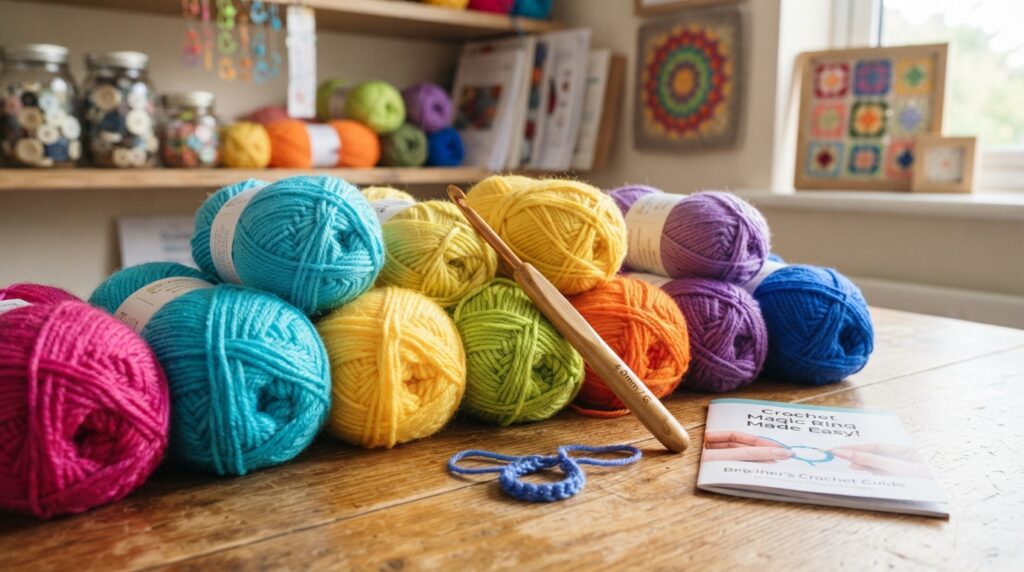
For practice, choose a yarn and hook that let you see and handle each strand. A DK or light worsted yarn has enough substance to show the loop clearly. A light or bright color can also make each stitch easier to spot.
Magic Ring Crochet for Amigurumi
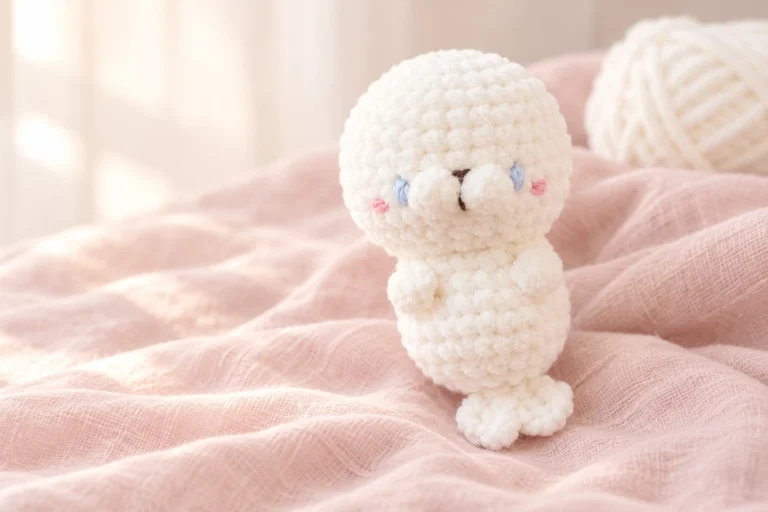
Magic ring crochet for amigurumi is useful when a pattern starts at the center of a round or oval shape. Amigurumi is crochet stuffed into toys or small figures, such as heads and bodies. You can find beginner-friendly amigurumi patterns for practice projects.
Choose a crochet hook suited to your yarn. A hook that works with the yarn helps you form stitches at a scale you can manage. The pattern may call for a tighter fabric than a practice swatch, so follow its hook size when you begin the project.
Free Crochet Magic Ring for Dummies: A Simple Starting Setup
A crochet magic ring for dummies lesson should use familiar terms and manageable materials. A free crochet magic ring for dummies tutorial should make the motions clear without assuming that you already know crochet. Look for steps that show where the hook tip goes and which strand it catches.
For more crochet ideas, you can also browse Hooksylane on Pinterest. Keep your practice setup simple: one yarn color, one suitable hook, and enough room to hold the loop. With the purpose and tools clear, focus next on the hand movements.
| Practice item | What to choose | Why it helps |
|---|---|---|
| Yarn | DK or light worsted | A substantial strand is easier to see and handle |
| Color | Light or bright | Stitches stand out more clearly |
| Hook | One suited to the yarn | The stitches form at a workable scale |
How to Make a Magic Ring Crochet Step by Step
Start by leaving the cut end free and making a crossed loop around your fingers. Keep the yarn loose enough to move, but hold the crossing so it does not slip. The chain 1 secures the setup; it is not the first single crochet.

Form the Crossed Loop and Draw Up a Loop
Leave a workable yarn tail, then wrap working yarn around two fingers. Let the tail hang in front, and bring the working yarn across it to form a clear X. Pinch the crossing between your fingers so both strands stay in place.
- Leave a workable tail and wrap yarn around two fingers.
- Cross the strands, then pinch the crossing firmly.
- Slide the hook under the crossed strand, from front to back.
- Catch the working yarn with the hook and draw it through the loop.
- Chain 1 to secure the setup, keeping the ring open.
- Remove the loop from your fingers while holding its shape.
Make the Setup Chain and Hold the Ring Steady
As you draw the yarn through, the hook tip moves beneath the crossing strand. The loop on your hook should stay above the ring, while the yarn tail hangs free. If the crossing opens, pause and pinch it again before making the chain.
This is how to crochet a magic ring slowly for new crocheters: watch the hook tip and keep the two strands distinct. Magic ring crochet step by step pictures can help you compare each hand position with your own. Think of the movements as a crochet magic ring in slow motion, not as a race.
After the chain, the ring should remain open enough for stitches. The chain holds the setup together, while the ring itself stays adjustable. Once the loop stays intact when you release it, you are ready to crochet into it.
What Happens in the First Round?
The first round is made by stitching into the center opening, not into the setup chain. Work each single crochet through the ring and over the yarn tail. Six single crochets are common for amigurumi, but your pattern sets the required number.
Count the Setup Chain Correctly
The chain 1 used to secure a single-crochet magic ring does not count as a single crochet. Insert your hook through the center opening, catch the working yarn, and complete the stitch around both the ring and tail. Keep the tail under each new stitch.
Count each stitch as you make it, rather than trying to count the round later. Place a stitch marker in the first stitch as soon as you finish it. That marker shows where the round begins when you reach the end.
Join the Next Round Only When the Pattern Calls for It
Patterns handle the next round in two main ways. A continuous round continues around without joining, while a joined round ends with a slip stitch. The pattern tells you which method to use.
How to join a magic ring in crochet can mean two different things. You close the center by pulling its tail, but joining a round means connecting its end with a slip stitch. Follow the pattern’s wording so you do not join a continuous round by mistake.
If the pattern asks for a joined round, use a slip stitch in the place it names. If it says to work continuously, move into the next stitch without joining. Your stitch marker helps you keep track either way, and careful counting prepares the center for closing.
How Do You Close and Secure the Center?
Hold the completed stitches in place before you pull the loose tail. The tail is the cut end used to close the center, not the working yarn attached to the ball. Pull the tail gradually so the stitches stay steady as the ring closes.
Use these actions after you finish the required first round:
- Hold the stitches steady with one hand.
- Pull the yarn tail gradually to draw the ring closed.
- Check the center, then tighten again if a small gap remains.
- Weave the tail through nearby stitches to secure it.
Keep the stitches from twisting as you pull yarn through the center. If the ring tightens unevenly, hold the stitches in place and move the tail a little at a time. Check the opening from both sides before you weave in the end.
Weaving the tail through nearby stitches helps keep the center closed during later rounds. Avoid pulling so hard that the stitches bunch or distort. If the tail will not move or the center still looks uneven, check your tension and how you are holding the strands.
Why Is a Magic Ring Hard to Make?
If the loop keeps shifting before you finish the first round, check how you are holding the crossing and yarn. The ring, tail, and working yarn can all move at once, which makes the technique feel tricky. Pinch the crossing and hold the ring, tail, and working yarn apart.
The Ring Loosens Before You Finish
Keep your fingers near the crossing as you begin the stitches. Use one finger to steady the ring, another to control the tail, and your hook hand to guide the working yarn. This separate hold helps stop the loop from slipping before the first round is done.
If the yarn slides, pause and reset your grip instead of pulling harder. The ring needs to stay open while you work into it. Make sure the hook can move through the opening without catching the crossed strands.
The First Stitch Is Too Tight to Work Into
A first single crochet that is pulled too tight can make the next round hard to work. The hook must fit under the stitch’s top loops. Keep the stitch firm, but leave enough space to insert the hook again.
Use this quick check before you continue:
- Confirm the hook passes through the ring.
- Confirm each stitch catches both the ring and tail.
- Loosen a first stitch that blocks the hook.
- Check that the tail can move when you pull it.
If the tail cannot move, stitches may be trapping it too tightly. A small change in grip can help you control the loop, yarn, and hook without starting over. If controlled tension still feels awkward, a chain start can offer a simpler way to begin a round.
What Can You Use Instead of a Magic Ring?
A chain start is a reasonable fallback when you cannot keep an adjustable loop steady. Unlike a magic ring, a chain start is fixed and may leave a small center opening. Follow your pattern’s directions for where to place the first stitches.
A chain start gives you a fixed center, while a magic ring can be pulled closed.
A pattern may direct you to work into one chain or into a joined chain loop. These approaches are alternatives, not instructions you can swap freely. Use the method named in your pattern, since each start gives you a different place to work.
| Starting method | Where you work the first stitches | Center result |
|---|---|---|
| Magic ring | Into the adjustable loop | Can be pulled closed |
| Chain 2 start | Into the chain specified by the pattern | Fixed start that may leave a small opening |
| Chain 4 joined into a loop | Into the joined chain loop | Fixed loop that may leave a center opening |
A chain start can help when the moving yarn strands make the ring hard to hold. With a Chain 2 start, the pattern tells you which chain receives the first stitches. With a Chain 4 joined into a loop, you work into the opening formed by the joined chains.
Those fixed starts do not tighten in the same way as an adjustable loop. The center hole may remain, even when your stitches are neat. Choose the method your pattern specifies or the one you can manage securely, then practice it.
Conclusion
The key to a reliable start is keeping the loop steady while leaving the center adjustable. Your pattern determines the stitch count and whether you join rounds or work continuously. A clear yarn color and a hook suited to it make the first stitch easier to see and handle.
Practice the setup and first few stitches before using the technique in a project. Keep your grip relaxed enough to move the tail and form each stitch. Make one practice ring, mark its first stitch, and use it in a simple round project.