Crochet Patterns for Beginners: Start Your First Project
Table of Contents
Crochet patterns for beginners can feel confusing when yarn, hooks, and unfamiliar abbreviations arrive together. You may know what you hope to make, yet still wonder where to begin.
That beginner learning curve is normal. You can start with basic stitches, then learn pattern reading, material choices, stitch tracking, and troubleshooting as connected skills.
Gauge is the number of stitches and rows worked within a stated area, used to check whether your work matches a pattern’s requirements.
This is an educational guide, not a project recipe. It will help you build first-project confidence and understand what makes a learning choice manageable.
You will find a clear path from choosing a manageable project to building useful skills. First, consider the qualities that make a pattern beginner-friendly.
What Makes a Crochet Pattern Beginner-Friendly?
A pattern with familiar stitches and clear notes can be easier than one labeled “easy” but packed with unexplained techniques. The word easy means little unless the pattern explains what you need to know.
A beginner-friendly pattern limits new skills and explains the parts you must follow. Check whether it names its skill level, materials, stitch abbreviations, repeats, and tutorial support.
Look beyond the “easy” label. A useful beginner pattern names its skills and explains its shorthand.
Look for a manageable skill set
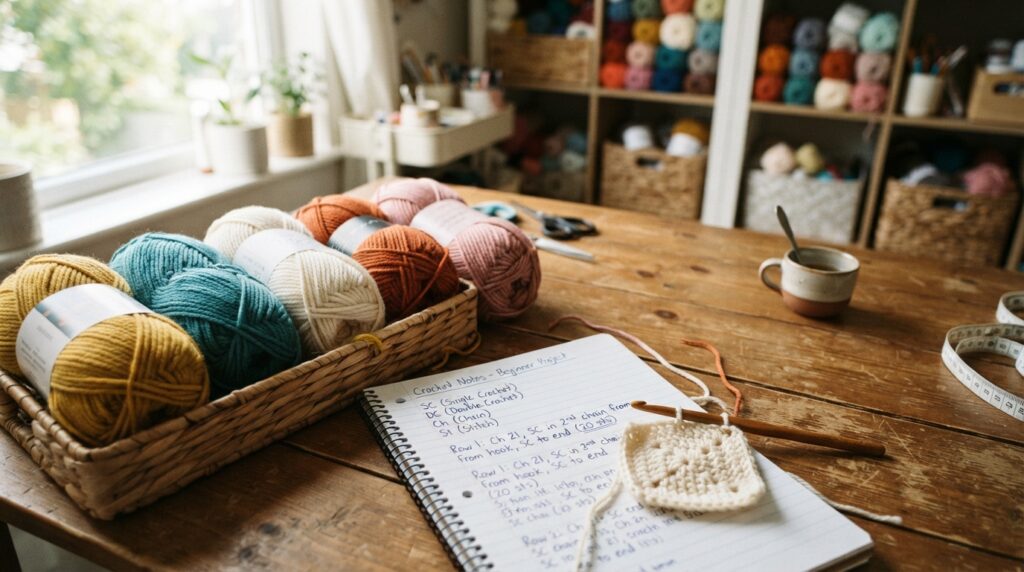
Simple crochet patterns for beginners often rely on a small set of stitches. They also tend to limit shaping, color changes, and finishing steps.
Before choosing, scan the pattern for these four signs of readiness:
- Basic stitch requirements that match what you know.
- Clear stitch counts for each row or round.
- Shaping or color changes you feel ready to handle.
- Written or visual help for unfamiliar parts.
A pattern can still teach you something new. The key is knowing which parts need practice before you begin.
Judge support, not just the word “easy”
Some patterns explain each repeat in words, while others rely on symbols or shorthand. Clear notes matter when you need to pause and find your place again.
Promises like 5 minute crochet projects for beginners and 30 minute crochet projects for beginners do not fit every learner. Your pace depends on familiarity, stitch choice, interruptions, and finishing.
A quick project may suit an experienced crocheter but take longer while you learn. Judge the pattern by its skills and support, then choose a format that fits your interests and current comfort.
Crochet Patterns for Beginners: Choose Your First Project
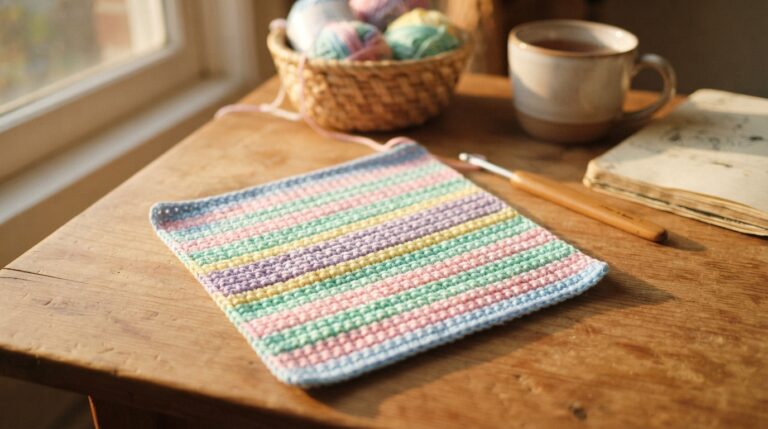
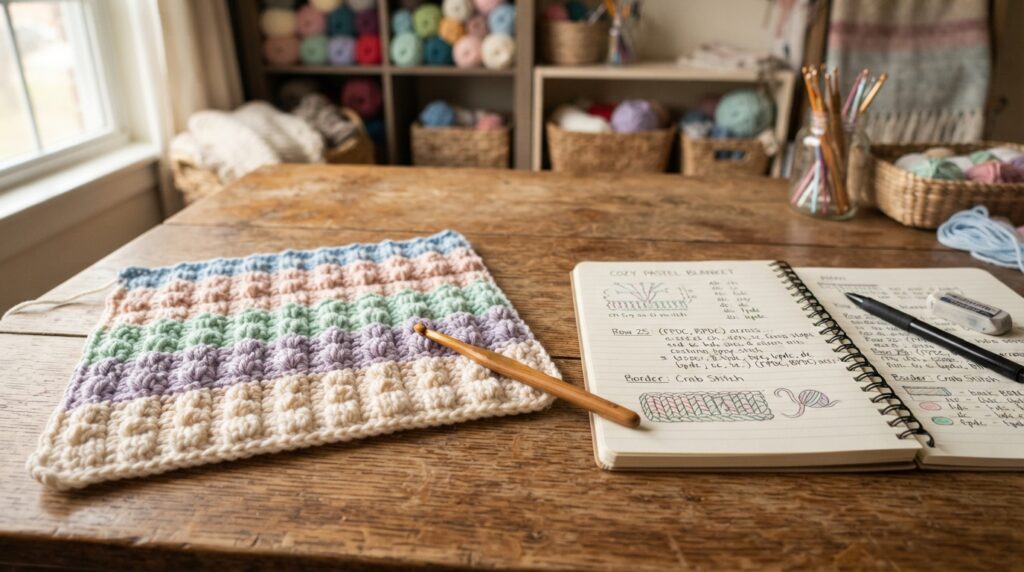
You may want a useful household item but prefer to avoid shaping on your first try. A flat project can give you practice without adding many new decisions.
Choose a project that lets you practice familiar skills before adding a new construction challenge. Your interests matter, but a manageable structure helps you focus.
Match the project structure to your comfort
Common first projects offer different kinds of practice. Compare their structure and typical challenges before settling on one.
| Project type | Typical structure | Skills practiced | Common beginner challenge |
|---|---|---|---|
| Dishcloth or mug rug | Flat rows | Basic stitches and even tension | Keeping edges straight |
| Scarf or cowl | Repeated rows or a simple join | Stitch rhythm and consistency | Maintaining an even width |
| Granny square | Motif worked in rounds | Joining rounds and recognizing corners | Losing track of round structure |
| Simple beanie | A rectangle or simple circular construction | Repeated stitches and basic shaping | Following increases or seams |
| Basic shawl | Rectangular or triangular construction | Repetition and recognizing shaping | Keeping track of pattern repeats |
A dishcloth or mug rug keeps the structure simple. A scarf or cowl asks you to repeat stitches and notice whether your work stays consistent.
Choose challenge without overreaching
A granny square tutorial can help you move from rows to rounds. It gives you a contained way to practice corners and round structure.
Easy amigurumi projects may involve rounds and shaping, which can be easier after you gain basic stitch control. A crochet patterns for beginners book can help when it explains abbreviations and offers clear diagrams or tutorial support.
The best choice gives you room to learn without making every part unfamiliar. Once you choose a form, the written directions can show how each stitch and repeat fits together.
How Do You Read Crochet Instructions and Abbreviations?
If you see “sc” in a pattern, first confirm whether it uses US or UK terms. The same abbreviation can mean different stitches across terminology systems.
Check the pattern’s own key before you rely on an abbreviation. Reading pattern abbreviations gets easier when you know the terminology system and follow its stitch counts.
Decode abbreviations and terminology
Abbreviations save space, but each pattern should explain its own shorthand. A chain stitch is a basic looped stitch that often forms a starting chain or spaces in a design.
A single crochet stitch is a short, compact stitch in US terminology. Patterns may use different names for it in UK terminology, so check before you start.
| US term | UK term | What to check |
|---|---|---|
| Single crochet | Double crochet | Whether the pattern uses US or UK terms |
| Half double crochet | Half treble | Check the pattern’s abbreviation key |
| Double crochet | Treble | Confirm terminology before beginning |
| Treble crochet | Double treble | Check how the pattern labels the stitch |
For more help with punctuation and shorthand, use this guide to reading crochet patterns. It can help you connect pattern terms with the instructions around them.
Follow repeats and stitch counts
Brackets and parentheses can group stitches or instructions that belong together. Asterisks often mark the start of a repeat, while the pattern tells you where that repeat ends.
Read the words around each mark carefully. “Repeat” directions tell you to work a section again, but the pattern should state how many times or where to stop.
A stitch count tells you how many stitches should remain in a row or round. Compare your count with the pattern’s count to see whether you may have missed or added one.
Once the pattern’s terms make sense, its yarn and crochet hook notes can help you choose materials that suit the design.
How Do You Choose Yarn and Hooks?
Dark, fuzzy yarn can hide the spaces between stitches, while smooth, light-colored yarn makes them easier to see. For a first project, visibility can make practice less frustrating.
Match the yarn weight and crochet hook guidance in the pattern when you can. Yarn weight affects how clearly stitches show and how thick the finished fabric feels.
Compare yarn weights and fibers
A yarn weight guide groups yarn by thickness. A thicker yarn can make stitches easier to see, while a lighter yarn may form a finer fabric.
Check the yarn label for its weight and care information. These details can help you choose a yarn that fits the pattern and the way you want to use the finished item.
| Fiber | Beginner handling | Considerations |
|---|---|---|
| Acrylic | Widely available and generally easy to care for | Softness and feel can vary |
| Cotton | Shows stitch definition clearly | Can feel less forgiving in the hands |
| Wool | Often elastic and springy | Care needs and fiber sensitivities vary |
Smooth, light-colored yarn helps you see neighboring stitches. A highly textured or dark yarn may make it harder to spot where one stitch ends and another begins.
Pick a hook that suits the yarn and your hand
Follow the pattern’s crochet hook guidance so the yarn and hook work well together. A hook that feels awkward can make practice tiring, even when its size suits the pattern.
An ergonomic crochet hook may feel more comfortable during longer practice. Grip is personal, though, and a special hook is not needed to learn.
Once you have materials that suit the pattern, check whether your fabric matches its expected gauge.
What Is Gauge, and When Should You Make a Gauge Swatch?
A garment can fit differently when your stitches are consistently tighter or looser than the pattern expects. Gauge helps you spot that difference before it affects the finished fit.
Gauge is the number of stitches and rows worked within a stated area, used to check whether your work matches a pattern’s requirements. A gauge swatch is a separate sample made to assess that match.
Understand what gauge tells you
Gauge describes the fabric your yarn and hook create when you use the pattern’s stitches. It can help you tell whether your work is on track for a planned fit or size.
Gauge matters most when the finished fit or size is important. For a flexible practice item, matching the stated gauge may matter less.
Use a swatch to check pattern fit
A gauge swatch gives you a sample to compare with the pattern’s stated expectations. It can show whether your fabric seems denser or looser than the design calls for.
If the fabric feels too dense or loose, review your tension and the pattern’s crochet hook guidance before deciding whether to adjust. A change in hook can affect how the fabric looks and feels.
Use the yarn weight guide and pattern notes together when judging the sample. The aim is a fabric that suits the pattern, not a swatch that looks perfect on its own.
Once you understand the fabric as a whole, pay attention to how each stitch feels as you work.
How Can You Keep Your Crochet Tension Consistent?
Your first rows may look uneven even when you repeat the same stitch pattern. Some unevenness is common while your hands learn how to form each loop.
Tension is the consistency with which you form loops. It can change with your grip, fatigue, unfamiliar stitches, or pulling the yarn too tightly.
Notice what changes your tension
Relaxed hands and a steady pace can help you make stitches more evenly. Pause when your grip starts to feel strained, then return when your hands feel comfortable.
A chain stitch shows how loop size can affect later work. If its loops vary, the next row may feel harder to manage or may look uneven.
An ergonomic crochet hook may improve comfort, but it cannot correct technique by itself. Notice how you hold the hook and yarn, then make small changes without forcing your hands.
Correct uneven stitches without restarting too soon
Early unevenness does not always mean you need to undo your work. Look at a small section first and check whether the same issue repeats.
If one stitch looks different, it may be a normal part of learning. If many stitches keep changing in size, consider whether tight pulling or hand fatigue is affecting your work.
Inspecting a small area can help you decide whether to keep going or undo a few stitches. After you settle into a more comfortable rhythm, find simple ways to keep your place and catch counting errors.
How Do You Track Stitches and Fix Common Mistakes?
You reach the end of a row and cannot tell whether the final stitch is missing. A quick count can help you check before you work farther.
Use stitch markers and consistent counting checkpoints to catch missed or added stitches early. A stitch marker can mark the first or last stitch, a turning point, or a repeat boundary.
Use stitch markers and counts to keep your place
Marking a key spot can make a row or round easier to follow. Counting at the same points each time can reveal a missed or added stitch before the mistake spreads.
A single crochet stitch can be hard to identify at first. Good lighting and a clear view of the stitch top can help you see where to place the next stitch.
Diagnose the mistake before undoing work
Check the pattern and the fabric before you pull out a long stretch. These common mistake-and-check pairs give you a place to start:
- Missed stitch: recount the row or round.
- Extra stitch: inspect turning chains and stitch placement.
- Twisted chain or foundation: pause and inspect before building on it.
- Skipped finishing step: check the pattern’s notes about weaving in ends.
Not every odd-looking spot needs a full restart. Compare the section with the pattern and decide whether the issue affects the structure or only one stitch.
Once you can check your own work, look for patterns and demonstrations that explain unfamiliar parts clearly.
Where Can You Find Reliable Free Patterns and Tutorials?
You may find a promising free pattern but still need to know whether its directions are complete. Check the details before you gather materials or start stitching.
A useful pattern names its skill level, materials, abbreviations, stitch counts, and finishing information. Free crochet patterns for beginners can vary in how clearly they explain those details.
Check a free pattern before you start
LoveCrafts, Yarnspirations, and The Unraveled Mitten are places to explore for free patterns. Not every pattern on a site will suit every beginner, so check its skill demands and support.
Look for free crochet patterns for beginners step by step when you want clear guidance through a project. Complete directions should explain the terms and counts you need, along with how the work should be finished.
For more project ideas, you can browse beginner-friendly crochet patterns and tutorials. Choose a pattern whose written notes fit your current skills.
Use video and picture tutorials as learning aids
Pictures can show hand position or stitch placement from a useful angle. Searching for how to crochet for beginners step by step with pictures may help you inspect a movement that words do not make clear.
Video and photos add a visual view, but they do not replace the pattern’s stitch count or terminology key. Compare a tutorial’s terms with the pattern’s US or UK terminology.
Pinterest also offers crochet ideas to explore in a separate browse, through Hooksylane on Pinterest. Once you have a clear pattern and suitable support, you can plan a steady progression of skills for later projects.
How Can You Keep Improving After Your First Project?
Finishing a project gives you a useful learning moment: you can name one skill that improved and one that still feels awkward. That review can help you choose what to practice next.
Change one challenge at a time instead of making every new project harder. You might move from flat rows to rounds or learn one new stitch while keeping the rest familiar.
Build on what you can already do, and add just one new challenge at a time.
Build skills one new technique at a time
A granny square tutorial can help you practice reading rounds after you feel steady with rows. It adds a new structure while keeping the practice focused.
Easy amigurumi projects can be a later option when basic stitches and shaping feel comfortable. For rounded shapes, you can learn more about the invisible decrease technique before trying it in a project.
Keep your next challenge small enough to notice what you are learning. A familiar stitch pattern with one new feature can be more useful than several new techniques at once.
Finish and review each project
After you finish, look at the fabric and your notes. Ask which part felt easier and which part slowed you down.
Use these four actions to plan your next practice:
- Keep notes on confusing abbreviations.
- Compare finished fabric with the pattern’s stated expectations.
- Practice one unfamiliar stitch or technique at a time.
- Finish neatly by checking the pattern’s instructions for weaving in ends.
Reviewing a finished project helps you pick a skill to practice, rather than guessing what to change. Choose one manageable next step, then give yourself time to try it.
Conclusion
A good first choice is a pattern whose stitches and support you can understand. A clear pattern, comfortable materials, and patient practice matter more than choosing the fastest or most ambitious project.
You do not need to master every term before you begin. Start with a pattern that explains its needs and gives you room to learn at your own pace.
Choose a simple pattern, check its terminology and materials, and set out the supplies before beginning.