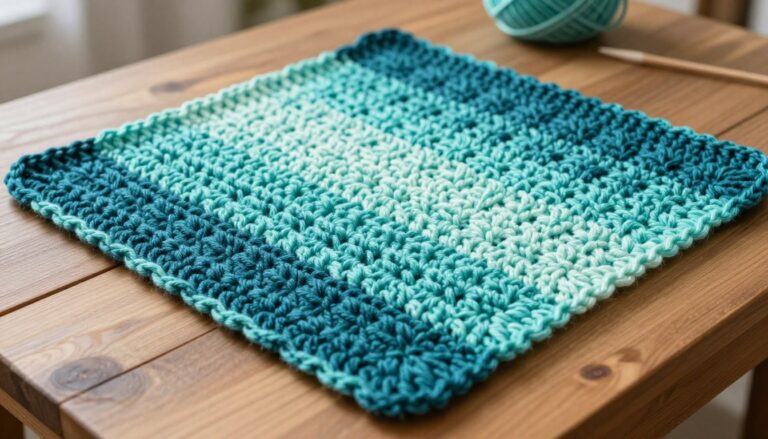
How to Start Crochet: 10 Basic Techniques for Beginners
Table of Contents
You can begin with a hook, yarn, and a few foundational motions. That first loop may look simple, but it starts a piece you made yourself. This beginner-friendly tutorial gives you a practical path from basic setup to a first project, without rushing through the small steps that help stitches make sense.
Start with a small practice swatch, not a large project. You can use it to learn the movements, check your stitches, and spot changes as you work. The sections cover your supplies, basic stitches, rows, pattern terms, and finishing. Use the contents as a guide: start with the ten techniques, then move through supplies, loops, stitches, rows, practice, and finishing.
You will move from choosing supplies to making and checking a first swatch. By the end, you will know how to secure its yarn tail and choose a simple next project.
How to Start Crochet: 10 Basic Techniques for Beginners
A first practice swatch comes together when you learn the techniques in a simple sequence. Build each new skill on the motion you just learned, rather than trying to memorize everything at once.
A turning chain is one or more chains made at the end of a row to bring the working yarn to the height needed for the next row. The roadmap below moves from setup to a finished practice piece.
- Choose a hook and yarn.
- Hold the hook and working yarn.
- Make a slip knot.
- Make a foundation chain.
- Work single crochet.
- Turn a row.
- Keep stitch counts.
- Work half double crochet.
- Work double crochet.
- Fasten off and weave in ends.
These ten skills give you a clear route through a beginner project. You can pause to repeat any motion before moving on, especially if your loops feel hard to control.
The roadmap starts with tools you can handle comfortably. Next, choose a hook and yarn that make early practice easier to see and manage.
Which crochet hook and yarn should you choose?
Start with smooth yarn and a hook that feels comfortable in your hand. A light-colored, smooth yarn makes it easier to see where each stitch begins and ends.
Beginner crochet hooks come in several materials, and each has a different feel as yarn moves over it. Your comfort matters more than choosing a certain material.
| Hook material | Feel and glide | Useful consideration |
|---|---|---|
| Aluminum | Usually smooth with easy yarn glide | Can feel cool or slick in your hand |
| Plastic | Lightweight, with a less cool feel | Can flex more than metal hooks |
| Bamboo or wooden | Warmer feel with more yarn grip | May slow yarn that slides easily |
Pick a hook that feels comfortable
Hold a hook as you would a pen or utensil, then check that your fingers can move without strain. A hook should let you guide the yarn and turn its tip with control.
Yarn labels give a yarn weight and a suggested hook size. Yarn weight describes how thick the yarn is, while the hook size names the tool size.
Choose yarn that makes stitches easy to see
Choose smooth yarn in a light or mid-tone shade for your first swatch. Fuzzy yarn can hide the top loops, and very dark yarn can make stitch placement hard to see.
When you follow a pattern, use its stated hook size rather than relying only on the yarn label. With supplies chosen, you can learn to hold them and guide the working yarn steadily.
How should you hold the hook and control yarn tension?
Let the hook move freely while the yarn feeds at a steady pace. Tension means how firmly you hold the working yarn as you make stitches.
Two common hook grips are the pencil grip and the knife grip. In a pencil grip, you hold the hook much like a pencil; in a knife grip, your hand rests over it.
Either grip works if the hook can turn and slide through loops without strain. Try both, then keep the one that lets your wrist and fingers relax.
To guide the yarn, pass it over a finger and through the space between two fingers. You can wrap it around another finger if the yarn slips too freely.
Use the fingers to add gentle resistance, not to clamp down on the strand. If you grip tightly to control a slippery loop, your stitches may become small and stiff.
Relax your fingers and change the yarn path instead. A different route around your fingers can add control without forcing the yarn tight.
Keep the working yarn moving as your hook draws it through loops. That relaxed hold is ready for the first loop and chain.
How do you make a slip knot and foundation chain?
With the slip knot on your hook, adjust it until the loop moves along the shaft. The loop should sit securely without squeezing the hook.
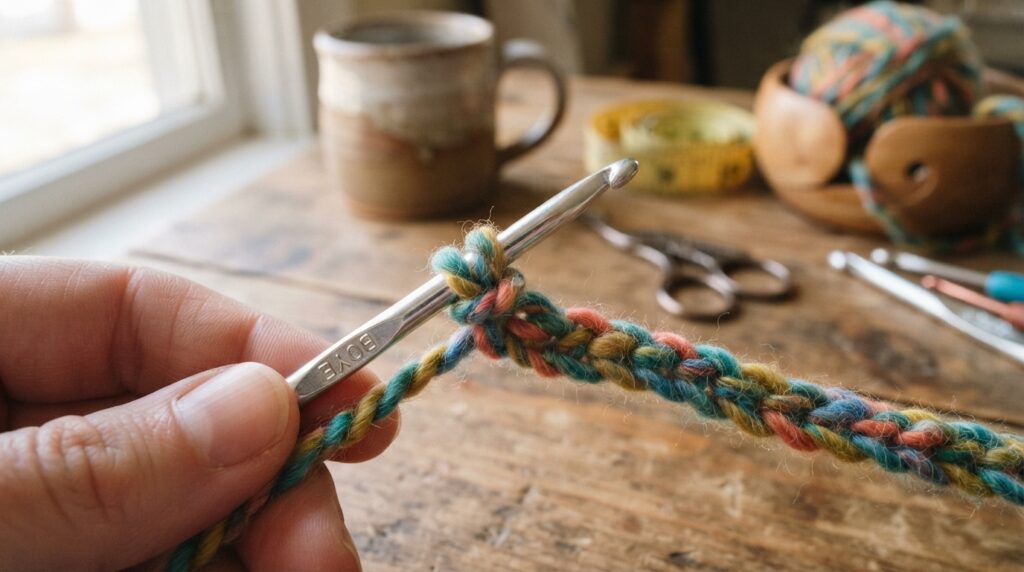
Make and tighten a slip knot
Make a loop with the yarn, then pull a section of the working yarn through it to form another loop. The exact hand motion can vary; what matters is that the working yarn can tighten the knot.
- Place the new loop over the hook.
- Pull the yarn tail gently to close the knot around the hook.
- Adjust the working yarn until the loop slides without pinching the shaft.
The loop on the hook is not a chain stitch. Keep it there as you begin the foundation chain.
Build an even foundation chain
Make each chain by wrapping the working yarn over the hook, then pulling it through the loop already on the hook. Repeat that motion until your chain reaches the length you need.
- Hold the hook with the slip knot in place.
- Bring the working yarn over the hook from back to front.
- Draw the yarn through the loop on the hook.
- Repeat, leaving each new chain loose enough to see.
Each completed pull-through makes one chain stitch. The loop that remains on the hook does not count as a chain.
If the foundation chain feels too tight, loosen your yarn hold or use a slightly larger hook for the chain. Switch back to the pattern hook afterward, if needed.
Use your finished foundation chain as the base for your first stitch.
How do you make a single crochet stitch?
Single crochet forms when you pull yarn through a stitch, then through both loops on the hook. These two pull-throughs create one compact US single crochet stitch.
For a first row, insert the hook into a chain stitch, usually under its top loop. Follow the pattern if it names a different insertion point.
Work the stitch with these three actions:
- Insert the hook into the next stitch.
- Wrap the working yarn over the hook and pull up a loop.
- Yarn over again and pull through both loops on the hook.
You will have one loop left on the hook after completing the stitch. Insert the hook into the next chain and repeat across.
Keep the foundation chain flat as you work. If it twists, pause and turn the chain so its top loops face the hook again.
In later rows, look for the top V of each stitch. The two strands of that V usually sit at the top of the row, ready for the next insertion.
Work a short practice row, then compare the number of stitches you made with the count you intended. This helps you notice missed chains before adding more rows.
The same basic insertion and yarn-over motions can form taller stitches. Their extra yarn-over steps change how the loops come together.
What is the difference between half double crochet and double crochet?
The main difference is how many yarn-over and pull-through actions form each stitch. Half double crochet pulls through three loops at once; double crochet pulls through two loops twice.
All three stitches use the same basic hook control, but the extra yarn-over changes their height. This table shows common US stitch mechanics.
| US stitch | Yarn over before insertion | Loops pulled through to finish | Relative height |
|---|---|---|---|
| Single crochet | No | Two together once | Low |
| Half double crochet | Yes, one | Three together once | Medium |
| Double crochet | Yes, one | Two together twice | Tall |
Work a half double crochet
Before inserting your hook, wrap the working yarn over it once. Insert the hook into the stitch, yarn over, and pull up a loop.
You now have three loops on the hook. Yarn over once more and pull through all three loops at the same time.
Work a double crochet
Yarn over before inserting the hook into the stitch. Yarn over again and pull up a loop, leaving three loops on the hook.
Yarn over and pull through the first two loops. Yarn over again and pull through the last two loops.
Make a small sample of each stitch, then compare their height. You can see how one extra yarn-over step affects the row without changing the basic rhythm.
Once you can form each stitch, the next task is turning them into even rows.
How do you turn rows and keep your stitch count correct?
The pattern’s turning-chain instruction determines how you start the next row. Follow its rule each time, because patterns differ on whether the turning chain counts as a stitch.
Common turning-chain lengths vary by stitch, but they are not fixed rules. A pattern may set a different length or say whether the chain counts in the row.
| Stitch | Common turning-chain length | Does it count as a stitch? |
|---|---|---|
| Single crochet | 1 chain | Often no |
| Half double crochet | 2 chains | Sometimes |
| Double crochet | 3 chains | Often yes |
Turn the work and follow the pattern’s turning chain
At the row end, make the number of chains your pattern calls for. Turn the work so the next row can be worked back across the piece.
- Chain the amount specified by the pattern.
- Turn the work so the row faces the other way.
- Locate the first stitch under the pattern’s counting rule.
- Work across the row, following that rule consistently.
- Count the completed row against the pattern’s stated total.
Check the first and last stitch of every row
Find the first stitch before you begin. If you skip it, the new row may lose a stitch and the edge may narrow.
At the far end, check whether the pattern tells you to work into the turning chain. Leaving out a counted chain can shorten the row; adding a stitch where it does not count can widen it.
Count each row while the edge stitches are still easy to see. Clear row counts also help you read abbreviations and other instructions in a crochet pattern.
How do you read basic US crochet pattern terms?
Check whether a pattern uses US or UK terms before you start. The same stitch name can describe different stitches in the two systems.
US single crochet is called UK double crochet, while US double crochet is UK treble crochet. These differences can change the stitch you make if you follow the wrong system.
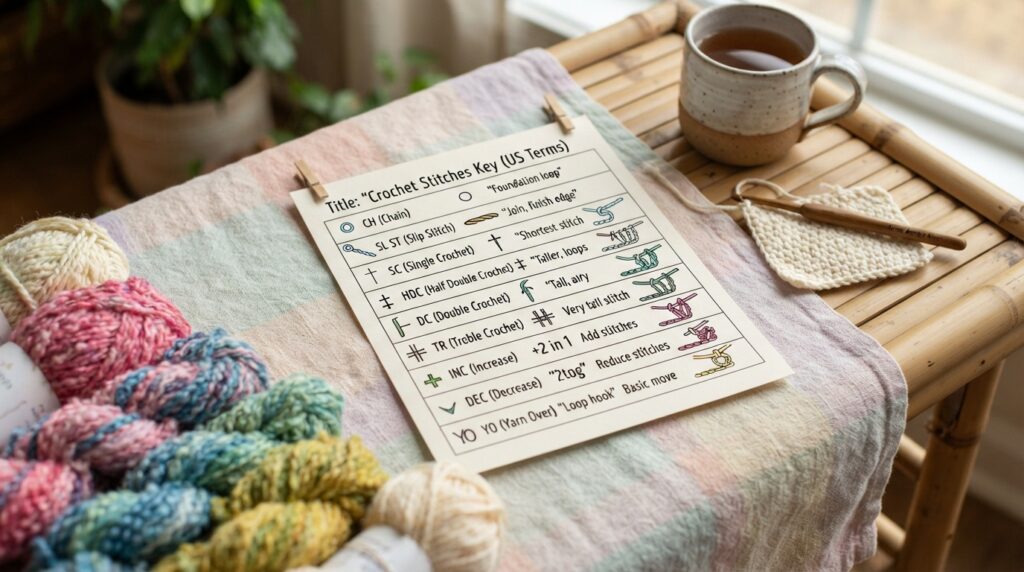
Use this short glossary to recognize common US crochet terms:
- ch means chain.
- sc means single crochet.
- hdc means half double crochet.
- dc means double crochet.
- st or sts means stitch or stitches.
- rep means repeat, and sk means skip.
A pattern’s opening notes or key often names its terminology system. Check that note before starting, since an abbreviation can have a different meaning in another system.
For more help with pattern formats and common instructions, use this step-by-step guide to reading crochet patterns. Then apply the terms to a small practice piece before starting a larger project.
How can you practice these techniques with a first swatch?
A swatch is a useful practice piece because you can repeat rows and inspect your stitches. Use it to learn what your stitches look like, not to prove that you can make a perfect square.
Choose smooth yarn and a hook that suits the yarn label or the pattern you plan to follow. A small piece takes less time to undo if you want to try a new stitch.
Try this simple practice routine:
- Make a foundation chain for a narrow sample.
- Work several rows in one stitch, such as single crochet.
- Check the stitch count after every row.
- Make a second small sample using another stitch.
Look at the shape of each stitch, how evenly the loops sit, and whether the edges stay straight. A rough first sample still shows where your hands move smoothly and where they pause.
For another place to browse crochet ideas, visit Hooksylane on Pinterest. As you check your swatch, small problems are easier to trace when you look at tension and stitch placement.
What common beginner crochet mistakes can you fix?
Most early swatch problems can be traced by checking tension and stitch placement. Compare the stitch count and row edges before changing your hook or yarn.
A few small changes can make the next row easier to work. Look for the symptom first, then adjust one thing at a time.
Loops or chains feel too tight or uneven
Chains that are too tight often come from holding the working yarn too firmly. Relax your fingers, adjust the yarn path, or use a slightly larger hook for the chain if needed.
If stitch sizes vary, you may be changing how firmly you draw up each loop. Slow down and check whether each loop rests at a similar height on the hook.
The row edges gain or lose stitches
A changing stitch count often means you missed the first or last stitch. It can also happen if you work into a turning chain that the pattern says does not count.
A wavy edge may show extra stitches; a narrowing edge may show missed stitches. Check the pattern’s turning-chain rule before deciding where the first and last stitches belong.
Use this quick diagnostic list when your swatch changes shape:
- Count the stitches in the row.
- Check the first and last stitch.
- Confirm the turning-chain rule.
- Loosen your working hold if loops feel tight.
Once the practice piece looks consistent enough to finish, secure its yarn tail so the last loop stays in place.
How do you fasten off and weave in yarn ends?
Secure the final loop before trimming the working yarn. Pulling the yarn tail through that loop locks the last stitch in place.
Cut the working yarn and leave a usable yarn tail. The amount you need depends on the piece and the method you use to weave it in.
Pull the yarn tail through the final loop, then snug the loop without distorting the edge. You want the last stitch secure, not drawn smaller than its neighbors.
Thread the yarn tail through a yarn needle, or use your hook to guide it through nearby stitches. Weave through several stitches on the back of the work.
Change direction through nearby stitches to help hold the tail in place. Avoid pulling so hard that the fabric puckers, then trim the tail once it feels secure.
Your swatch is now ready for one more easy step: repeat it in the stitch you found most comfortable.
Conclusion
Use your finished swatch as evidence of what you can already do. You have practiced making stitches, building rows, checking counts, and securing an end.
Before starting another piece, check these five details:
- Your hook and yarn suit the practice piece.
- Your foundation chain is not pulled tight.
- Your stitch count stays consistent.
- Your turning-chain steps match the pattern.
- Your yarn tail is secured.
Repeat the swatch in one stitch until the movement feels comfortable. Then choose a clearly written beginner pattern that states US terms and turning-chain rules, and use your checklist as you work.