Easy Crochet for Beginners: Supplies, Stitches and Terms Explained
Table of Contents
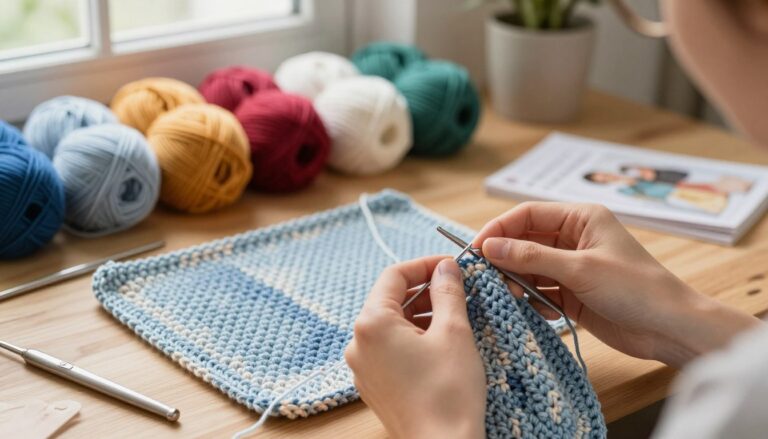
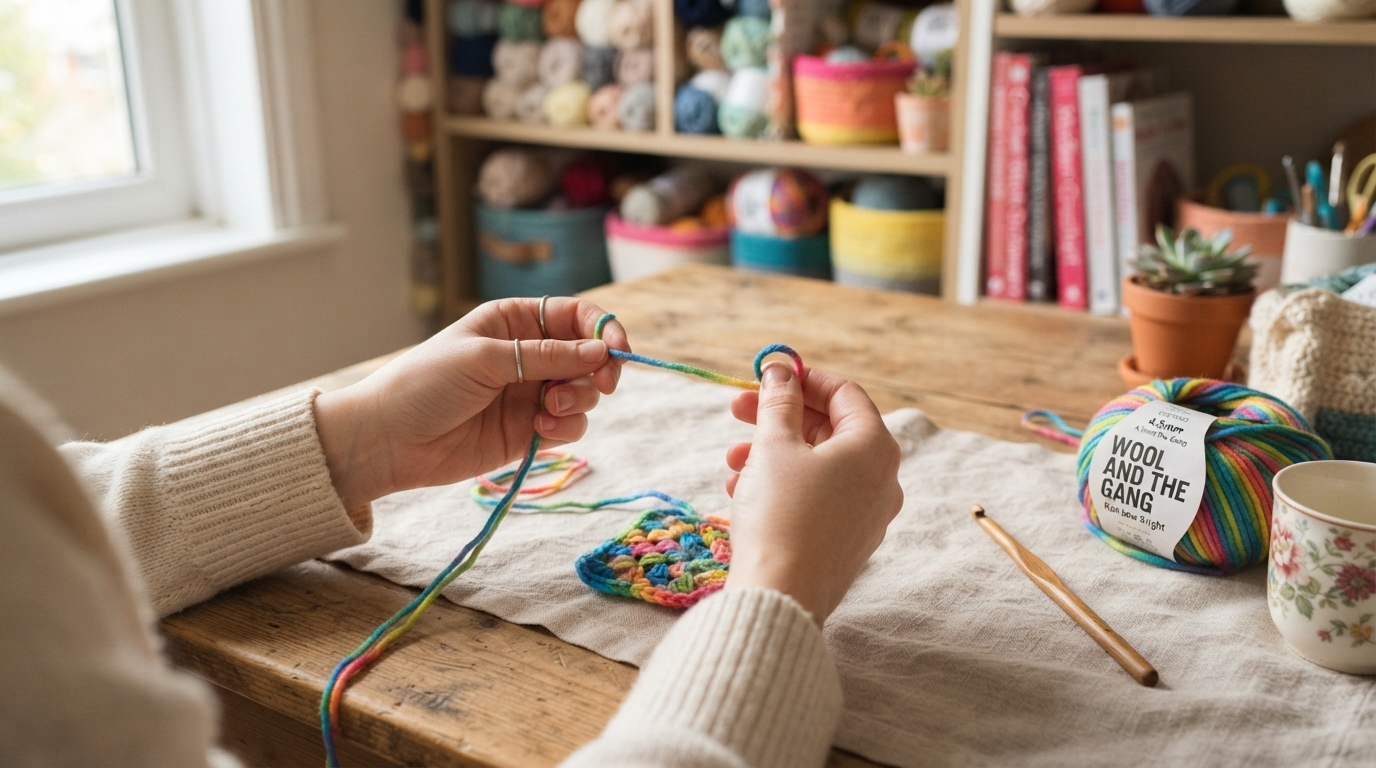
You can begin with a small set of tools and a few repeatable motions. Crochet for beginners can feel new at first, but each stitch uses loops you can see and count. Yarn over means wrapping the working yarn over the hook to make or move a loop.
This guide moves from tools and a foundation chain to basic stitches, pattern terms, and a finished piece. US and UK stitch names can differ, so checking the pattern’s terms matters. You will also learn how to count rows and handle common mistakes.
Contents: Supplies; hook and chain; single crochet; half double and double crochet; US and UK terms; turning chains and counts; common mistakes; first project; finishing and care; final checklist.
SEO title: Crochet for Beginners: Supplies, Stitches and Terms Explained. Meta description: Learn crochet for beginners with easy steps for choosing supplies, making basic stitches, understanding US terms, and avoiding simple beginner mistakes. URL slug: /crochet-for-beginners-supplies-stitches-terms/
Start with the supplies you need before you pick up your hook.
What Supplies Do You Need for Crochet for Beginners?
A small starter kit needs smooth yarn, one matching crochet hook, scissors, a blunt tapestry needle, and stitch markers. You do not need specialty tools to practice a first swatch.
Choose light-colored worsted-weight yarn so you can see the loops clearly. Dark, fuzzy, or highly textured yarn can hide stitch tops and make it harder to spot where your hook should go.
| Item | Beginner choice | What it helps with | Watch for |
|---|---|---|---|
| Yarn | Smooth, light worsted-weight yarn | Seeing each loop and stitch | Dark or fuzzy strands hide loops |
| Crochet hook | Size suggested on the yarn label | Making loops through the fabric | The label size is a starting point |
| Scissors | Small, sharp craft scissors | Cutting yarn tails neatly | Keep blades away from the yarn ball |
| Tapestry needle | Blunt needle with a large eye | Weaving in loose ends | Choose an eye that fits your yarn |
| Stitch markers | Two removable markers | Marking row edges or stitches | Use markers that open and close |
A yarn label lists a suggested hook size, often beside the yarn weight. Treat that size as a starting point, not a rule. Your own fabric may feel too loose or too firm, so practice with the suggested size first.
Keep the supplies within reach, then move from choosing tools to setting up a comfortable grip.
How Do You Hold the Hook and Make a Foundation Chain?
A comfortable grip lets the hook move while the yarn feeds without strain. Pencil and knife grips both work if your wrist and fingers stay relaxed. Try each briefly and keep the one that gives you control.
Find a comfortable hook and yarn grip
Rest the hook in your hand without squeezing it. Guide the working yarn through your other hand so it feeds steadily. Your grip can change as you practice.
Make and check your foundation chain
A slip knot starts the first loop on your hook. The foundation chain is the first base row of chain stitches, and it supports the stitches in your first row.
- Make a loop with the yarn, leaving a tail several inches long. Pass the yarn end through the loop to form a knot.
- Slide the loop onto the hook. Pull the yarn ends gently until the loop rests around the hook without pinching it.
- Hold the knot below the hook. Wrap the working yarn over the hook, then pull that strand through the loop.
- Repeat the yarn over and pull-through motion. Keep each new chain loop close in size to the one before it.
- Count the V-shaped chain stitches along the foundation chain. Do not count the active loop sitting on the hook.
For example, if your instructions call for 12 foundation-chain stitches, count 12 Vs below the hook. A tight chain makes it hard to insert the hook, so let each loop sit loosely on the shaft.
If the chain twists, lay it flat and orient the loops the same way before working into it. A close look at the chain helps you find the first insertion point before making the first row of stitches.
How Do You Make a Single Crochet Stitch?
US single crochet forms when you pull yarn through the fabric, then through both loops on the hook. Two loops sit on the hook just before the final pull-through.
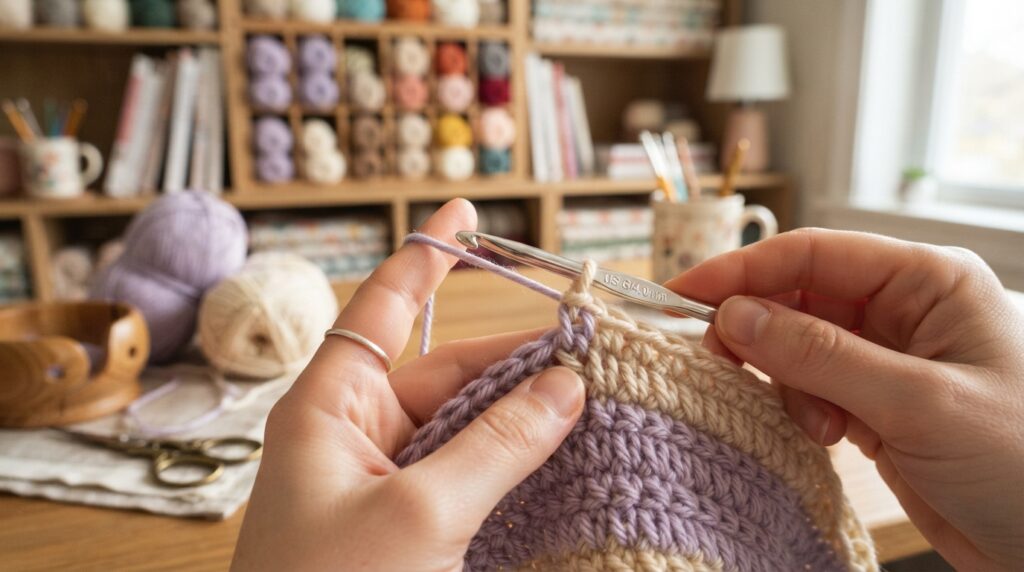
Find the first intended insertion point before you begin. If the pattern tells you to skip chain stitches, count them first so you do not work into the wrong chain.
- Insert the hook into the instructed chain or stitch.
- Yarn over, then pull the working yarn through the fabric. You now have two loops on the hook.
- Yarn over again. Pull the yarn through both loops to finish the stitch.
Repeat those steps across the row, placing each new stitch in the next instructed chain or stitch. Keep the hook moving freely; pulling the yarn too tight can make the next insertion difficult.
For a short example, start with 7 foundation-chain stitches and work into the first 6, if your pattern says to skip one. Your first row then has 6 single crochet stitches.
The first-row count depends on how many foundation-chain stitches the instructions tell you to skip. Check the pattern rather than assuming every chain receives a stitch.
If your row seems short, pause and locate the first intended insertion point again. The chain closest to the hook may be one the pattern says to skip. Once you can make a steady row, taller stitches offer another way to change fabric height and texture.
How Do You Make Half Double and Double Crochet Stitches?
Both stitches begin with a yarn over, but their final pull-throughs differ. Half double crochet pulls through three loops at once, while double crochet works through two loops twice.
Work a half double crochet
Half double crochet makes a fabric taller than single crochet. Use these steps to work one stitch into the next instructed chain or stitch.
- Yarn over, then insert the hook into the instructed chain or stitch.
- Yarn over and pull up a loop through the fabric. Three loops now sit on the hook.
- Yarn over and pull through all three loops to finish the stitch.
Make a short practice row of four half double crochet stitches. Keep the loops even, and avoid a hard final tug that squeezes the top of each stitch.
Work a double crochet
Double crochet is taller than half double crochet. Its final pull-through happens in two stages, leaving a taller stitch with a clear top.
- Yarn over, then insert the hook into the instructed chain or stitch.
- Yarn over and pull up a loop through the fabric. Three loops now sit on the hook.
- Yarn over and pull through two loops. Two loops remain on the hook.
- Yarn over and pull through the remaining two loops.
Try a row of four double crochet stitches beside your shorter practice rows. Compare their height and keep the same number of stitches across each row.
A tight final pull-through can make the top loops hard to work into on the next row. Stitch height and turning-chain treatment can vary by pattern, so follow its directions. You can learn the half double crochet steps in more detail as you practice. Next, check the stitch names and abbreviations in written patterns.
How Do US and UK Crochet Terms Differ?
US and UK names for several crochet stitches do not match. The same stitch name can describe different stitches in the two systems. Use the pattern’s stated terms before you start.
Read US abbreviations in a pattern
US crochet abbreviations shorten stitch names in written instructions. For example, “sc” means single crochet in US terms, while “dc” means double crochet.
| US stitch name | US abbreviation | UK equivalent name | UK abbreviation |
|---|---|---|---|
| single crochet | sc | double crochet | dc |
| half double crochet | hdc | half treble | htr |
| double crochet | dc | treble | tr |
| treble crochet | tr | double treble | dtr |
US single crochet and UK double crochet describe the same stitch. US double crochet is not UK double crochet; the UK name for that stitch is treble.
Check the term system before you begin
Look for a note that says “US terms” or “UK terms” near the pattern’s start. Check the stated terminology before stitching, especially when the designer’s location is unclear.
A pattern’s location alone does not always tell you which naming system it uses. Once you know the terms, turn your attention to the chain at the beginning or end of a row.
How Do Turning Chains and Stitch Counts Work?
A turning chain raises the hook to the next row’s height, but its counting rule depends on the pattern. A pattern may count the turning chain as a stitch or tell you not to count it.
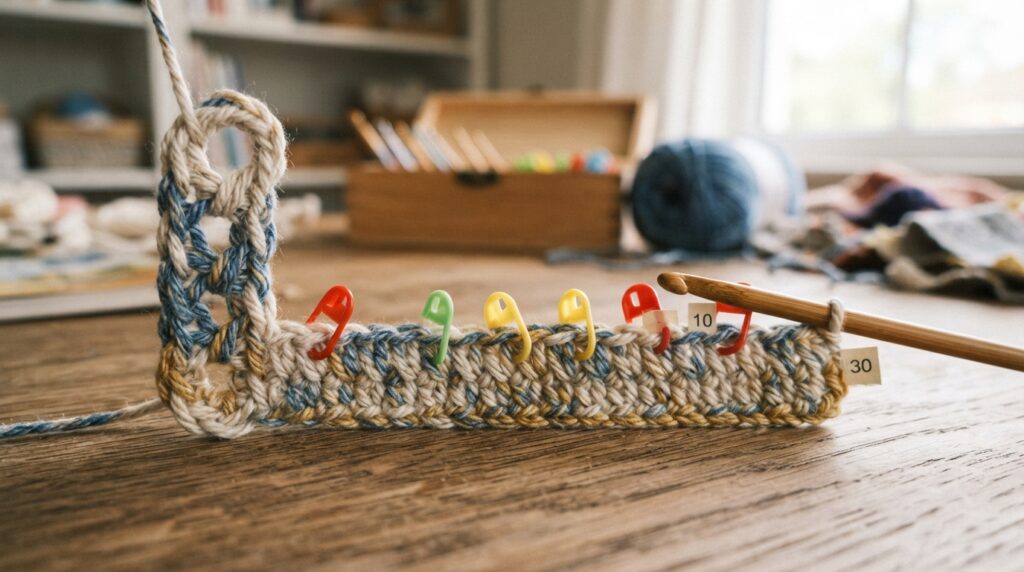
The chain sits at the start of a row after you turn your work. Its job is to bring the hook to a useful height for the next stitches.
Follow the pattern’s explicit rule for each row. If the edges are hard to read, mark the first and last actual stitches, then count the completed row before turning.
For example, a pattern may call for 10 stitches and say not to count the turning chain. If you count the chain as one stitch, you could work 10 more and create 11.
At the end of a row, compare your count with the pattern’s stated number. Counting the actual stitches, rather than guessing from the row’s width, can reveal an edge mistake early.
Rules can vary by stitch and pattern, so do not carry one row’s turning-chain rule into another pattern without checking. If rows still grow, shrink, or feel hard to work, look for a specific cause.
How Do You Fix Common Beginner Mistakes?
A row that grows wider or narrower usually has a missed or added stitch near an edge. Count every row and check its first and last stitch before changing your tension.
| Symptom | Likely cause | What to check | Fix |
|---|---|---|---|
| Widening edges | Extra stitch at a row end | Count every row; locate first and last stitch | Remove the extra stitch and mark the edge |
| Narrowing edges | Missed edge stitch | Check the first and last actual stitches | Work into the missed stitch on the next row |
| Tight foundation chain | Chain loops pulled too snug | Try inserting the hook into each chain | Loosen chain tension or use a larger hook for the chain |
| Split or hard-to-see yarn | Hook catches strands or loops blend in | Look for split plies and hidden stitch tops | Switch to smoother, light-colored yarn for practice |
Find the error before trying to force a row to fit. Undoing stitches back to the mistake is often cleaner than adding or skipping stitches to hide it.
For widening edges, compare the row count with the row before it. For narrowing edges, look closely at the first and last stitch, where missed stitches often change the shape.
A chain that is too tight can also make the first row look uneven. Practice with looser loops, or try a larger hook for the chain, then return to the pattern’s suggested hook.
Switching yarn can help when its strands split or its surface hides stitch tops. A small project gives you a manageable place to practice these checks and corrections.
What Is a Realistic First Crochet Project?
A small rectangle is a realistic first project because you can repeat the same row without shaping. A simple dishcloth lets you practice familiar motions on a useful piece.
A small, simple dishcloth commonly takes roughly 2-4 hours, depending on its size, yarn, stitch, pace, and pauses. Cotton is a practical absorbent fiber for a dishcloth.
Choose a simple rectangle
Choose cotton yarn, a hook that suits the yarn label and your fabric, and a pattern with a clear stitch count. Start with a foundation chain, then work rows of single crochet or another stitch you have practiced.
If your edges still look uneven, make a small swatch first. That gives you a chance to check your stitch count before you work the full piece.
Set a manageable project goal
Let the pattern’s stated size and stitch count guide the finished piece. A different stitch or yarn can change the fabric, so compare your work with the pattern as you go.
Size and pace affect the time as well as the stitch choice, yarn, and breaks you take. Treat 2-4 hours as a rough estimate, not a promise for every dishcloth.
Making a small rectangle also gives you room to practice steady edges without shaping. When you reach the final row, you can secure the yarn and care for the fabric by its fiber.
A small cotton dishcloth is one option, not a required first project. Pick a pattern whose row directions you can follow and whose size feels manageable.
How Do You Finish and Care for Your First Project?
Finish by securing the last loop and weaving in the loose ends. Leave a yarn tail long enough to pass through several stitches without puckering the fabric.
Fasten off and weave in the ends
Cut the working yarn, leaving a tail several inches long. Pull that tail through the active loop on your hook, then snug the loop to secure it.
Thread the tail through a blunt tapestry needle. Weave it through the backs of several stitches, following the path of the yarn without drawing the fabric tight.
Weave in each loose end separately. A smooth, flat fabric shows that the ends are secure without making a bump or pulling the stitches out of shape.
Wash and shape the finished piece
Check the yarn label for washing and drying directions because fiber care varies. Follow those instructions instead of assuming all yarn can take the same wash or heat.
Blocking is an optional way to even the shape. It is not required for every project, and the yarn’s care directions should guide how you handle the fabric.
Once the last loop is secure, use a short checklist before your next practice session. One small swatch with a familiar stitch is a clear next move.
Conclusion
Consistent counting matters as much as making the stitch motion. Check your yarn, pattern directions, row count, and loose ends as you work.
Before your next practice session, check that you have:
- Smooth yarn and a hook suited to the yarn and fabric.
- A counted foundation chain.
- The pattern’s rule for its turning chain.
- A row count that matches the instructions.
- Secured ends on your finished practice piece.
Gather the starter tools and make a small swatch using a stitch you have already practiced. Work at your own pace and count each row.