Master the Invisible Decrease Crochet Technique Easily
Table of Contents
Have you ever felt proud of a finished crochet project, then noticed small flaws? We’ve all been there. Learning new techniques can improve your work, especially when you want a smooth, polished look. The invisible decrease crochet technique can improve stuffed toys and stylish accessories.
This tutorial suits beginners and crocheters with some experience. It offers clear, step-by-step instructions for the process. You will learn which tools to use and how to practice, so you can build confidence.
The technique may feel tricky at first, but careful stitch placement and steady tension will help you master it. Imagine how much cleaner your projects will look! Grab your yarn and hook, and explore this crochet technique with us.
What is Invisible Decrease Crochet?
The invisible decrease crochet technique creates seamless shapes in crochet projects. It reduces two stitches to one and limits the ridge or bump on your work’s front. Unlike a regular single crochet decrease, it keeps the surface smooth.
To make an invisible decrease, work through the front loops of the next two stitches. Yarn over and pull through those loops, then complete the stitch. Its appearance may change with your pattern, yarn, hook size, or work in rounds or rows.
Knowing the difference between an invisible decrease and a conventional decrease is important. A conventional decrease can create bumps that interrupt your design. An invisible decrease preserves the structure and smooth flow of your crochet design.
Use an invisible decrease to shape rounded forms, close openings, or reduce stitches in visible areas. It creates a polished look for projects where appearance matters. The invisible decrease is a method, not a different yarn or hook.
When following a pattern, always use its specified decrease method. This helps your work turn out as intended and lets you enjoy the full benefits of the invisible decrease technique.
Benefits of Using Invisible Decrease
The invisible decrease technique gives crochet projects a cleaner, more seamless finish than standard decreases. When worked correctly, it helps protect your project’s shape and overall quality.
This technique creates a smaller ridge, so crochet stitches look planned instead of gathered. The smoother surface gives projects a polished, professional look.
The invisible decrease also reduces excess yarn and bulk. That benefit matters when several decreases sit close together. Less bulk improves the shape and feel of stuffed items, small accessories, and fitted garment sections.
For amigurumi, the invisible decrease helps preserve the rounded shape of heads, bodies, limbs, and other small forms. This careful technique can greatly improve the final look of your creations.
This technique cannot remove every seam or imperfection, but it creates more polished crochet stitches. Its success depends on even tension, accurate stitch counting, and steady work.
Tools Required for Invisible Decrease
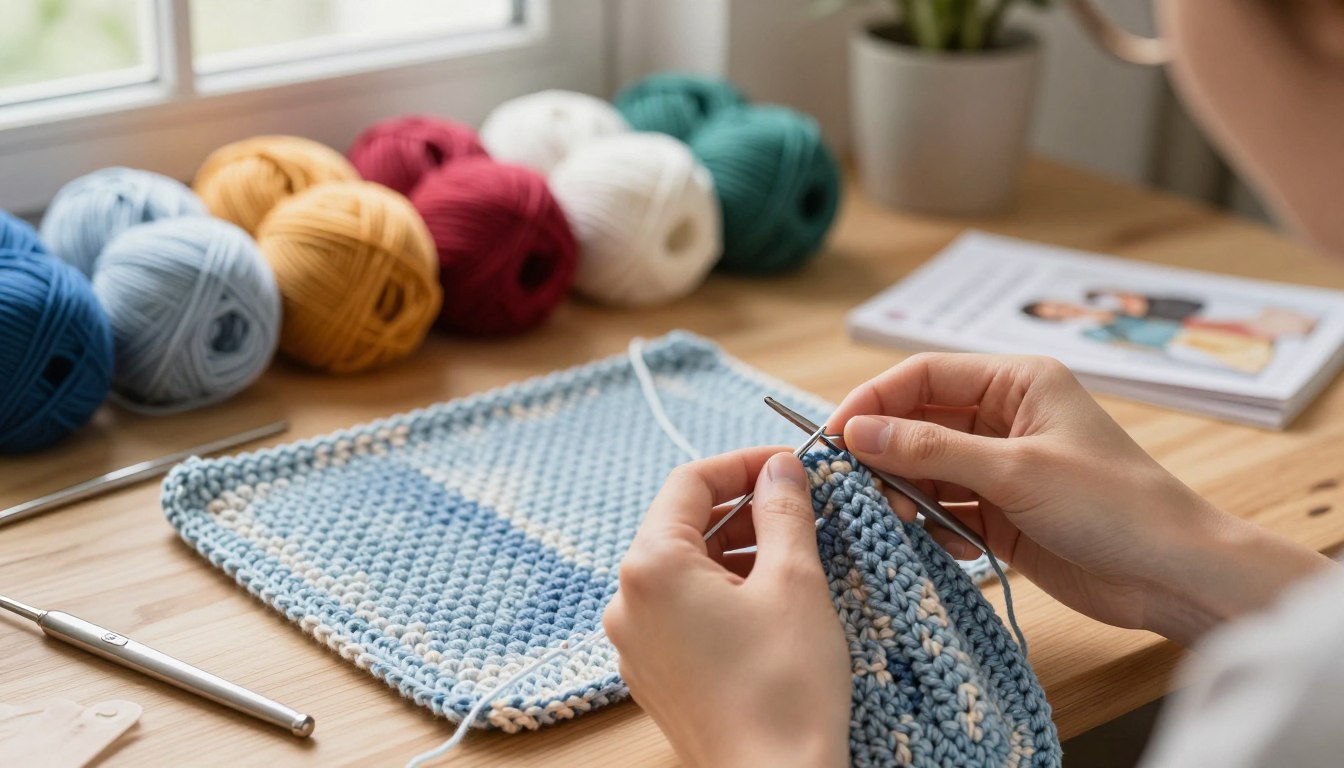
To make clean invisible decreases in crocheting projects, choose the right tools. Here is a list of basic supplies.
- Yarn Hook: Use the hook specified by your pattern for best results.
- Compatible Yarn: Choose a yarn that suits your project type and weight.
- Scissors: Sharp scissors will help you trim your yarn neatly.
- Yarn Needle: This is necessary for weaving in ends after your project is complete.
- Stitch Markers (optional): These can help keep track of your stitches.
Choose a smooth, ergonomic yarn hook with a clear throat. This design helps you insert the hook into front loops without splitting yarn. Follow the pattern’s recommended hook size instead of personal preference.
Beginners should use smooth worsted-weight acrylic or cotton yarn. These yarns make loops easy to see and decreases more accurate. Cotton gives firm, clear stitches, especially for amigurumi projects; acrylic is softer and more forgiving for practice swatches.
Avoid fuzzy, dark, highly textured, or loosely spun yarn. These yarns can hide front loops and make them hard to identify. If you learn visually, use a short practice swatch or follow a video demonstration to improve hand placement.
Yarn tension and hook size work together to show how clearly the decrease appears. Practice with the right tools to improve your crocheting technique and confidence.
| Tool | Purpose | Best For |
|---|---|---|
| Yarn Hook | Inserting into stitches | All skill levels |
| Compatible Yarn | Forming stitches | Beginners |
| Scissors | Trimming yarn | All skill levels |
| Yarn Needle | Weaving in ends | All skill levels |
| Stitch Markers | Tracking stitches | Intermediate |
Step-by-Step Guide to Invisible Decrease
Mastering the invisible decrease can make your crochet projects look polished and professional. This beginner-friendly guide explains each step and builds confidence as you practice. Let’s get started!
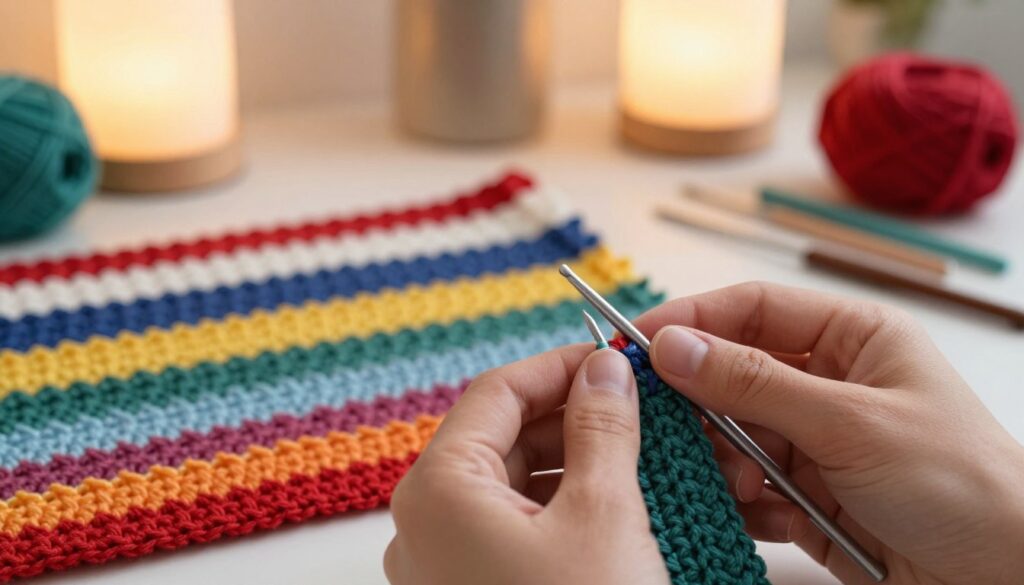
Start with a small swatch of single crochet stitches. It lets you practice without risking a larger project. First, identify each stitch’s front and back loop; the front loop is closest to you on the right side.
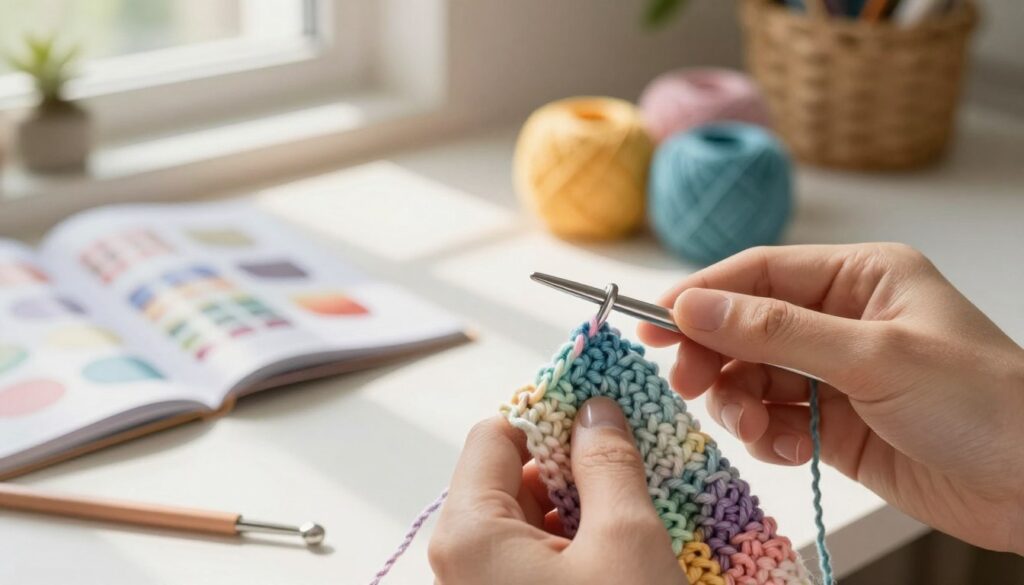
- Insert your hook under the front loop of the next stitch and leave it on the hook.
- Next, insert the hook under the front loop of the following stitch.
- Yarn over and pull through both front loops on your hook.
- Yarn over again and pull through the remaining loops on your hook to complete one single crochet decrease.
The two original stitches now count as one stitch. Keep the loops relaxed, and do not stretch them, to protect your work.
As you practice, check the front of your work after several decreases. Keep the pattern’s stated stitch count. If the decrease looks too tight or loose, adjust your tension.
Some patterns use different decrease instructions. Follow the designer’s terminology when it differs from this standard method.
These steps teach vital stitching techniques and strengthen your overall crochet skills. Happy crocheting!
Tips for Mastering the Technique
Mastering the invisible decrease technique becomes easier with a few helpful tips. Beginners can build confidence, while intermediate crocheters can improve consistency.
Start by practicing on a small, light-colored swatch. You can see your stitches clearly.
Make several rows or rounds with repeated decreases. Then compare your tension, loop placement, and final surface. Remember, repeating the movement slowly helps more than rushing to match a video or experienced crocheter.
Examine your work from both the outside and inside. The correct appearance may depend on the project’s orientation. Stitch markers can identify the round’s beginning, mark planned decreases, and prevent skipped stitches.
Count stitches after each decrease round. Record the expected total when your pattern has multiple shaping stages. This practice helps maintain accuracy throughout your project.
Intermediate crocheters should test the technique with different yarn weights, hook sizes, and tension levels. Consistent hand position and repeatable yarn tension matter more than speed. Focus on these skills for better results.
| Yarn Weight | Recommended Hook Size | Effect on Technique |
|---|---|---|
| Light | 3.5 mm | Creates tighter stitches, easier to manage |
| Medium | 4.5 mm | Balanced tension, good for visibility |
| Heavy | 6.5 mm | Looser stitches, may require more control |
Common Mistakes to Avoid
To perfect your invisible decrease crochet, spot common errors, including overly tight stitches. They can make it hard to insert the hook into both front loops, causing a puckered surface or stretched loops. They may also make yarn hard to pull through; loosen working yarn if the decrease feels firmer than nearby stitches.
Avoid an overly small hook unless the pattern specifically calls for it, and keep loops loose until completing the stitch. Miscounting often happens when reducing two stitches to one. A decrease uses two existing stitches but creates one new stitch, so your overall count drops by one.
Skipped stitches or wrong-loop insertion can change your project’s shape. Use markers and count after every round to track your work. If your count is wrong, undo only the affected stitches instead of continuing with the mistake.
Finally, an uneven result may come from inconsistent tension, not a flawed invisible decrease crochet technique. Watch your yarn tension throughout your work for the best results.
| Mistake | Signs | Solution |
|---|---|---|
| Overly Tight Stitches | Puckered surface, difficulty pulling yarn | Loosen working yarn, check hook size |
| Miscounting Stitches | Incorrect stitch count, uneven fabric | Use markers, count after every round |
| Wrong Loop Insertion | Altered shape, uneven tension | Double-check your loop placement |
Advanced Techniques with Invisible Decrease
Advanced invisible decrease techniques can raise the quality of your crochet projects. These methods create refined shapes and striking surface effects.
Combine invisible decreases with increases to improve your crochet stitches. This method creates controlled forms and adds depth to projects. In amigurumi, decreases on opposite sides can create balanced shaping.
Try color changes, front-loop-only stitches, or back-loop-only stitches. These stitching techniques change the fabric’s look, so test combinations in a swatch first. Testing helps you get the desired effect without weakening your project.
In complex patterns, note whether decreases use continuous rounds, joined rounds, or flat rows. This choice can change stitch placement and your work’s overall look. Read abbreviations carefully because “dec,” “sc2tog,” and “invisible decrease” may mean different things.
Compare decreases made through front loops with other methods. This can help you choose the best finish, look, and feel for your crochet projects.
Accuracy and swatching are important. Follow the designer’s shaping instructions for the best results with invisible decrease techniques.
| Technique | Description | Effect on Fabric |
|---|---|---|
| Invisible Decrease | Reduces stitches without visible seams. | Creates a smooth finish. |
| Front-Loop-Only | Works only through the front loop of the stitch. | Results in a textured surface. |
| Back-Loop-Only | Works only through the back loop of the stitch. | Creates a ribbed effect. |
| Color Change | Switches yarn colors mid-project. | Adds visual interest and dimension. |
| Increase | Adds stitches to widen the fabric. | Shapes and expands areas effectively. |
Project Ideas to Use Invisible Decrease
Ready to take your crocheting to the next level? Try these project ideas. Beginners and intermediate crocheters can practice the invisible decrease technique with them.
Start with simple amigurumi projects, such as a small ball or basic animal head. These shapes offer repeated chances to practice decreases and build confidence. A cute pumpkin or rounded ornament shows how invisible decreases create smooth closures and rounded shapes in stuffed toys.
As you work, add stuffing gradually to prevent overstretching and help creations keep their shape. Once comfortable, try wearable crochet items, such as beanies, gloves, or fitted sleeves. These projects benefit from controlled decreases, which improve fit and contour.
When making wearable items, watch the gauge, measurements, and fabric drape. For beginners, select a pattern with clear stitch counts and simple shaping. For intermediate crocheters, try projects with multiple decrease sections or mirrored shaping for a greater challenge.
The best project matches your current skill level. Choose one that builds confidence through repetition without adding needless complexity. Happy crocheting!
Getting Help and Resources
If you want to improve your crochet skills, many resources can support your learning. Online crochet communities help you compare stitch placement and ask troubleshooting questions. Other crocheters can give feedback on tension and stitch counts, making practice more useful.
Join moderated crochet groups or pattern-specific discussion spaces when you search for resources. These groups support respectful skill sharing, build confidence, and improve your skills. A video tutorial helps when instructions are unclear, showing the hook entering both front loops, the yarn-over, and finished stitch.
Confirm that each demonstration uses the same decrease method as your pattern. This keeps your practice consistent. Pause, slow down, and replay hand movements in videos; active practice helps you learn.
Local yarn stores, library classes, community education programs, and online workshops offer guided practice. Bring your yarn and hook when seeking help. Instructors can then check your technique, tension, yarn, hook, or pattern instructions.
Conclusion: Embrace the Technique
Invisible decrease crochet gives projects a smooth, professional finish. Work through the front loops of the next two stitches to reduce two stitches into one.
Master this technique by choosing the correct hook and yarn for your project. Identify the loops carefully, keep relaxed, even tension, and count your stitches often. Use stitch markers when needed to avoid common pitfalls.
Begin with a small practice swatch to spot tight stitches and misplaced decreases early. For beginners, a simple rounded design builds confidence with this beginner-friendly technique. Intermediate crocheters can use it in more complex shapes and wearable items.
Progress comes from careful repetition and checking your work, not first-try perfection. Learn step by step, then use this beginner-friendly technique confidently in future crochet projects. Each stitch moves you toward becoming a more skilled crocheter.