Alpine Stitch Crochet: Simple Steps for Beginners
Table of Contents
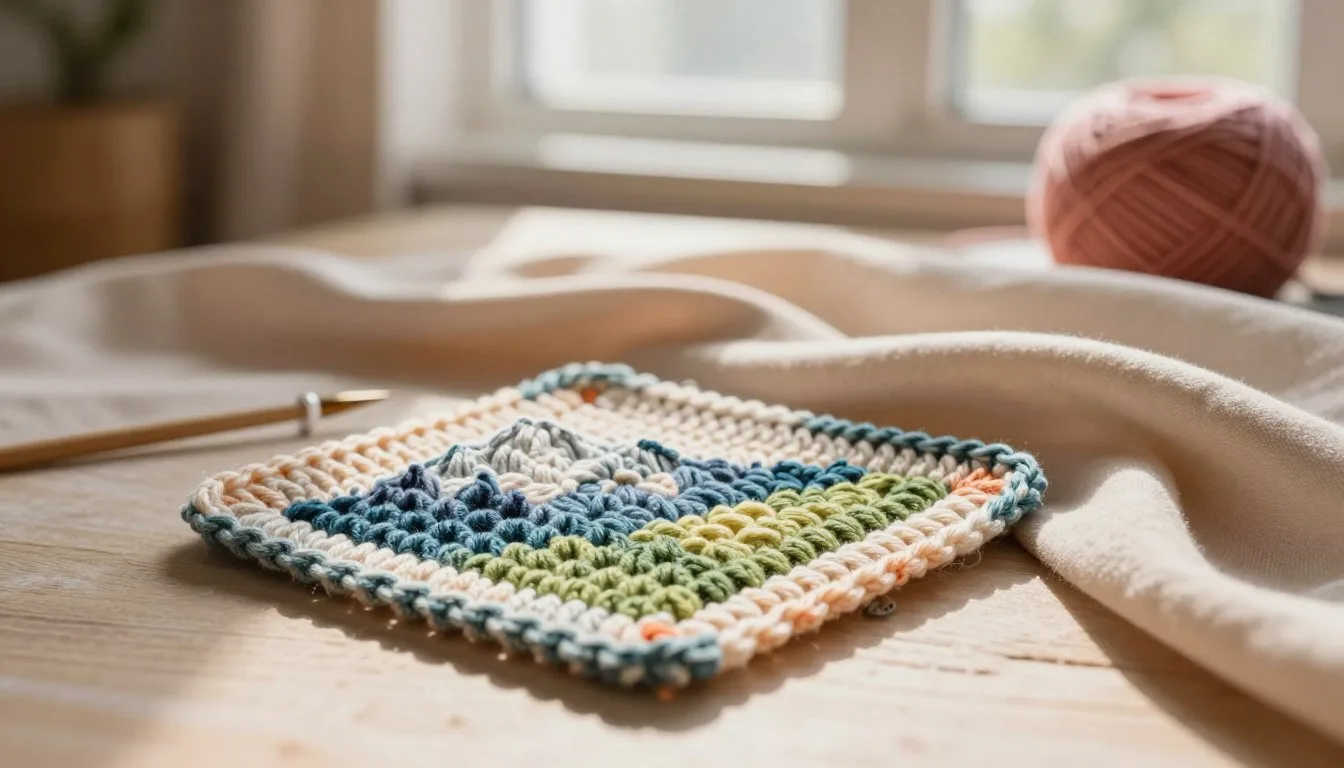
Alpine stitch crochet creates a raised, woven-looking fabric that suits you if you know basic crochet stitches and want to try a textured pattern. That surface can make a simple project feel special in your hands. A front-post double crochet (FPdc) is a double crochet worked around the vertical post of a stitch below to create a raised stitch.
The front has staggered ridges, while the back looks smoother and flatter. Tight tension makes a dense, opaque fabric, so this stitch is less suited to work that needs open, airy drape.
You can use it for blankets, accessories, and garments. Skill labels range from upper beginner to intermediate, but basic single crochet, double crochet, and post-stitch placement give you a helpful start.
This tutorial uses standard US crochet terms. A video can help you see where the hook passes around a post, while a small yarn sample lets you feel the fabric. Choose a project where a defined, substantial texture is an advantage.
How to Work Alpine Stitch Crochet in Rows
Start with an odd-numbered foundation chain, then build the texture by alternating plain single-crochet rows with offset double-crochet and FPdc rows. Small swatches make the placement easier to see as you learn.
Alpine stitch crochet for beginners is manageable when you know the basic stitches. Keep the stitch count steady so each row begins and ends evenly.
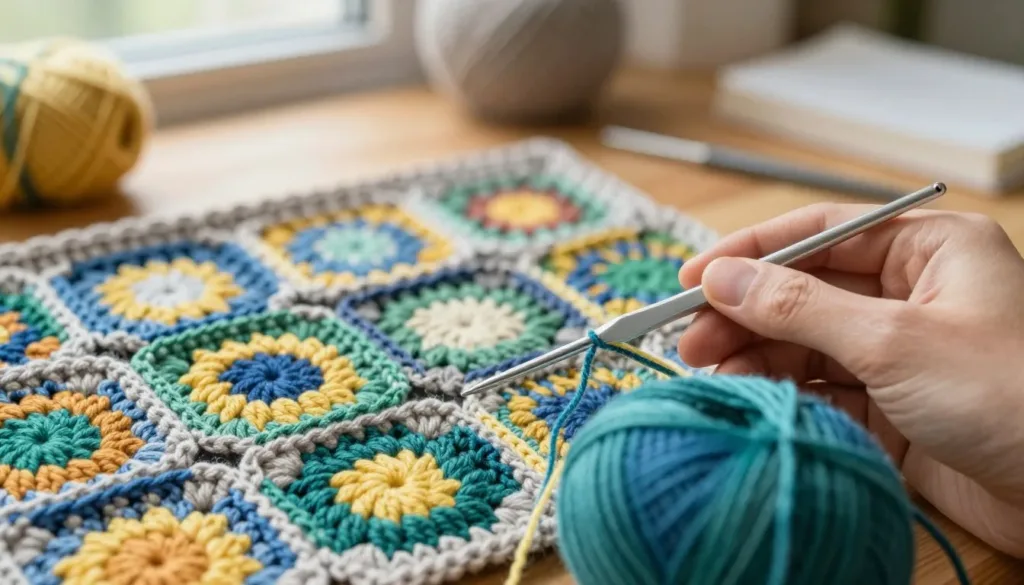
Chain any odd number. Work a double crochet into the third chain from your hook, then double crochet across. The turning chain does not count, so 41 chains make a 39-stitch row.
Turn, then work one single crochet in each stitch across. This plain row separates the raised rows and gives you a clear base for the posts.
Do not count the turning chain as a stitch, and finish each row with its required regular double crochet.
For the first textured row, alternate a regular double crochet with an FPdc around the matching double crochet two rows below. Skip the stitch directly behind each FPdc, then put the next regular double crochet in the following stitch.
Work single crochet across the next row. On the following textured row, offset the pattern by starting with an FPdc, then alternate with regular double crochet. Finish with a regular double crochet and another single-crochet row.
Repeat those four rows: textured, single crochet, offset textured, single crochet. Simple alpine stitch crochet starts with a small swatch and a repeat you can track; easy alpine stitch crochet depends on staggered FPdc placement and a steady count.
The Craft Yarn Council’s crochet abbreviation list uses FPdc for front-post double crochet and FPtr for front-post treble crochet. A step-by-step half-double crochet tutorial can also refresh your basic stitch skills. Use stitch markers or a row note to keep track of which textured row comes next.
Fix Curling and Keep the Edges Even
A fabric that pulls inward usually needs taller, looser front-post loops before you change the whole pattern. Relaxed tension helps the FPdc reach the height of the row instead of drawing the fabric tight.
Raise each FPdc loop to the height of the surrounding stitches. Short loops can bunch the fabric, even when your stitch count is right.
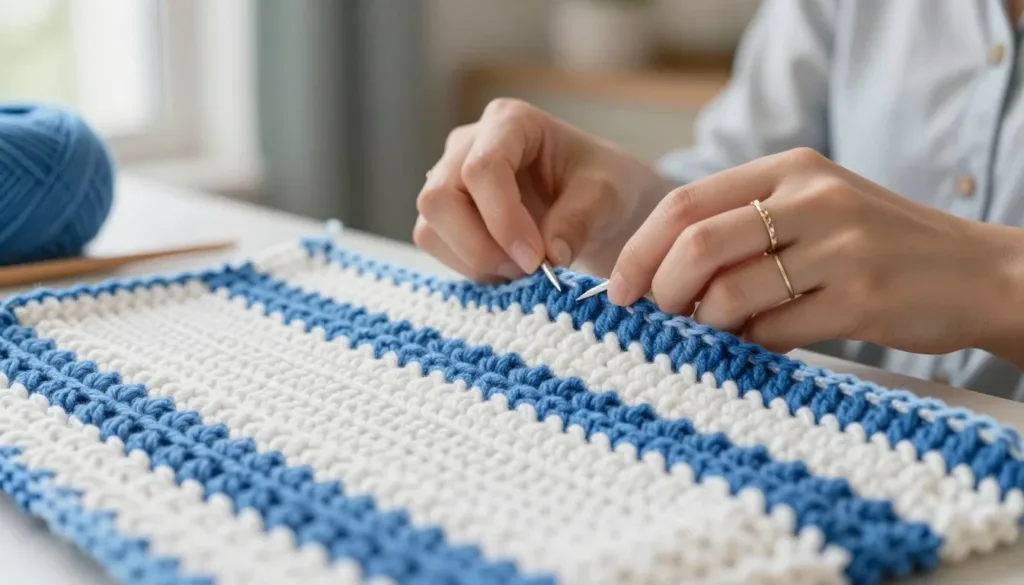
Check the stitch hidden directly behind an FPdc. You skip that stitch, then place the regular double crochet in the following stitch; working into both spots can add an accidental stitch.
A small corner curl can happen and may flatten with blocking. If the curl continues, try a larger hook or replace the FPdc with a front-post treble crochet (FPtr). Some versions use FPtr in place of FPdc, so keep your chosen row sequence consistent.
A quick look at the sides can tell you whether the edge is the cause. Count the stitches at the start and end of each row, and check that the last stitch sits in the same place each time.
If your textured swatch will become a garment, test its comfort and drape before making a larger piece. A beginner crochet baby sweater pattern offers a separate clothing project with sizing and gauge guidance.
Use a flat surface to block the swatch, following the care needs of your yarn. Check the stitch count at both row ends before deciding that a small corner curl needs a different hook.
Shop Crochet Essentials
Explore useful tools, colorful yarn and books for your next project.
As an Amazon Associate, I earn from qualifying purchases.
Size the Stitch for Blankets and Other Projects
A small square or swatch is the simplest way to test the texture before scaling it up to a blanket. An alpine stitch crochet blanket can be wider or narrower by changing its foundation chain, but the pattern’s stitch multiple and gauge set the finished size.
Alpine stitch crochet patterns range from small squares and project sections to baby blankets. Free Alpine stitch crochet patterns include baby-blanket options, with different yarn needs and row counts.
- The Tricolor Alpine Stitch Baby Blanket measures 32 x 41 inches before its border and 37 x 46 inches after. It uses two skeins each of three colors of I Love This Yarn! Weight 4 Medium, 355 yards per skein, a 5.5 mm hook, and a gauge of 12 stitches by 12 pattern rows per 4 inches. Its 98-chain start makes 96 stitches; repeat rows 3-6 through row 124.
- A free worsted-weight baby blanket pattern measures about 30 x 36 inches, using about 1,500 yards, a 5.5 mm hook, and a gauge of 3 stitches by 2.5 rows per inch. Start with 84 chains and repeat rows 2-5 through row 92. For stripes, work 7 rows in color A and 10 in color B, changing after a single-crochet row.
- Small swatches have set sizes too: the Alpine Stitch Square offers 7 x 7-inch and 8 x 8-inch options, with stitch multiples for changes.
- Warm Up America sections measure 7 x 9 inches. The Alpine Stitch Section pattern is intermediate, with a gauge of 20 double crochets across 6 inches; exact gauge matters for matching section size.
For a border, each side needs an odd stitch count. A single-crochet base round can check or adjust it; two foundation rounds start the four-row repeat, which you extend with rows 3-6.
Some row patterns start with an odd number of stitches plus two chains, while round patterns use an even number plus two. A demonstrated border reaches about 2 inches by repeating rows 3 and 4 to finish. Browse a simple newborn blanket pattern or the site’s crochet project ideas for other starting points. Match the hook to the yarn and the pattern gauge when the finished dimensions matter.
Conclusion
A short practice swatch gives you a quick way to build confidence with the raised texture. Steady stitch placement matters more than speed, especially when you are learning to work around the posts.
Use the yarn and hook you plan to use for your project. A swatch made with different materials may not show the same density or feel.
Give yourself time to count the stitches and follow the row repeat. Work the sample, check how the fabric feels, and use it to decide whether to begin the larger project.