
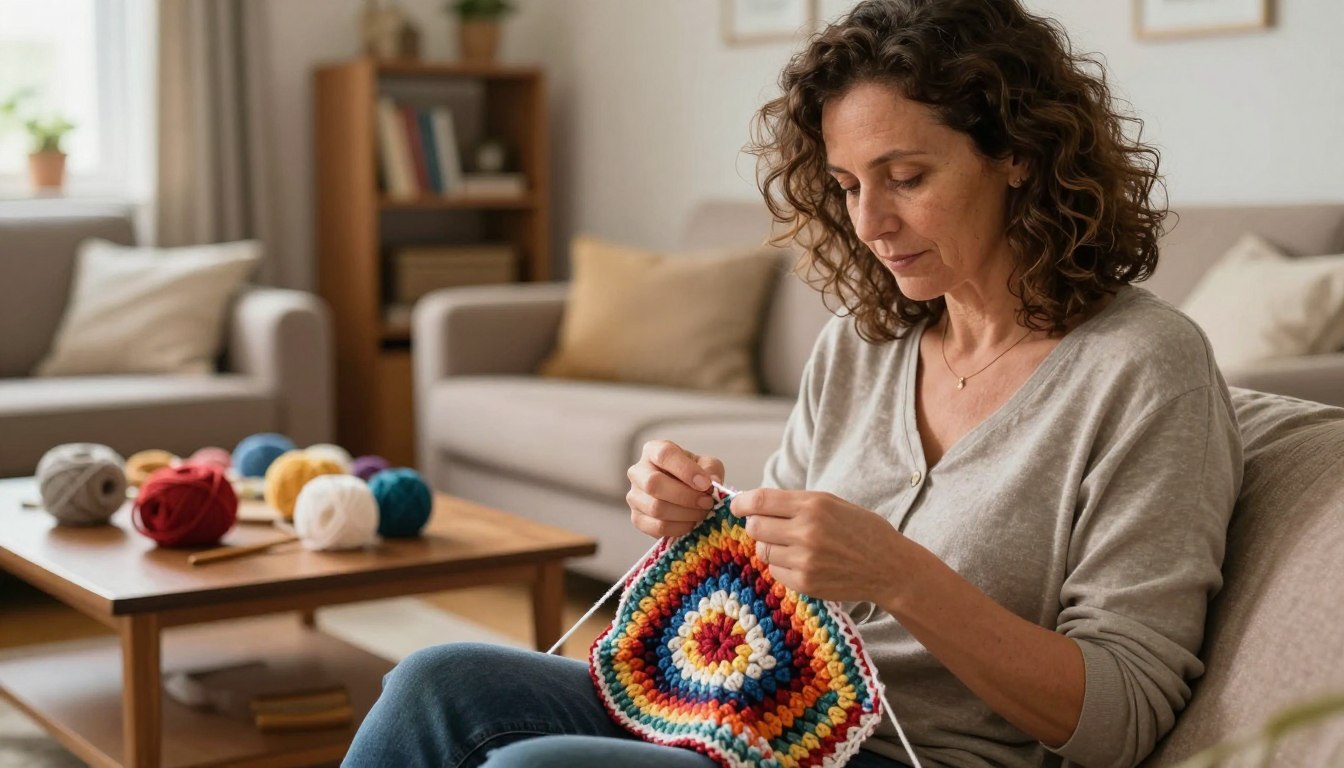
12 Common Crochet Mistakes and How to Fix Them
Table of Contents
A project can start to change shape before you notice a small mistake repeating across several rows. That slow shift can feel discouraging, especially when you have spent hours on a piece you care about. You can fix many problems once you spot them early.
Beginners and crocheters with years of practice both make errors. Experience helps, but it does not prevent every missed stitch or uneven edge. Gauge is the number of stitches and rows in a measured sample, used to compare your fabric with the pattern’s sizing instructions. This list offers practical ways to find and correct twelve common trouble spots before they spread.
Pause when your work looks different from the pattern, then check it calmly. The first fixes start with the foundation chain and stitch placement.
A small check now can save you from undoing many rows later.
How to Prevent Common Crochet Mistakes in the Foundation
A rectangular piece can widen after a few rows because you keep adding an extra stitch at the edge. Check the first and last stitch before continuing each new row. Count the stitches at every row’s end so an error does not grow across the project.
Miscounting the foundation chain can put the first stitch in the wrong chain. That small shift may leave an edge too short or too long. Follow the pattern’s chain count, then find the correct chain before making the first stitch.
At the top of a stitch, look for a small V made by two loops. Unless the pattern says otherwise, insert your hook under both loops. Working into only one loop can change the fabric’s look and may affect its shape.
Some patterns ask you to use one loop, so check the instructions before you begin. The turning chain can also cause trouble. If you work into it when the pattern says not to, or skip it when instructed to use it, your row may gain or lose a stitch.
Adding stitches can make the piece grow wider, while skipped stitches can make it narrower. Work into the first and last stitch as directed, and watch those edges closely. A stitch marker can show where a row starts or ends.
Place stitch markers every 10 or 20 stitches when a long row is hard to count. If you already have a short checklist of 10 common crochet mistakes, use it as a starting point. Make sure it covers these foundation checks:
- Confirm the first stitch’s location.
- Verify which loops the pattern requires.
- Count the completed row.
These quick checks help you catch common crochet mistakes while they are still easy to correct. They also make it easier to see whether a row matches the planned stitch count.
Once stitch placement and counts look right, consider the yarn, hook, and tension that shape every stitch’s size and feel.
How Yarn, Hook Size, and Tension Change Your Results
A hat can fit too small even when you followed the stitch pattern correctly. The yarn, hook, and tension may have changed its size. Match your gauge to the pattern before making the full project to help the finished piece fit as planned.
Yarn weight affects both gauge and finished dimensions. A heavier yarn can make a larger, thicker fabric than the pattern expects. A lighter yarn can create a smaller, thinner piece, even when you follow the same stitch count.
Using the wrong hook size can also change your results. A smaller hook often makes tighter stitches, while a larger hook can make them looser. The pattern’s suggested hook size gives you a starting point, not a guarantee of the right gauge.
Inconsistent tension is another common problem. Tight stitches can be hard to work into and may create stiff fabric. Loose stitches can look floppy. Neither tight nor loose is best by itself; aim for even tension that matches the pattern’s gauge.
A gauge swatch is a small sample made to test your stitches before you start the main piece. Use the pattern’s yarn and stitch method. Then measure the sample and compare its stitch and row counts with the stated gauge.
If the swatch has more stitches than the pattern’s sample, try a larger hook. If it has fewer stitches, try a smaller hook. Make a new swatch after changing hook size, then measure again.
Do not skip the gauge swatch for a fitted hat, sweater, or other sized project. A small difference in stitches can change the final measurements. Testing first can save you from finishing a piece that does not fit.
For learning, try smooth, light-colored, medium-weight yarn. You can see the stitch tops more clearly than with dark or fuzzy yarn. Fuzz and dark shades can hide where one stitch ends and another begins.
Keep your grip steady, but do not force each stitch tight. Let the hook pass through the loops without a struggle. The goal is repeatable stitches, not the tightest fabric you can make.
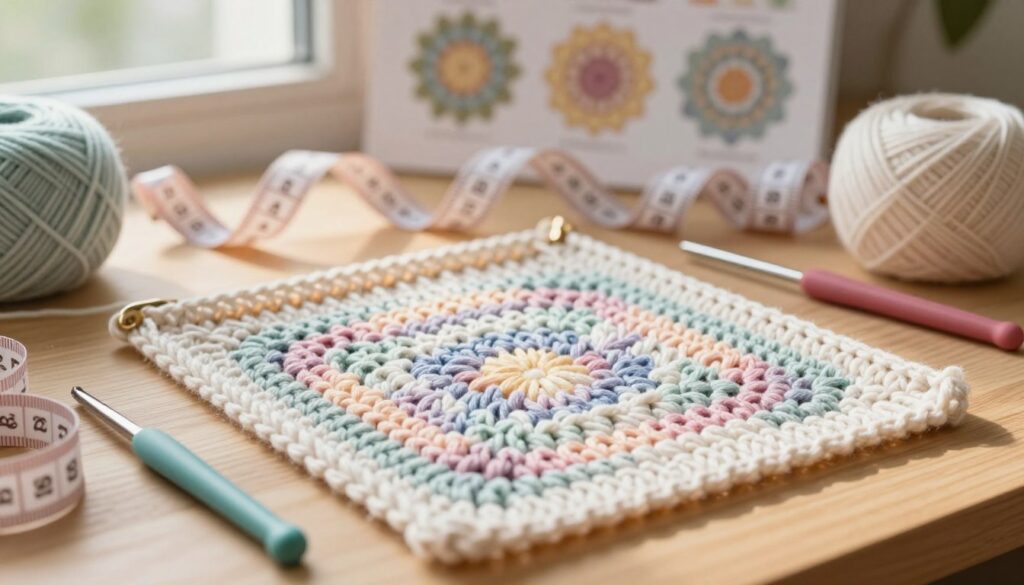
Good material choices make the fabric easier to manage. The pattern’s notes explain which yarn, hook, and stitch method to use.
What to Check Before You Follow a Crochet Pattern
You may follow a familiar abbreviation and still get the wrong stitch if the pattern uses another country’s terms. Check the pattern’s terminology first. A US single crochet is called a UK double crochet, so the same abbreviation can mean different stitches.
Patterns often state whether they use US or UK terms. Look for that note before you begin, especially if you learned from videos or books that use another system. Matching the stitch name to the pattern helps you avoid a project-wide error.
Read the pattern notes and full instructions before starting. The notes may name the yarn, hook size, stitch counts, repeats, or special steps. Skipping them can leave you short on yarn or unsure how to shape the piece.
Check what the pattern asks for, rather than relying on a familiar project description. A pattern may use a stitch or repeat you have not tried. Choose a project that fits your current skill level so you can focus on the new steps.
Use this preparation list before you make the first stitch:
- Confirm whether the pattern uses US or UK terms.
- Read the pattern notes and all instructions.
- Check the required yarn quantity and hook size.
- Choose a project that suits your current skill level.
Losing track of completed rows can also pull you out of place. A simple row counter can record each row as you finish it. You can also mark completed rows with a tick on paper.
Keep the counter or paper near your project, and update it before setting your work down. If you return later, the last mark shows where to pick up. This matters when a pattern repeats several rows or changes shape.
Charts can help when a visual guide is easier to follow than written steps. Use a chart alongside the written instructions if both are available. Check that you are reading the correct row and direction before moving on.
Clear instructions help you stay aligned with the pattern from the start. They also make it easier to spot when the fabric itself looks wrong.
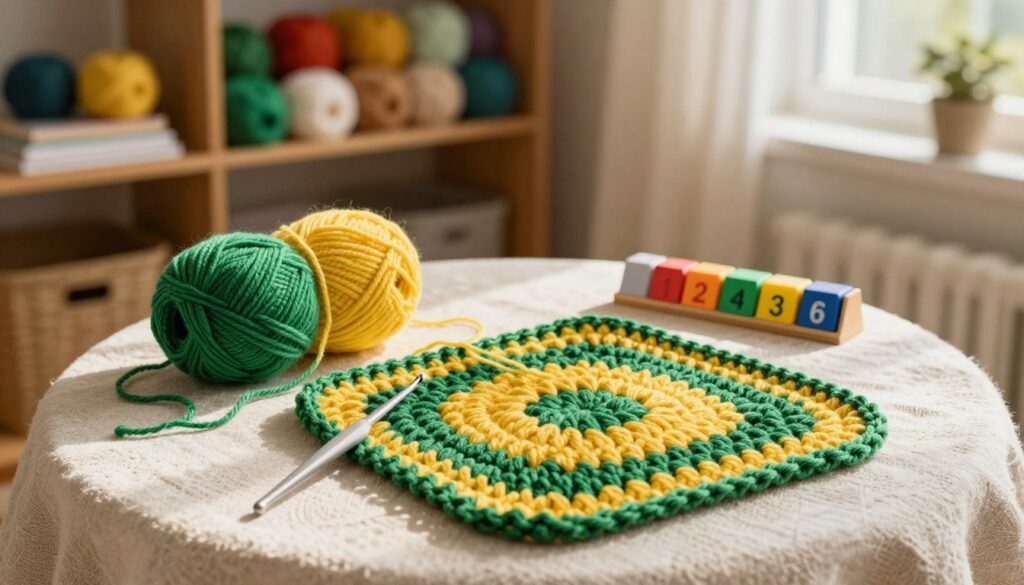
Once you understand the instructions, you can look for visible fabric errors and decide how to repair them while you work.
How to Fix Uneven Crochet Rows and Avoid Frogging Every Error
A ladder or crooked edge can appear in a piece that looked even just one row earlier. Find where the change began before you undo stitches. Compare the first uneven row with the pattern to decide how much work needs repair.
For how to fix uneven crochet rows, check the stitch count and edge shape from one row to the next. Start with the first row that differs. Compare it with the pattern before deciding whether to undo one stitch, one row, or more.
A dropped stitch may form a ladder as its loop comes undone. To repair an isolated dropped loop, place the hook through the loose loop. Pull the loop back up to the level of the surrounding work.
Check that the loop sits in the right place before continuing. A stitch that was missed or made in the wrong direction may not be fixed by pulling up a loop. You may need to undo the work back to that point and remake the stitch.
Twisted or misoriented stitches can change how the fabric looks. Check the stitch direction against nearby stitches and the pattern’s instructions. If the work faces the wrong way, pause before adding more rows.
Sometimes the project has been worked in the wrong direction, leaving the wrong side outward. Do not keep going in the hope that the next row will hide it. Compare the fabric with the pattern and undo back to where the direction changed.
Not every repair needs you to frog the whole project. A single dropped loop can often be fixed in place, while a missed stitch may need more work undone. How to fix crochet mistakes without frogging depends on what caused the problem.
These crochet problems and solutions begin with a close look at the fabric. Find the first change, then decide whether the error is local or affects later rows. A small repair is safest when the surrounding stitches stay in place.
Stitch markers can help you keep track of an edge while you work back and forth. Place one where the row begins or ends, as the pattern directs. Check the new edge after making the repair.
After you correct the fabric, secure the loose strands that keep the finished work from unraveling.
How to Secure Yarn Ends and Finish a Project
A finished blanket can start to unravel when you cut a yarn end without securing it. Leave enough yarn to weave in before cutting. Leave a tail about 5-6 inches long, then weave at least 2-3 inches through the fabric in different directions.
To fasten off, cut the yarn and pull the cut end through the loop on your hook. Gently tighten the loop so it holds the final stitch. Leave the yarn tail long enough to thread through a tapestry needle.
Thread the tapestry needle with the yarn tail, then pass it through nearby stitches. Weave at least 2-3 inches into the fabric. Change direction as you weave so the tail does not pull free easily.
Do not assume a tail will stay secure just because you crocheted over it. A short end can slip out with ordinary use, leaving the edge loose. Weaving through the fabric gives the tail a better hold.
The length you leave is not the same as the length you weave in. Leave about 5-6 inches available for handling, then weave at least 2-3 inches through the fabric in different directions. This gives you room to work without leaving a long end behind.
Joining a new ball of yarn leaves another tail to secure. A color change does too. Weave each end into nearby stitches, keeping the tail hidden without pulling the fabric out of shape.
Check both sides of the project after weaving. The tail should not show as a loose strand, and the fabric should lie flat. Trim only the extra length after the tail feels secure.
For a blanket, look closely at the corners and color changes, where several ends may meet. Secure each one on its own. That small step helps the finished piece hold together through regular use.
Neat finishing is part of making the project, not an extra task after the real work. A careful finish helps your stitches stay put when the piece is used or washed.
Carry the same calm troubleshooting habit into your next project, and give the final yarn ends the care they need.
Conclusion
One imperfect row does not mean your whole project has failed. Regular checks can limit how far an error travels, and many small problems need only a local fix. You do not have to undo every stitch to make useful progress.
Before you continue, count the stitches in your current row. Mark the beginning or end of the next row so you can find your place again. Make that stitch-count check before crocheting another row.


